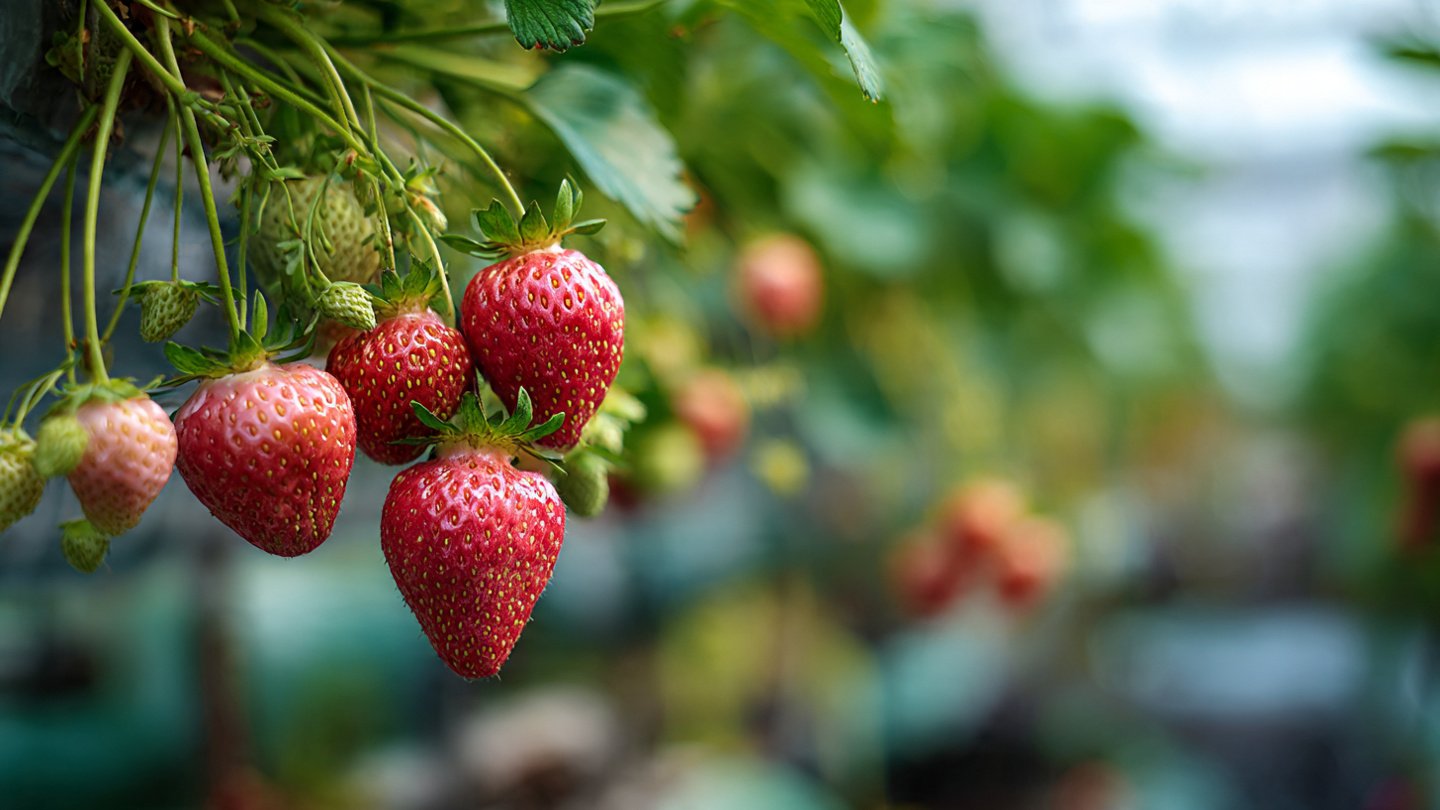
Strawberries are a favorite fruit for many home gardeners. Their bright red color, sweet flavor, and high nutritional value make them perfect for fresh eating, desserts, and preserves. However, growing strawberries in a traditional garden isn’t always feasible, especially for urban dwellers or those with limited space. The good news is that you can turn plastic waste into functional planters and create a thriving strawberry garden at home. This not only recycles materials but also allows you to produce a maximum harvest from small spaces.
This article provides a detailed, step-by-step guide on transforming plastic waste into a productive strawberry garden, along with tips to ensure strong growth and abundant fruit.
Why Use Plastic Waste for Strawberry Gardening?
Plastic waste, such as bottles, containers, and trays, is often discarded, contributing to environmental pollution. Repurposing these items as planters offers several benefits:
- Eco-friendly: Reduces plastic pollution by giving it a new purpose
- Cost-effective: Saves money compared to buying pots or raised beds
- Space-efficient: Allows vertical or stacked arrangements for small spaces
- Portable: Containers can be moved to optimize sunlight or protect from harsh weather
By combining sustainability with gardening, you create a productive, low-cost strawberry garden.
Step 1: Selecting Plastic Containers
Not all plastic is suitable for gardening. Choosing the right containers ensures healthy root development and prevents chemical leaching.
Ideal Containers:
- Plastic bottles (1–2 liters)
- Food containers and tubs
- Milk cartons or juice boxes
- Plastic trays and crates
Important Considerations:
- Ensure the plastic is safe for food contact (look for recycling codes #1 PET, #2 HDPE, or #5 PP)
- Avoid thin, brittle plastics that may crack easily
- Clean containers thoroughly before use
Proper selection ensures durability and safe food production.
Step 2: Preparing Containers for Planting
Before planting strawberries, you need to prepare the plastic containers to allow proper drainage and root growth.
Steps:
- Cut containers to the desired height or shape depending on your space and design
- Punch holes at the bottom for drainage to prevent waterlogging
- Add a layer of small stones or broken pottery pieces to improve drainage and prevent soil from washing out
- Rinse the containers again to remove any residue
Well-prepared containers promote healthy root development and prevent common problems like root rot.
Step 3: Choosing the Right Strawberry Variety
Strawberry varieties differ in growth habit, flavor, and productivity. For container gardening, select compact, fast-growing types suitable for home harvests:
Recommended Varieties:
- June-bearing: Produce a single large harvest per season (e.g., Earliglow)
- Ever-bearing: Produce multiple smaller harvests throughout the season (e.g., Quinault, Ozark Beauty)
- Day-neutral: Flower and fruit continuously under long daylight conditions
Ever-bearing or day-neutral varieties are ideal for maximizing home harvests in small container setups.
Step 4: Preparing the Soil Mix
Strawberries need nutrient-rich, well-draining soil to grow successfully in containers.
Recommended Mix:
- 50% garden soil or potting soil
- 30% compost or vermicompost
- 20% perlite or coarse sand for drainage
Optional: Add a small handful of balanced organic fertilizer to support early growth. Avoid heavy garden soil alone, which can compact and reduce aeration for container roots.
Step 5: Planting Strawberry Seedlings
Once containers are ready and soil is prepared, it’s time to plant the strawberry seedlings.
Planting Guidelines:
- Dig a small hole slightly larger than the root ball
- Place the seedling in the hole with roots spread out
- Ensure the crown (the point where leaves emerge) is at soil level, not buried
- Fill around the roots gently and firm the soil lightly
- Water immediately to settle soil and reduce transplant shock
Proper planting ensures strong establishment and sets the foundation for a maximum harvest.
Step 6: Arranging Containers for Maximum Sunlight
Strawberries need 6–8 hours of sunlight daily to thrive. Using plastic containers allows you to optimize space and sunlight exposure:
- Vertical Gardens: Hang bottles or stack containers on walls or railings
- Horizontal Rows: Place tubs or crates in sunny balconies or patios
- Tiered Stands: Use shelves to grow multiple layers in limited space
Adjusting container placement ensures consistent sunlight, which is essential for flowering and fruiting.
Step 7: Watering and Moisture Management
Container-grown strawberries require careful watering because plastic containers dry out faster than ground soil.
Watering Tips:
- Water consistently to keep the soil moist but not soggy
- Water early in the morning to reduce evaporation and prevent fungal growth
- Use mulch (straw, dry leaves, or coconut husk) on the soil surface to retain moisture and regulate temperature
Consistent moisture encourages faster growth and maximizes fruit production.
Step 8: Fertilization and Feeding
Regular feeding is critical for container strawberries, as nutrients leach quickly with watering.
Feeding Schedule:
- Apply organic liquid fertilizer every 2–3 weeks during active growth
- Use balanced NPK fertilizer or compost tea to support flowers and fruits
- Avoid over-fertilization, which can promote leaf growth at the expense of flowers
Healthy, well-fed plants produce more flowers, resulting in larger and more frequent fruit harvests.
Step 9: Pest and Disease Management
Strawberries in containers are less prone to pests than garden plants but still need monitoring.
Common Pests: Aphids, spider mites, slugs, and snails
Common Diseases: Powdery mildew, gray mold, and leaf spot
Prevention and Control:
- Keep containers clean and remove fallen leaves
- Ensure good air circulation between containers
- Use neem oil or natural insecticidal soap for minor infestations
- Avoid overhead watering to reduce fungal problems
Healthy plants are more productive, and early pest management prevents harvest losses.
Step 10: Harvesting for Maximum Yield
Proper harvesting encourages continuous fruiting and maximizes home harvests:
- Pick strawberries when fully red and ripe for best flavor
- Harvest regularly to stimulate the plant to produce more flowers and fruits
- Remove damaged or overripe fruits promptly to prevent disease spread
By maintaining frequent harvesting, your plastic container strawberry garden remains productive throughout the season.
Step 11: Reusing and Maintaining Plastic Containers
One advantage of using plastic waste is the ability to reuse and maintain containers for multiple growing seasons:
- Wash containers thoroughly between seasons
- Replace or refresh potting mix to replenish nutrients
- Check drainage holes to ensure they remain functional
Reusing containers reduces waste and provides a sustainable gardening solution.
Conclusion
Turning plastic waste into a strawberry garden is a sustainable, space-saving, and highly productive approach to home gardening. By carefully selecting containers, preparing soil, choosing the right varieties, and providing proper care, you can grow lush strawberry plants that produce maximum harvests even in small spaces.
This method not only promotes environmental responsibility by recycling plastic but also allows urban gardeners, balcony growers, and small-space enthusiasts to enjoy fresh, sweet strawberries year-round. With attention to watering, fertilization, sunlight, and pest management, your home strawberry garden can flourish, proving that even plastic waste can be transformed into a fruitful, sustainable oasis.