Not everyone has a large yard or a traditional garden space, but that doesn’t mean you can’t grow fresh vegetables at home. One of the easiest ways to maximize limited space is with a vertical vegetable garden. By turning a plain wall into a living, productive garden, you can grow herbs, greens, and even fruiting plants without taking up a single square foot of ground space.
Even better, creating a vertical garden doesn’t have to be expensive or complicated. With a few simple materials and a little creativity, you can turn any wall—indoors or outdoors—into a thriving vegetable haven. Here’s how I did it, along with tips for choosing plants, building your setup, and maintaining it year-round.
Why Vertical Gardens Are Perfect for Small Spaces
Vertical gardens offer several advantages, especially for city dwellers or those with limited outdoor space:
- Space-saving: Grow more plants without needing a yard.
- Better air circulation: Reduces fungal diseases common in crowded garden beds.
- Easy access: Harvesting is simpler since plants are at eye level.
- Aesthetic appeal: Adds greenery and life to blank walls.
- Pest management: Elevating plants helps reduce ground-based pests.
Even a small balcony, patio, or kitchen wall can become productive with a vertical gardening setup.
Step 1: Choose the Right Wall
Not every wall is suitable for vegetables. For best results:
- Select a wall that gets at least 4–6 hours of sunlight for sun-loving plants.
- Ensure the wall can support lightweight containers or planters.
- Protect walls from water damage if you plan to water heavily.
If sunlight is limited, focus on shade-tolerant plants like lettuce, spinach, or herbs. For indoor walls, consider using LED grow lights to supplement natural light.
Step 2: Pick Your Vertical Garden Style
There are many ways to build a vertical vegetable garden. Here are some inexpensive and creative ideas:
1. Pocket Planters
- Made from felt or recycled fabric
- Pockets hold soil and plants securely
- Ideal for herbs, leafy greens, and small flowering vegetables
2. Hanging Pots or Containers
- Use wall-mounted hooks or shelves
- Hang lightweight pots in a staggered design
- Works well for tomatoes, peppers, and small climbing beans
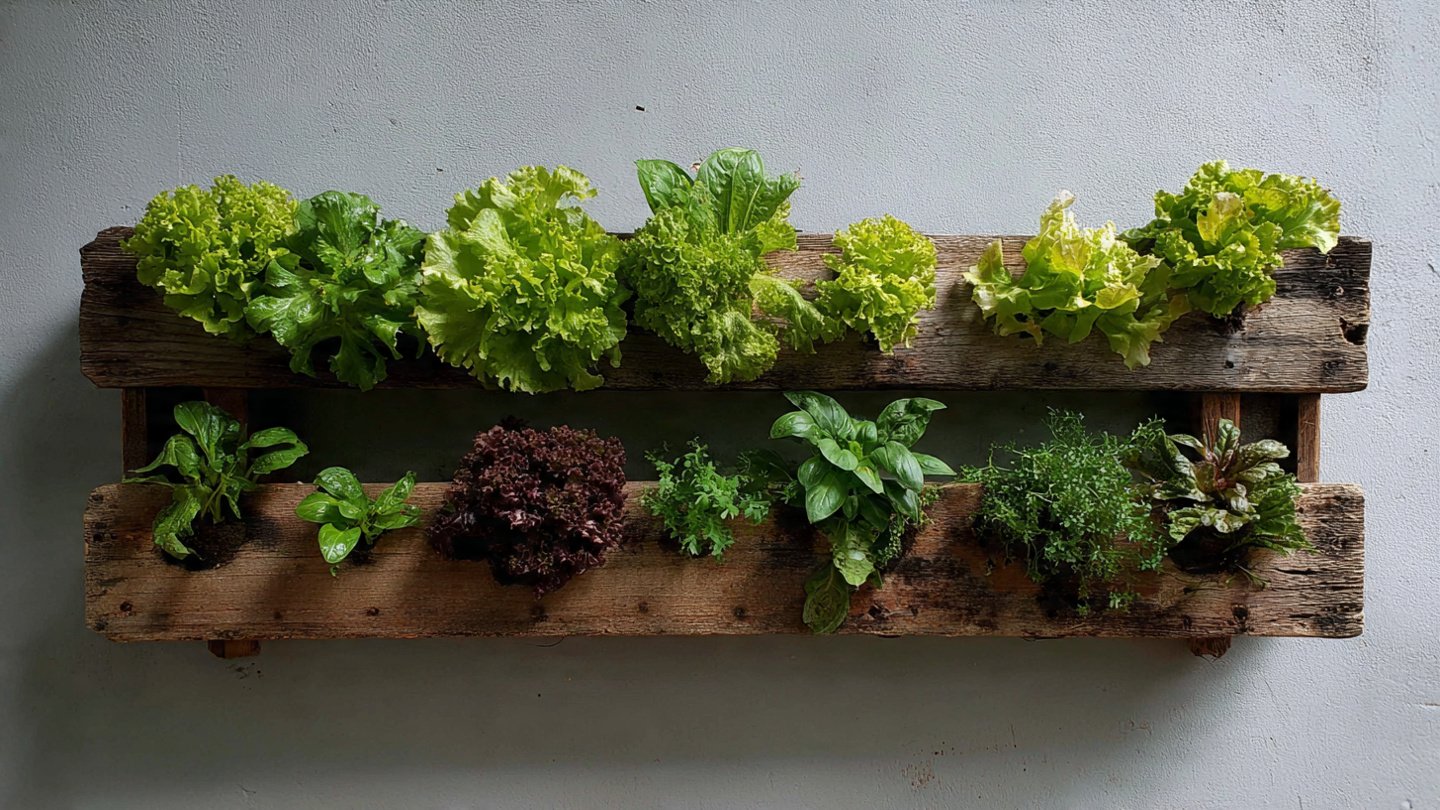
3. Wooden Pallets
- Old pallets can be repurposed into vertical planters
- Line them with landscape fabric to hold soil
- Plant herbs or greens in each gap for a rustic, DIY look
4. Trellis Systems
- Attach a trellis directly to the wall
- Train climbing vegetables like beans, peas, or cucumbers
- Saves space while adding a decorative element
These methods are low-cost, often using materials you already have at home.
Step 3: Choose Plants Suited for Vertical Growth
Not all vegetables grow well vertically. Focus on:
- Climbers: Yardlong beans, peas, cucumbers, small pumpkin varieties
- Leafy greens: Lettuce, spinach, kale, Swiss chard
- Herbs: Basil, parsley, mint, cilantro
- Compact fruiting plants: Cherry tomatoes, peppers, dwarf zucchini
Avoid large-rooted crops like carrots or potatoes in vertical setups—they require deep soil.
Step 4: Prepare Soil and Containers
Good soil is the foundation of healthy vertical gardens.
- Use a lightweight, well-draining potting mix
- Mix in compost or organic matter for nutrients
- Avoid heavy garden soil, which can weigh down the wall structure
For containers or pocket planters:
- Ensure drainage holes exist to prevent waterlogging
- Place a small tray or gutter at the base to catch excess water
Lightweight soil reduces strain on the wall and ensures plants thrive without compacting roots.
Step 5: Build Your Vertical Structure
Once your wall and containers are ready:
- Mount pockets, pots, or shelves securely using screws or hooks
- Ensure spacing between containers allows light and airflow
- For climbing plants, attach a trellis or strings for support
- Keep the structure flexible so you can rotate or move plants as needed
DIY vertical gardens can be completed in a single afternoon with minimal tools.
Step 6: Watering Tips for Vertical Gardens
Vertical gardens dry out faster than ground-level gardens. Key tips:
- Water from the top, allowing water to trickle down
- Consider a drip irrigation system for consistent moisture
- Check pockets or pots daily during hot weather
- Mulch the top layer lightly to reduce evaporation
Maintaining consistent moisture prevents stress and ensures better fruit production.
Step 7: Fertilize Regularly
Because vertical gardens use limited soil, nutrients can deplete quickly:
- Use a liquid fertilizer every 2–3 weeks
- Compost tea or diluted organic fertilizers work well
- Focus on high-phosphorus and potassium feeds for flowering and fruiting plants
Regular feeding keeps your vertical garden productive throughout the growing season.
Step 8: Maintenance and Harvesting
- Prune regularly to prevent overcrowding
- Harvest frequently to encourage continuous growth
- Remove dead or yellowing leaves to reduce disease risk
- Rotate plants seasonally if possible for year-round greenery
A well-maintained vertical garden not only looks beautiful but also produces a steady supply of fresh vegetables.
Bonus Tips for Creativity
- Paint the wall or containers for a fun, decorative touch
- Mix flowers with vegetables for color and pollinator attraction
- Add small labels for easy identification
- Use recycled materials like tin cans, plastic bottles, or old shoe organizers to make creative planters
Vertical gardening is as much about creativity as it is about productivity.
Why Vertical Gardening Is Ideal for Urban Living
Even if you have no garden, limited space, or live in an apartment:
- You can grow vegetables, herbs, and greens
- Vertical gardens fit balconies, patios, or even indoor walls
- They add greenery and improve air quality indoors
- They allow for fresh, homegrown produce year-round
With minimal investment and some DIY spirit, anyone can create a productive vertical vegetable garden.
Final Thoughts
Turning a wall into a vertical vegetable garden is one of the easiest ways to grow food in small spaces. Using simple materials like pocket planters, pallets, or hanging pots, you can create a productive and attractive garden that saves space, water, and effort. By choosing the right plants, maintaining soil and moisture, and giving vines a bit of support, you can enjoy fresh vegetables and herbs year-round—even without a traditional garden.
Whether you want a decorative green wall or a steady supply of fresh produce, a vertical garden transforms ordinary walls into living, productive spaces. With a little creativity and care, anyone can enjoy the rewards of homegrown vegetables—right on their wall.