Growing fresh green vegetables doesn’t require a backyard, expensive pots, or professional gardening skills. In fact, one of the simplest and most effective ways to grow food at home is by reusing plastic bottles and making the most of small spaces. Whether you live in an apartment, have a small balcony, or only a sunny window, this method allows you to grow healthy greens almost anywhere.
This approach is affordable, eco-friendly, and surprisingly productive. Once you try it, you’ll never look at empty plastic bottles the same way again.
Why Plastic Bottles Are Perfect for Growing Vegetables
Plastic bottles are often thrown away, but they make excellent mini planters.
Benefits of using plastic bottles:
- Easy to find and free
- Lightweight and portable
- Ideal for small-root vegetables
- Perfect for vertical and hanging gardens
- Reduce household waste
For leafy greens, herbs, and fast-growing vegetables, plastic bottles provide just the right amount of space for healthy growth.
Best Vegetables to Grow in Plastic Bottles
Not all vegetables are suitable for small containers, but many greens thrive in them.
Top vegetables for bottle gardening:
- Lettuce (loose-leaf varieties)
- Spinach
- Fenugreek (methi)
- Mustard greens
- Arugula
- Green onions
- Coriander (cilantro)
- Microgreens
These vegetables have shallow roots and grow quickly, making them perfect for bottle-based gardens.
Choosing and Preparing Plastic Bottles
You can use almost any plastic bottle, but larger ones work best.
Recommended bottles:
- 1.5–2 liter water bottles
- 5-liter water containers
- Large soda bottles
Preparation steps:
- Wash bottles thoroughly
- Cut a rectangular opening on the side (for horizontal planting)
or cut the top off (for vertical planting) - Make drainage holes at the bottom
- Smooth sharp edges to prevent injury
Proper drainage is critical—never skip this step.
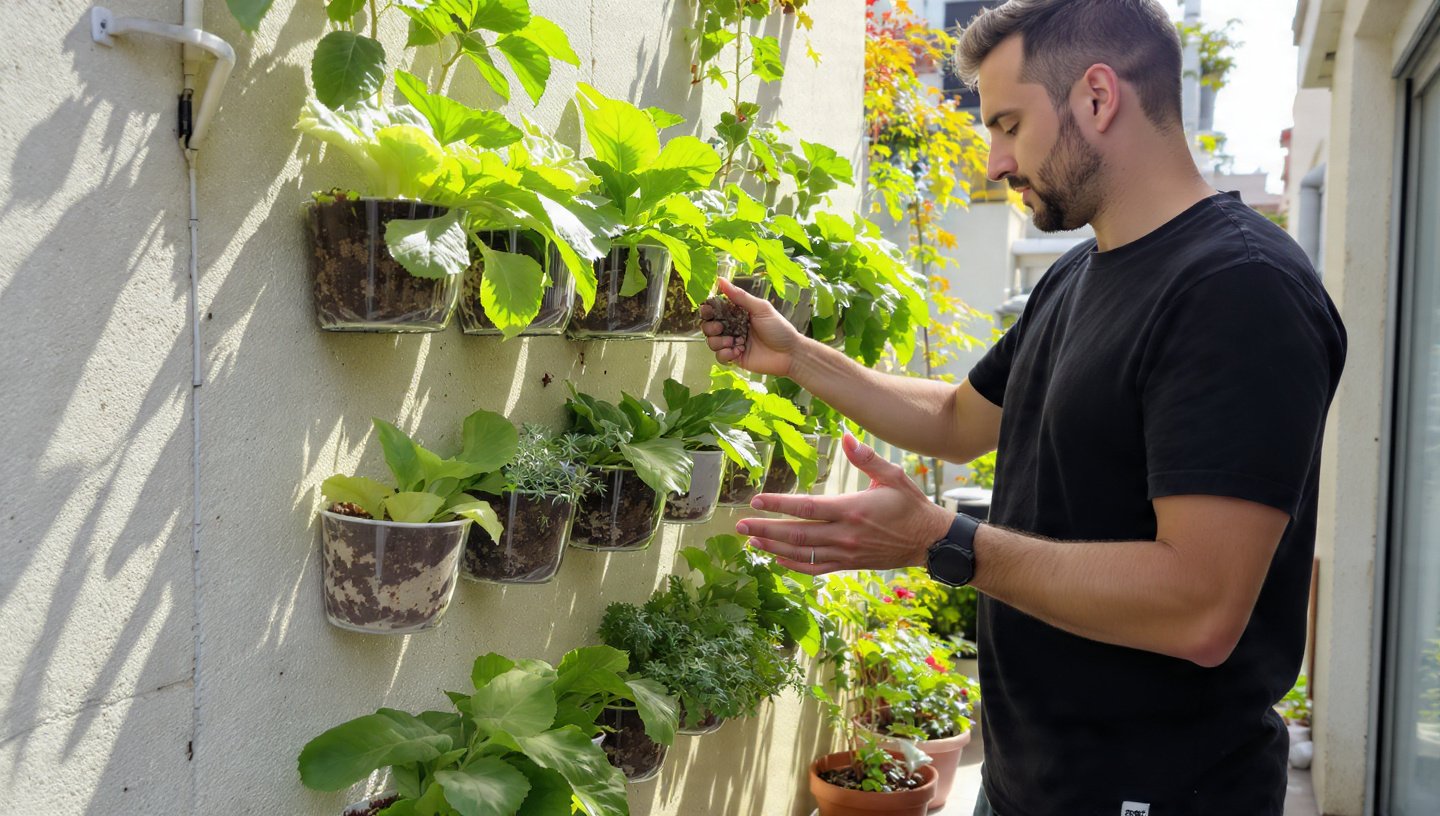
Vertical vs Horizontal Bottle Gardening
Both methods work well in small spaces.
Vertical bottle gardening:
- Bottles hung on walls, railings, or grills
- Saves maximum space
- Ideal for herbs and leafy greens
Horizontal bottle gardening:
- Bottles placed on shelves or window ledges
- Holds more soil
- Better moisture retention
Choose the method that fits your space and sunlight availability.
The Best Soil Mix for Bottle Gardening
Because bottles hold limited soil, quality matters more than quantity.
Ideal soil mix:
- 40% potting soil
- 40% compost or vermicompost
- 20% coco peat or sand
This mix ensures:
- Good drainage
- Proper moisture retention
- Enough nutrients for fast growth
Avoid heavy garden soil, which compacts easily and restricts roots.
Planting Seeds in Plastic Bottles
Planting correctly helps vegetables grow faster and healthier.
Steps:
- Fill bottles with soil mix
- Sprinkle seeds evenly
- Cover lightly with soil (do not bury deep)
- Water gently using a spray bottle
- Place in a bright location
Most leafy greens germinate within 3–5 days.
Light Requirements for Small-Space Gardening
Light is the most important factor for success.
Minimum needs:
- 4–6 hours of sunlight daily
- Morning sun is ideal
- Bright windowsill for indoor setups
If sunlight is limited, LED grow lights can supplement natural light and keep plants healthy.
Watering Without Overdoing It
Plastic bottles dry out faster than large pots, so watering needs balance.
Best practices:
- Water lightly but regularly
- Check soil moisture daily
- Avoid flooding the container
- Ensure water drains out freely
Overwatering causes root rot, while underwatering leads to bitter leaves.
Feeding Vegetables in Small Containers
Because nutrients get used quickly, light feeding helps.
Feeding tips:
- Mix compost into soil before planting
- Use liquid organic fertilizer every 10–14 days
- Compost tea or diluted vermicompost works well
Avoid strong chemical fertilizers, which can burn roots in small containers.
How to Harvest and Keep Vegetables Growing
The key to continuous harvest is the right cutting method.
Cut-and-come-again technique:
- Harvest leaves when they are 3–4 inches tall
- Cut outer leaves first
- Leave the center intact
- Never remove more than one-third of the plant
This allows plants to regrow and produce multiple harvests.
Common Problems and Easy Fixes
Yellow leaves
- Caused by overwatering or nutrient deficiency
Leggy plants
- Not enough sunlight
Slow growth
- Poor soil or overcrowding
Bitter taste
- Heat stress or irregular watering
Most problems are easy to correct with small adjustments.
How to Maximize Production in Tiny Spaces
To get the most from your bottle garden:
- Use vertical arrangements
- Rotate bottles for even sunlight
- Sow seeds every 7–10 days
- Replace old plants after 4–6 weeks
Staggered planting ensures a steady supply of fresh greens.
Why This Method Is Perfect for Urban Homes
Plastic bottle gardening is ideal for:
- Apartments
- Balconies
- Rooftops
- Small kitchens
- Rental homes
It’s low-cost, flexible, and accessible to everyone—no land required.
Final Thoughts
Growing fresh green vegetables using plastic bottles and small spaces proves that gardening doesn’t need to be complicated or expensive. With simple materials, a bit of sunlight, and regular care, you can harvest clean, healthy greens right from your home.
This method not only provides fresh food but also reduces waste and turns unused space into something productive. Once you experience the satisfaction of picking vegetables you grew yourself—especially from recycled bottles—you’ll wonder why you didn’t start sooner.