Growing fresh vegetables at home can feel impossible if you don’t have a yard, but celery is one of those surprisingly easy crops that thrive indoors with minimal space. Crunchy, flavorful, and packed with nutrients, celery is a staple in many kitchens—and learning to grow it at home means you’ll always have fresh stalks ready for soups, salads, and snacks.
I’ve experimented with different methods, from small pots to recycled containers, and discovered a foolproof approach that works for anyone, even those with apartments or limited sunlight. Here’s how I do it, along with tips to ensure healthy, crisp celery all year long.
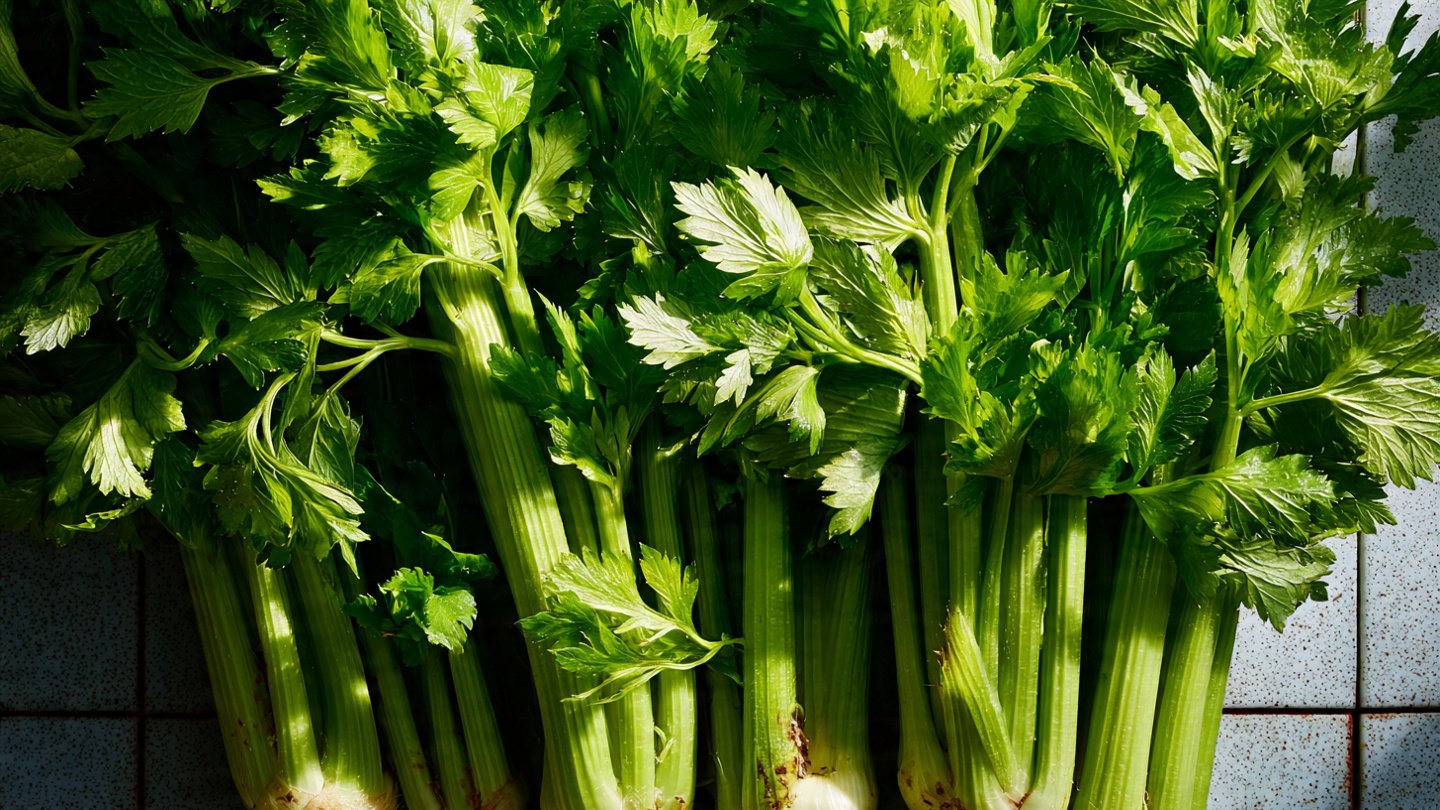
Why Grow Celery at Home?
Celery from the store is often bland and loses its crunch quickly. Homegrown celery is:
- Fresher and crunchier
- Packed with flavor and nutrients
- Free from pesticides or preservatives
- A fun, rewarding project for small spaces
Even if you don’t have a garden, celery is adaptable to containers, windowsills, or indoor grow stations. You don’t need much more than water, soil, and some sunlight—or a grow light for winter months.
What You’ll Need
Here’s a simple list of supplies to get started:
- Celery stalks with roots – Store-bought celery works perfectly if you keep the base intact.
- Container or pot – At least 6–8 inches deep; recycled containers or small tubs are fine.
- Potting soil – Light, well-draining soil enriched with compost or organic matter.
- Watering can – To keep soil consistently moist.
- Sunlight or grow light – Celery needs 6–8 hours of indirect light daily.
Optional: small liquid fertilizer if you want to boost growth after the plant establishes.
Step 1: Start With a Celery Base
Even if you don’t have seeds, you can regrow celery from the base:
- Cut the bottom 2–3 inches of a celery stalk.
- Place the base in a shallow bowl with water, roots side down.
- Keep it on a sunny windowsill, changing the water every 1–2 days.
- After about a week, small leaves and roots will start to sprout.
This simple regrowth method allows anyone—even beginners—to start celery indoors without seeds or a garden.
Step 2: Prepare Your Container
Once roots and small leaves have emerged:
- Fill your container with moist potting soil.
- Make a small hole in the center and plant the celery base.
- Cover roots and bottom leaves with soil, leaving new shoots above the surface.
- Water lightly to settle the soil around the roots.
If you’re using a small indoor space, you can plant multiple celery bases in a larger pot—but leave at least 4–6 inches between each plant to avoid overcrowding.
Step 3: Give It the Right Light
Celery prefers indirect, bright sunlight. If you have a sunny windowsill, place your pot there. For rooms with limited natural light:
- Use a small LED grow light
- Keep it 6–12 inches above the plant
- Leave the light on for 10–12 hours per day
Consistent light ensures steady growth, keeps leaves vibrant, and encourages strong stalk formation.
Step 4: Keep Soil Moist
Celery is a water-loving plant. Unlike other vegetables that can tolerate drying out between waterings, celery thrives when soil stays consistently moist but not soggy.
Tips:
- Water every day or every other day, depending on container size and indoor humidity
- Use a tray underneath the pot to catch excess water
- Avoid overwatering, which can cause root rot
Maintaining the right moisture level is the key to crisp, juicy stalks.
Step 5: Fertilize Gently
Once your celery is established (about 3–4 weeks after planting):
- Use a diluted liquid fertilizer every 2–3 weeks
- Organic options like fish emulsion or compost tea work well
- Avoid overfeeding, which can cause excessive leaf growth but weak stalks
This step is optional, but it helps indoor celery reach full size faster.
Step 6: Encourage Taller, Crunchier Stalks
If you want celery with longer stalks like store-bought varieties:
- Keep plants in a well-lit area
- Thin out weaker shoots to reduce competition
- Keep soil evenly moist
- Harvest outer stalks first; inner stalks will continue growing
This approach mimics professional celery farming but in a space-friendly way.
Step 7: Harvesting Celery at Home
The best part: harvesting. You can:
- Cut outer stalks at the base as needed
- Leave the center intact to keep the plant producing
- Harvest continuously for weeks instead of waiting for one full crop
Indoor celery may not reach supermarket height, but it will be tender, flavorful, and highly satisfying.
Bonus Tips for Growing Celery Indoors
- Rotate pots – This prevents uneven growth toward light sources.
- Use mulch or shredded leaves – Helps retain soil moisture.
- Check for pests – Aphids or fungus gnats can appear indoors; wipe leaves and adjust watering if needed.
- Keep humidity moderate – Indoor heating can dry plants; mist leaves occasionally.
With these small steps, you can enjoy fresh celery year-round without leaving your home.
Why Indoor Celery Is Perfect for Apartment Living
Even people without gardens can grow this versatile vegetable indoors because:
- It doesn’t require deep soil
- It thrives in containers
- Regrowing from store-bought bases is easy
- Regular watering and light are all it needs
It’s a rewarding crop that proves you don’t need a yard to enjoy homegrown vegetables.
Final Thoughts
Growing celery at home is not only possible—it’s surprisingly easy. By starting with a celery base, using a container, providing consistent light and moisture, and harvesting gradually, you can enjoy fresh, flavorful stalks without a traditional garden.
Whether you’re a busy urban dweller or just want to grow food indoors, this method lets you add crunchy, healthy celery to your meals year-round. Even beginners can succeed with minimal space, effort, and expense.