If you think growing vegetables requires a large backyard or expensive planters, think again. One of the most surprising and effective urban gardening hacks starts with something most people toss out without a second thought: an old paint can. With a little preparation and creativity, that forgotten container can become the perfect home for crisp, sweet carrots—even in the smallest spaces.
Urban gardeners are constantly searching for smart ways to reuse materials, save money, and grow fresh food at home. Growing carrots in an old paint can checks all those boxes. It’s simple, sustainable, and surprisingly productive. Once you try it, you may never look at “junk” the same way again.
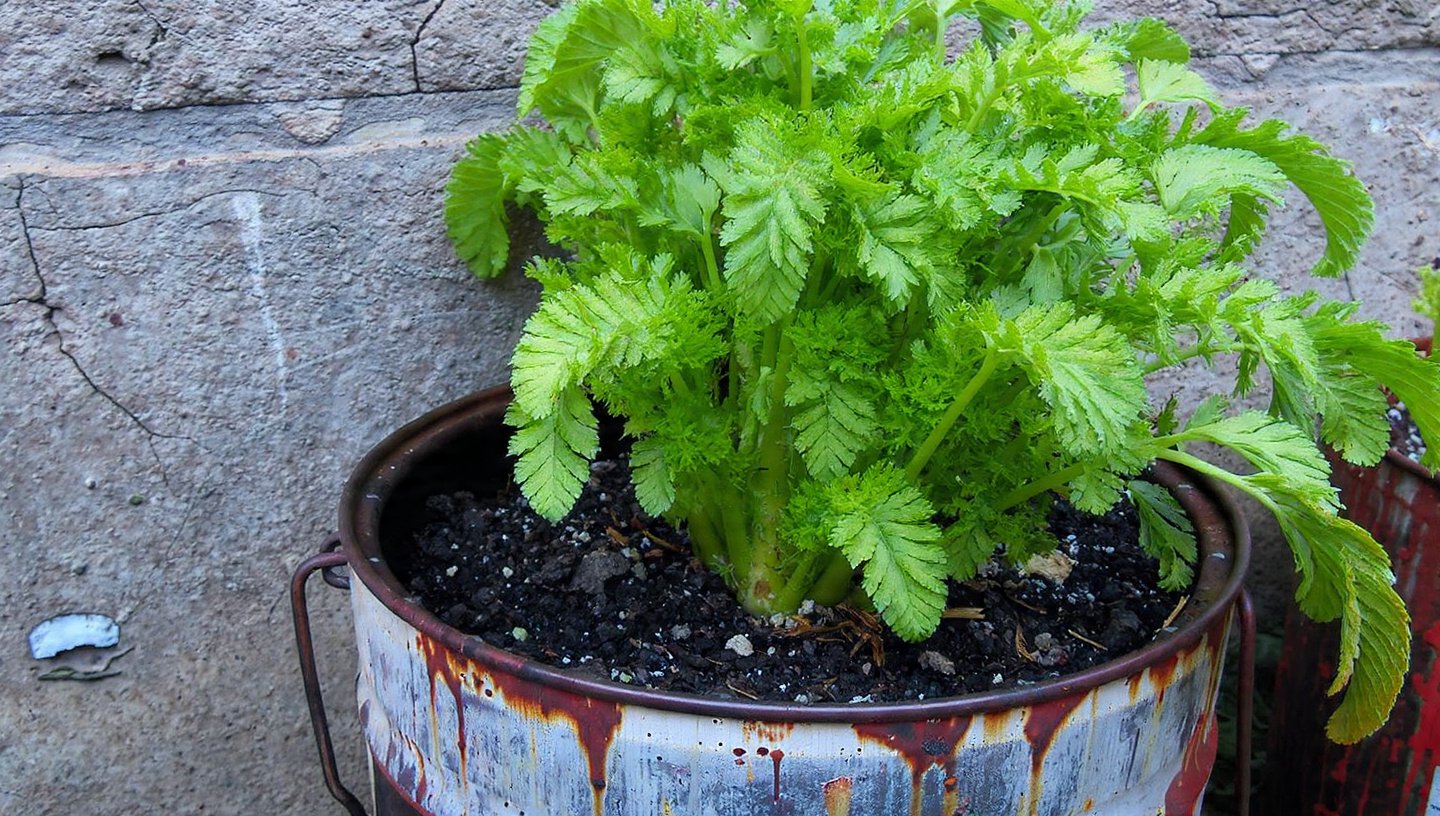
Why Paint Cans Work So Well for Growing Carrots
Carrots are root vegetables, which means what happens below the soil matters just as much as what you see above it. They need depth, loose soil, and good drainage to grow straight and healthy. Old paint cans—especially large, deep ones—offer exactly that.
Most paint cans are tall rather than wide, making them ideal for long carrot roots. They’re also sturdy, weather-resistant, and easy to place on balconies, patios, rooftops, or even sunny windowsills. Best of all, reusing a paint can keeps waste out of landfills and gives you a free planter.
Step 1: Choosing the Right Paint Can
Not every paint can is suitable for gardening, so choose carefully. Only use cans that previously held water-based or latex paint, never oil-based paint or chemicals. Make sure the can is completely empty and free of residue.
Look for a can that is at least 10–12 inches deep. Deeper containers allow carrots to grow longer and straighter, reducing the risk of stunted or forked roots.
Step 2: Cleaning and Preparing the Can Safely
Before planting anything edible, proper cleaning is essential. Wash the paint can thoroughly with warm water and soap. Scrub the inside well and let it air-dry completely.
Next, create drainage holes in the bottom. This step is critical. Without drainage, water will pool at the base, causing root rot. Use a drill or hammer and nail to make several small holes evenly spaced across the bottom.
If the can gets very hot in direct sun, consider painting the outside a light color or wrapping it in cloth or burlap to prevent overheating.
Step 3: Creating the Perfect Soil Mix for Carrots
Carrots are picky about soil. Heavy, compacted soil causes roots to split or grow misshapen. The secret to success is a light, fluffy mix.
A simple carrot-friendly soil blend includes:
- Loose garden soil or potting mix
- Sand or perlite for drainage
- Well-rotted compost for nutrients
Mix everything thoroughly before filling the can. Avoid rocks, sticks, or clumps, as even small obstacles can deform carrot roots.
Step 4: Choosing the Best Carrot Varieties for Containers
Not all carrots are ideal for container growing. Short or medium-length varieties perform best in paint cans, especially for beginners.
Good container-friendly options include:
- Nantes-type carrots
- Chantenay carrots
- Baby or round carrot varieties
These types grow well in confined spaces and mature faster, making them perfect for urban setups.
Step 5: Planting Carrot Seeds the Right Way
Carrot seeds are tiny, so patience is key. Fill the paint can with soil, leaving about an inch of space at the top. Lightly moisten the soil before planting.
Sprinkle seeds thinly over the surface and cover them with a very light layer of soil—no more than ¼ inch. Press gently and mist with water. Avoid heavy watering at this stage, as it can wash seeds deeper into the soil.
Step 6: Sunlight and Placement Tips
Carrots thrive in full sun, requiring at least 6–8 hours of sunlight daily. Place your paint can in the sunniest spot available, such as a balcony railing, terrace corner, or rooftop edge.
If you’re growing indoors, place the can near a bright window or supplement with grow lights. Rotate the container occasionally to ensure even growth.
Step 7: Watering Without Ruining the Roots
Consistent moisture is crucial for smooth, sweet carrots. Letting the soil dry out too much can cause carrots to become woody or bitter, while overwatering leads to rot.
Water slowly and evenly whenever the top inch of soil feels dry. The drainage holes will help excess water escape, protecting the roots.
Step 8: Thinning for Healthier Carrots
Once seedlings reach a few inches tall, thinning is non-negotiable. Crowded carrots compete for space and nutrients, resulting in thin or twisted roots.
Thin seedlings so they are about 2 inches apart. It may feel wasteful, but this step dramatically improves your final harvest.
Step 9: Low-Maintenance Care and Natural Protection
One of the biggest advantages of growing carrots in a paint can is reduced pest pressure. Containers are less accessible to soil-dwelling pests.
To keep plants healthy:
- Remove weeds promptly
- Add a thin mulch layer to retain moisture
- Avoid excess nitrogen fertilizers, which promote leaves over roots
Carrots are generally low-maintenance once established.
Step 10: Harvesting Your Paint-Can Carrots
Depending on the variety, carrots are ready to harvest in 60–80 days. When the tops of the carrots begin to peek out of the soil and reach a usable size, gently loosen the soil and pull them out.
Freshly harvested carrots grown in containers are often sweeter and more tender than store-bought ones—especially when harvested young.
Why This Hack Is Perfect for Urban Gardeners
Growing carrots in an old paint can proves that lack of space is not a barrier to growing food. It’s an ideal solution for apartment dwellers, beginners, students, and anyone interested in sustainable living.
This method saves money, recycles waste, and delivers fresh, chemical-free produce right outside your door. It’s gardening made simple, clever, and rewarding.
Once you succeed with carrots, you’ll start seeing other everyday items as potential planters—and that’s when urban gardening truly becomes addictive.