Potatoes are one of the most commonly purchased vegetables worldwide, yet they’re also one of the easiest to grow at home. With just a small amount of space, a few seed potatoes, and basic care, you can enjoy a steady supply of fresh, homegrown potatoes season after season. Once you experience how simple and rewarding it is, buying potatoes from the store may feel unnecessary.
This guide walks you through everything you need to know to grow potatoes successfully at home—whether you have a backyard, balcony, or just a sunny corner.
Why Potatoes Are Perfect for Home Growing
Potatoes are incredibly forgiving plants. They adapt to many environments, grow well in containers, and don’t require advanced gardening skills. Unlike delicate vegetables, potatoes thrive with minimal attention and reward you generously at harvest time.
Benefits of growing your own potatoes include:
- Lower grocery costs
- Better taste and texture
- No chemical treatments
- Long storage life
- Reliable yields even for beginners
With the right setup, one planting can produce several times its weight in fresh potatoes.
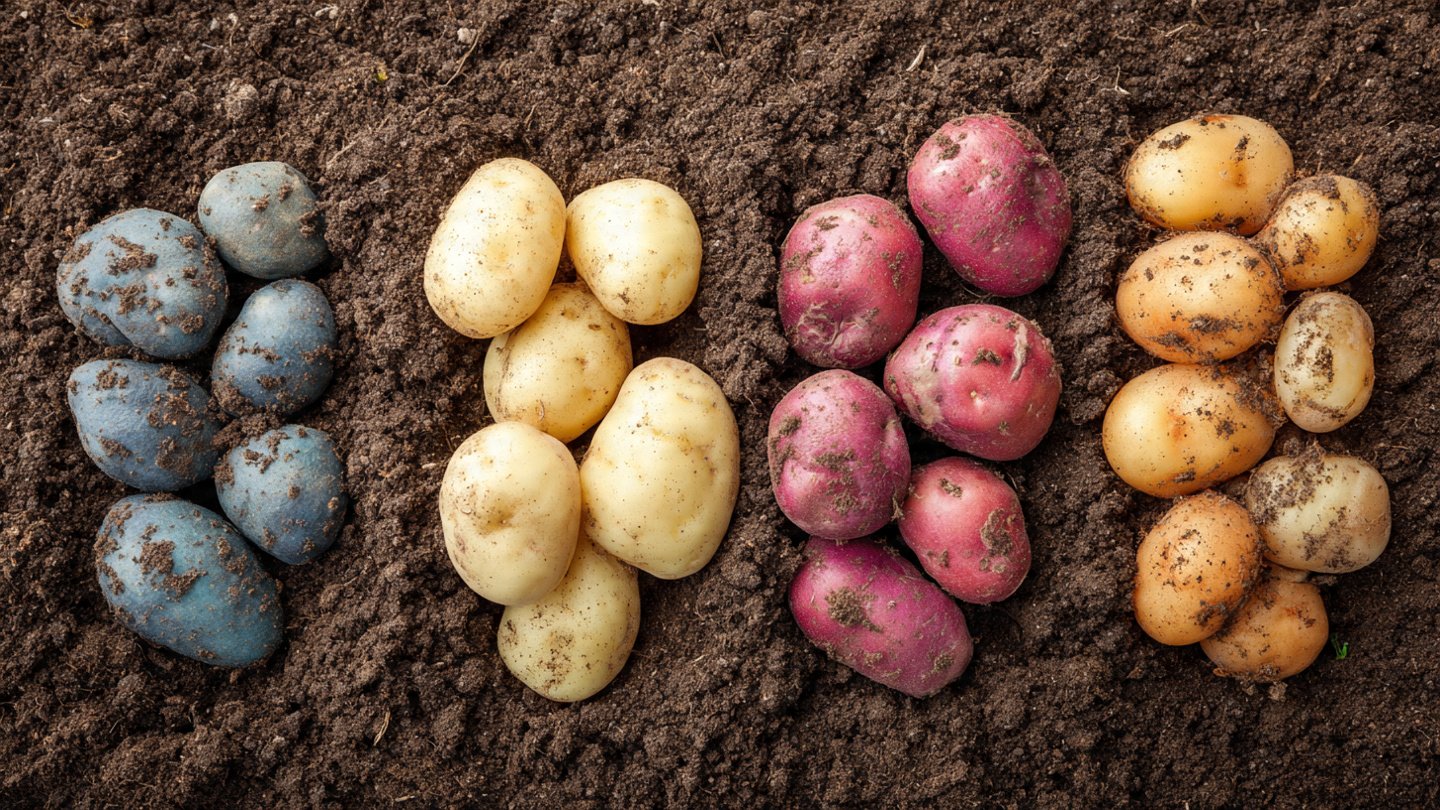
Choosing the Right Potatoes to Plant
To get started, you’ll need seed potatoes. These are potatoes specifically grown for planting and are disease-free. Avoid planting supermarket potatoes, as they are often treated to prevent sprouting.
When selecting seed potatoes:
- Choose firm, healthy tubers
- Look for visible “eyes” or sprouts
- Cut large potatoes into pieces with at least one eye each
- Allow cut pieces to dry for 1–2 days before planting
This preparation helps prevent rot and improves success.
Where You Can Grow Potatoes
One of the biggest advantages of potatoes is their flexibility. You don’t need a traditional garden bed to grow them.
Popular growing options include:
- Garden beds
- Raised beds
- Grow bags
- Buckets or large containers
- Stacked planters
As long as the container is deep enough (at least 12 inches) and has good drainage, potatoes will grow well.
Preparing the Soil for Success
Potatoes prefer loose, well-draining soil that allows tubers to expand freely. Heavy or compacted soil can limit growth and lead to misshapen potatoes.
Ideal soil mix includes:
- Light garden soil or potting mix
- Compost or aged manure
- Sand or coco peat for drainage
Avoid overly rich soil at planting time, as too much nitrogen can result in leafy growth instead of tubers.
How to Plant Potatoes Correctly
Planting potatoes is straightforward and doesn’t require precision tools.
Follow these steps:
- Fill your container or bed with soil halfway
- Place seed potatoes eyes-up, spaced 8–12 inches apart
- Cover with 4–6 inches of soil
- Water lightly but thoroughly
Shoots typically appear within two to three weeks.
The Importance of Hilling
Hilling is the key technique that makes potato growing so productive. As plants grow taller, you gradually add more soil around the stems, leaving only the top leaves exposed.
Why hilling matters:
- Encourages more potatoes to form
- Prevents tubers from turning green
- Supports plant stability
Continue hilling every 1–2 weeks until the soil reaches the top of the container or bed.
Watering and Feeding Potatoes
Potatoes need consistent moisture, especially during flowering and tuber development. However, they dislike soggy soil.
Watering tips:
- Keep soil evenly moist
- Avoid waterlogging
- Reduce watering near harvest time
For feeding, a balanced organic fertilizer applied every 3–4 weeks is usually sufficient. Too much fertilizer can reduce potato production, so moderation is key.
Common Problems and How to Avoid Them
Potatoes are generally hardy, but a few issues can arise.
Common problems include:
- Yellowing leaves: Often caused by overwatering or nutrient imbalance
- Small harvests: Usually due to insufficient hilling or overcrowding
- Rotting tubers: Caused by poor drainage
Most problems are easily prevented with proper soil, spacing, and watering habits.
When and How to Harvest Potatoes
Harvest time depends on whether you want baby potatoes or full-sized ones.
- Baby potatoes can be harvested 8–10 weeks after planting
- Full-sized potatoes are ready when plants yellow and die back
To harvest, gently dig through the soil with your hands or a small tool. Be careful not to damage the tubers.
Allow harvested potatoes to dry for a few hours before storing.
Storing Your Homegrown Potatoes
Proper storage extends the life of your harvest.
Best storage conditions:
- Cool, dark place
- Good air circulation
- Avoid refrigeration
- Keep away from light
When stored correctly, potatoes can last for several months.
How Much Can You Really Grow?
A single seed potato can produce 5–10 new potatoes, depending on the variety and care. Even a few containers can supply a household with a significant portion of its potato needs.
Once you’ve grown potatoes successfully, you can save small tubers for replanting and continue the cycle year after year.
Final Thoughts
Growing potatoes at home is one of the most practical and rewarding gardening projects you can undertake. It requires little space, minimal investment, and basic care—yet delivers a reliable, abundant harvest.
By learning simple techniques like proper planting, hilling, and watering, you can enjoy fresh potatoes straight from your home and drastically reduce your dependence on store-bought produce.
Once you dig up your first harvest, you’ll understand why so many gardeners say the same thing: after growing your own potatoes, you never want to buy them again.