Root rot is one of the most common and dreaded problems that indoor and outdoor gardeners alike encounter. It’s insidious, often beginning quietly in the roots before any visible signs appear above the soil. But the good news is that early detection and proper intervention can save a plant from irreversible damage. This article delves into practical methods for identifying and treating root rot at its earliest stage, giving your plants a second chance to thrive.
Understanding Root Rot
Root rot is caused primarily by overwatering, poor drainage, or a combination of the two. Fungi and waterborne pathogens such as Pythium, Phytophthora, and Fusarium attack the plant’s root system, leading to decay. When roots are unable to absorb nutrients effectively due to rot, the plant shows visible stress symptoms like yellowing leaves, wilting, stunted growth, and soft stems.
Knowing the signs early is crucial. Often, gardeners notice subtle indicators before the problem becomes catastrophic. Early symptoms include:
- Slight yellowing of older leaves
- Leaves drooping even when soil seems moist
- A faint, musty odor from the soil
- Reduced growth or smaller-than-usual new leaves
Assessing the Damage
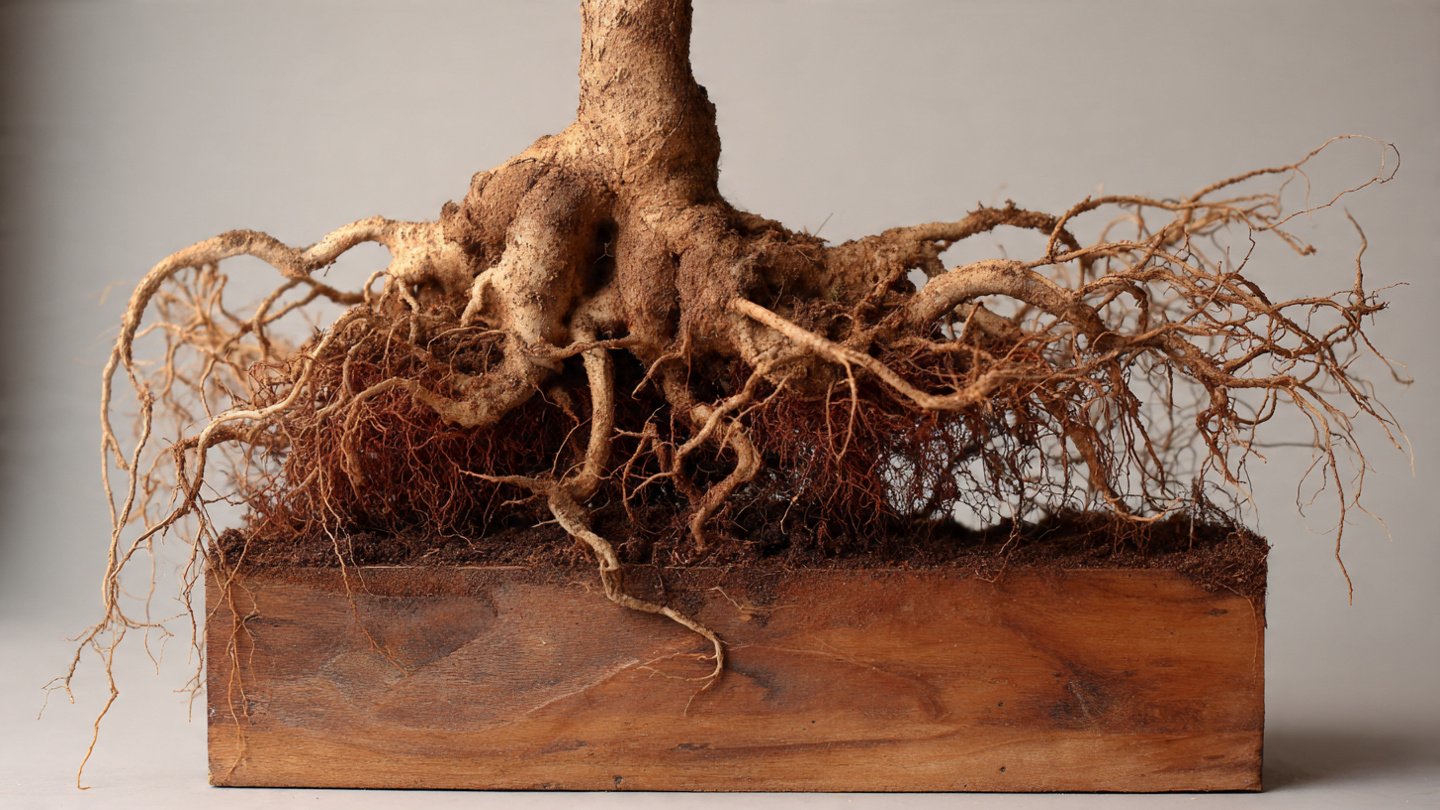
When you suspect root rot, the first step is to carefully examine the roots. This involves gently removing the plant from its pot or soil bed. Healthy roots are firm, white, or light tan and spread evenly. In contrast, roots affected by rot will appear dark brown or black, feel mushy, and may easily break off with slight pressure.
It’s important to act at this stage. If caught early, many of the roots are still viable, and treatment can restore the plant’s health. Delayed detection, however, often means the rot has spread extensively, making recovery much more challenging.
Step 1: Remove the Affected Roots
Using sterilized scissors or pruning shears, carefully trim away all the rotten roots. Cut back to the point where the tissue is firm and healthy. While it may seem drastic, removing the diseased portions is essential to prevent further spread. Dispose of the infected roots properly and avoid composting them, as this can spread the pathogen.
Step 2: Treat the Remaining Roots
After pruning, some gardeners choose to soak the remaining healthy roots in a fungicidal solution. Natural options include a mild hydrogen peroxide solution (about 3%) or a chamomile tea soak, which can reduce fungal activity. Chemical fungicides are also available and can be effective, but always follow manufacturer instructions to avoid harming the plant.
Step 3: Repot in Fresh, Well-Draining Soil
Once the affected roots are removed and treated, the plant should be repotted in clean, sterile soil. Choose a well-draining potting mix appropriate for the plant species. Adding perlite, sand, or orchid bark can improve drainage and prevent future overwatering issues. Avoid using old soil, as it may harbor pathogens that could trigger another bout of root rot.
When selecting a container, ensure it has sufficient drainage holes. A pot that retains excess water only increases the risk of root rot returning, so never underestimate the importance of drainage in maintaining plant health.
Step 4: Adjust Watering Practices
One of the most common causes of root rot is overwatering. Even after treatment, incorrect watering can undo all your efforts. Water your plant only when the top 1–2 inches of soil feel dry to the touch. For plants prone to root rot, like succulents or orchids, it’s better to err on the side of under-watering.
Using tools like moisture meters or simply observing your plant can help you strike the right balance. Remember, soil should be moist but never soggy. Allowing water to drain completely before watering again is essential.
Step 5: Optimize Environmental Conditions
Healthy roots thrive in optimal environmental conditions. Ensure your plant receives appropriate light for its species, as light affects overall growth and root development. Increase air circulation around plants to prevent a humid, stagnant environment that encourages fungal growth. If possible, reduce humidity levels slightly or use a fan to improve airflow around susceptible plants.
Step 6: Monitor Progress and Provide Support
After treatment, keep a close eye on your plant. It may take several weeks for it to recover fully. Watch for new growth, which is a positive sign that the roots are regaining function. Avoid fertilizing immediately, as stressed roots are sensitive; wait until the plant shows signs of recovery.
Patience is key. Even plants that appear to be struggling initially may bounce back with consistent care and monitoring.
Preventing Future Root Rot
The best defense against root rot is prevention. Here are some tips:
- Use appropriate containers: Pots with drainage holes prevent water from pooling at the bottom.
- Choose well-draining soil: Avoid dense, heavy soils that retain excessive moisture.
- Water wisely: Understand your plant’s water needs and avoid overwatering.
- Regularly inspect roots: Early detection is crucial; check roots annually if possible.
- Maintain cleanliness: Sterilize tools, pots, and any surfaces that come in contact with plant soil.
By implementing these measures, gardeners can minimize the risk of root rot, ensuring their plants remain healthy and resilient.
Conclusion
While root rot can be a serious threat to plant health, catching it early makes a world of difference. Through careful observation, prompt removal of affected roots, proper treatment, and improved care practices, most plants can recover and continue to thrive. The key lies in vigilance and a proactive approach—understanding your plant’s needs, creating the right growing conditions, and responding swiftly when signs of trouble appear.
Early intervention doesn’t just save plants; it reinforces the gardener’s skills and confidence, creating a stronger, healthier garden over time. So, the next time you notice subtle signs of stress in your plants, don’t wait. Investigate the roots, act decisively, and give your plant the best chance to flourish.