Growing your own fruit is one of the most satisfying gardening experiences, and few fruits feel as exotic and rewarding to cultivate as a pomegranate. The vibrant red seeds, the jewel-like arils bursting with flavor, and the stunning glossy leaves make pomegranates both a feast for the eyes and the palate. Most people assume that growing a fruit tree requires purchasing expensive saplings or specialized nursery stock, but surprisingly, you can start a pomegranate tree right from a fruit you bought at the store. I did exactly that, and here’s my step-by-step journey, including tips, pitfalls, and lessons learned along the way.
Step 1: Choosing the Right Fruit
Not all pomegranates are created equal when it comes to growing a tree from seed. While many store-bought pomegranates are hybrid varieties, they can still produce viable seeds. The first key is selecting a ripe, healthy fruit. Look for one that feels heavy for its size, with smooth, unblemished skin. Avoid fruits that are cracked, overly soft, or have signs of mold.
I personally chose a deep red pomegranate, one with a glossy exterior and firm flesh. While the color isn’t the sole indicator of viability, a healthy-looking fruit increases your chances of success. Once I got my fruit home, I cut it open carefully, separating the seeds from the surrounding pulp.
Step 2: Preparing the Seeds
The seeds inside a pomegranate, also called arils, are encased in a juicy sac. While these are delicious to eat, they need to be cleaned thoroughly before planting. Here’s how I did it:
- Remove the seeds – I gently pried out the arils from the fruit, taking care not to crush them.
- Separate the pulp – I placed the seeds in a bowl of water and gently rubbed them to remove the surrounding red juice and pulp. The good seeds sank to the bottom, while the bits of pulp floated and were discarded.
- Dry the seeds – After washing, I spread the seeds on a paper towel and let them air dry for a day. They don’t need to be completely dry, just dry enough that they won’t rot when planted.
This preparation ensures that the seeds are clean, reducing the risk of mold or fungus once planted.
Step 3: Germination – The Waiting Game
Pomegranate seeds are hardy but require patience. To encourage germination, I used a simple method:
- Use a shallow container – I chose a small seed tray filled with a well-draining seed-starting mix. Pomegranates prefer slightly sandy soil, so a mix of potting soil with a bit of sand works well.
- Plant the seeds – I pressed each seed lightly into the soil about ¼ inch deep and covered it with a thin layer of soil.
- Water carefully – The soil needed to be moist but not soggy. Overwatering can cause the seeds to rot before they sprout.
- Provide warmth – Pomegranate seeds germinate best in a warm environment. I kept the tray in a sunny window where temperatures stayed around 70–75°F (21–24°C).
Within two weeks, tiny green shoots began to appear. Watching those first sprouts emerge was incredibly rewarding — it felt like nurturing life from scratch.
Step 4: Transplanting Seedlings
Once the seedlings developed their first set of true leaves, they were ready to be transplanted into individual pots. Here’s what worked for me:
- Choose pots with drainage holes – Pomegranates do not like standing water, so proper drainage is crucial.
- Use slightly acidic, well-draining soil – A mix of garden soil, compost, and a little sand keeps the roots healthy.
- Water sparingly – Young pomegranate plants are susceptible to overwatering, so I watered only when the soil felt dry to the touch.
I kept the seedlings indoors for the first few months, allowing them to grow strong and sturdy before moving them outside.
Step 5: Caring for Your Young Tree
Pomegranates are remarkably resilient, but young plants need careful attention. Here’s what I learned:
- Sunlight – These trees love full sun. I gradually acclimated mine to outdoor conditions, starting with a few hours of morning sun and increasing exposure over several weeks.
- Fertilization – During the first year, I used a balanced, slow-release fertilizer every 6–8 weeks. Overfertilizing can harm young plants, so moderation is key.
- Pruning – Pruning is essential to encourage a strong structure. I removed weak or crossing branches early to help the main stem develop properly.
- Pest management – Pomegranate seedlings are fairly resistant to pests, but aphids and fungal diseases can appear. I monitored the leaves closely and used natural remedies, such as neem oil, when needed.
Step 6: Patience Pays Off
One of the biggest lessons I learned while growing a pomegranate tree from seed is patience. Unlike buying a nursery-grown sapling, which may fruit in 1–2 years, a tree from seed can take 3–5 years to produce its first fruit. This wait can be frustrating, but it also allows you to watch the tree grow and develop in a very personal way. Each new leaf, each branch that stretches toward the sun, becomes a small victory.
Step 7: Moving Outdoors
Once the seedlings reached about 12–18 inches tall and were strong enough to withstand outdoor conditions, I transplanted them into larger pots, and eventually into my garden. Pomegranates are hardy in USDA zones 8–10 and can handle hot, dry conditions remarkably well. If you live in a colder climate, keeping the tree in a large pot allows you to bring it indoors during winter.
Step 8: Long-Term Care
As the tree matures, maintaining it becomes easier. Pomegranates are drought-tolerant and relatively low-maintenance once established. Here are some long-term care tips:
- Water deeply but infrequently – Deep watering encourages strong root development.
- Mulch – Mulching around the base keeps the roots cool and retains moisture.
- Fertilize in spring – A light feeding in early spring supports flowering and eventual fruiting.
- Prune annually – After a few years, pruning old or dead wood helps the tree remain healthy and productive.
Step 9: Harvesting Your Own Fruit
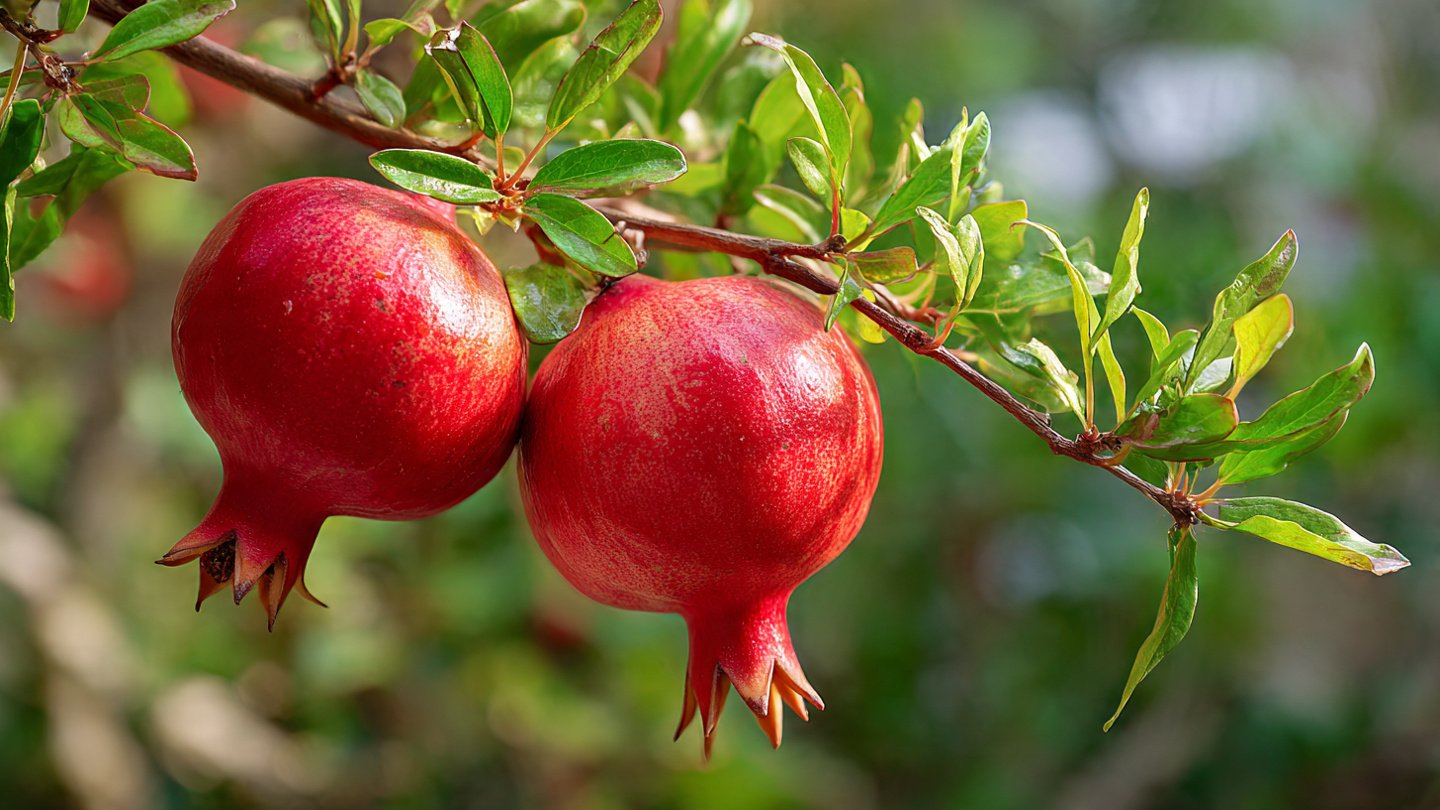
This is the moment every gardener dreams of: harvesting fruit from a tree grown from seed. Pomegranates are usually ready to pick when the skin turns a rich, deep color and the fruit feels heavy for its size. Unlike store-bought fruit, homegrown pomegranates often have a richer flavor and more intense color.
I vividly remember picking my first fruit — a small, deep red pomegranate — and cracking it open to reveal its juicy, ruby-red arils. The satisfaction of eating fruit nurtured from a single seed is incomparable.
Step 10: Reflecting on the Journey
Growing a pomegranate tree from a store-bought fruit taught me more than gardening skills. It taught patience, observation, and the simple joy of nurturing life. Each stage, from washing seeds to seeing the first leaves, felt like a small triumph. I discovered the thrill of coaxing a tiny seed into a thriving tree and the pride in harvesting something I had grown entirely on my own.
If you’ve ever considered trying it, I wholeheartedly recommend it. While it requires patience and care, the rewards — both visual and culinary — are absolutely worth it. Pomegranates offer not just fruit but a living testament to persistence and nurturing. And the best part? You don’t need a nursery or fancy equipment — just a fruit, a bit of soil, and the willingness to give it time.
Growing a pomegranate tree from a store-bought fruit is more than a gardening experiment; it’s a journey that connects you to the food you eat in a profoundly personal way. From a humble aril to a towering tree, every step is a lesson in patience, resilience, and the quiet satisfaction of creating life.