Rubber plants (Ficus elastica) are a favorite among indoor plant enthusiasts for their glossy, dark green leaves and dramatic architectural form. While mature plants are widely available in nurseries, growing a rubber plant from a single node cutting at home is a cost-effective, rewarding, and surprisingly simple way to propagate a new plant. With proper techniques, attention to detail, and a little patience, a single node can develop into a healthy, thriving rubber plant that transforms your living space.
This comprehensive guide explains step by step how to successfully grow a rubber plant from a single node cutting at home, from selecting the cutting to nurturing it into a full-grown plant.
Why Grow a Rubber Plant from a Node Cutting?
Growing a rubber plant from a single node cutting has several advantages:
- Cost-effective: You can propagate a new plant from an existing one instead of buying a new plant.
- Quick propagation: Node cuttings root faster than seeds and develop into mature plants sooner.
- Genetic consistency: The new plant will have the same characteristics as the parent plant.
- Satisfying project: Watching roots develop from a single node is highly rewarding for home gardeners.
By starting from a single node, you gain more control over the propagation process and can produce multiple plants from one parent.
Selecting the Right Node Cutting
Success begins with selecting the right cutting. Not all nodes will root equally well.
Node selection tips:
- Choose a healthy, mature stem from the parent plant.
- Look for a node with at least one leaf and a small leaf bud.
- Avoid damaged, diseased, or overly woody stems.
- Use a sharp, sterilized knife or scissors to make a clean cut.
A high-quality cutting is critical for healthy root development and faster growth.
Preparing the Cutting for Rooting
Proper preparation ensures the cutting has the best chance to develop roots.
Preparation steps:
- Remove any lower leaves, leaving one or two at the top.
- Optional: Dip the cut end in rooting hormone to stimulate root growth.
- Ensure the cut is clean and angled slightly to increase surface area for rooting.
Careful preparation reduces the risk of rot and encourages faster root formation.
Choosing the Right Medium
Node cuttings require a supportive medium that retains moisture without becoming waterlogged. Common options include:
- LECA (Lightweight Expanded Clay Aggregate): Provides aeration and prevents rot.
- Perlite or vermiculite: Keeps the cutting moist and well-aerated.
- Soil mix: A light, well-draining mix of potting soil and perlite works well.
The key is to maintain consistent moisture while ensuring oxygen reaches the developing roots.
Rooting Your Node Cutting
Once your cutting and medium are ready, it’s time to encourage root growth.
Step-by-step rooting process:
- Place the cutting in the medium, ensuring the node is slightly buried and stable.
- Keep the medium consistently moist but not soggy.
- Position the cutting in bright, indirect light. Avoid direct sunlight, which can stress the cutting.
- Maintain warm temperatures (20–25°C / 68–77°F) to promote root development.
Rooting may take 3–6 weeks, depending on conditions and the cutting’s health.
Watering and Humidity Management
Maintaining proper moisture and humidity is crucial for a single-node cutting.
- Mist lightly to increase humidity around the cutting.
- Cover with a clear plastic bag or a propagation dome to maintain a humid environment.
- Avoid overwatering, as stagnant water can cause rot.
- Check the medium regularly and keep it slightly damp.
Balanced humidity and moisture prevent stress and promote healthy root growth.
Encouraging Healthy Leaf and Stem Growth
Once roots start forming, your cutting will begin producing new leaves and stems.
Growth tips:
- Continue providing bright, indirect light.
- Use a diluted, balanced fertilizer once roots are established.
- Rotate the cutting occasionally to encourage even growth.
- Support the stem if it becomes top-heavy.
Healthy root and leaf development ensures your cutting transitions into a robust young plant.
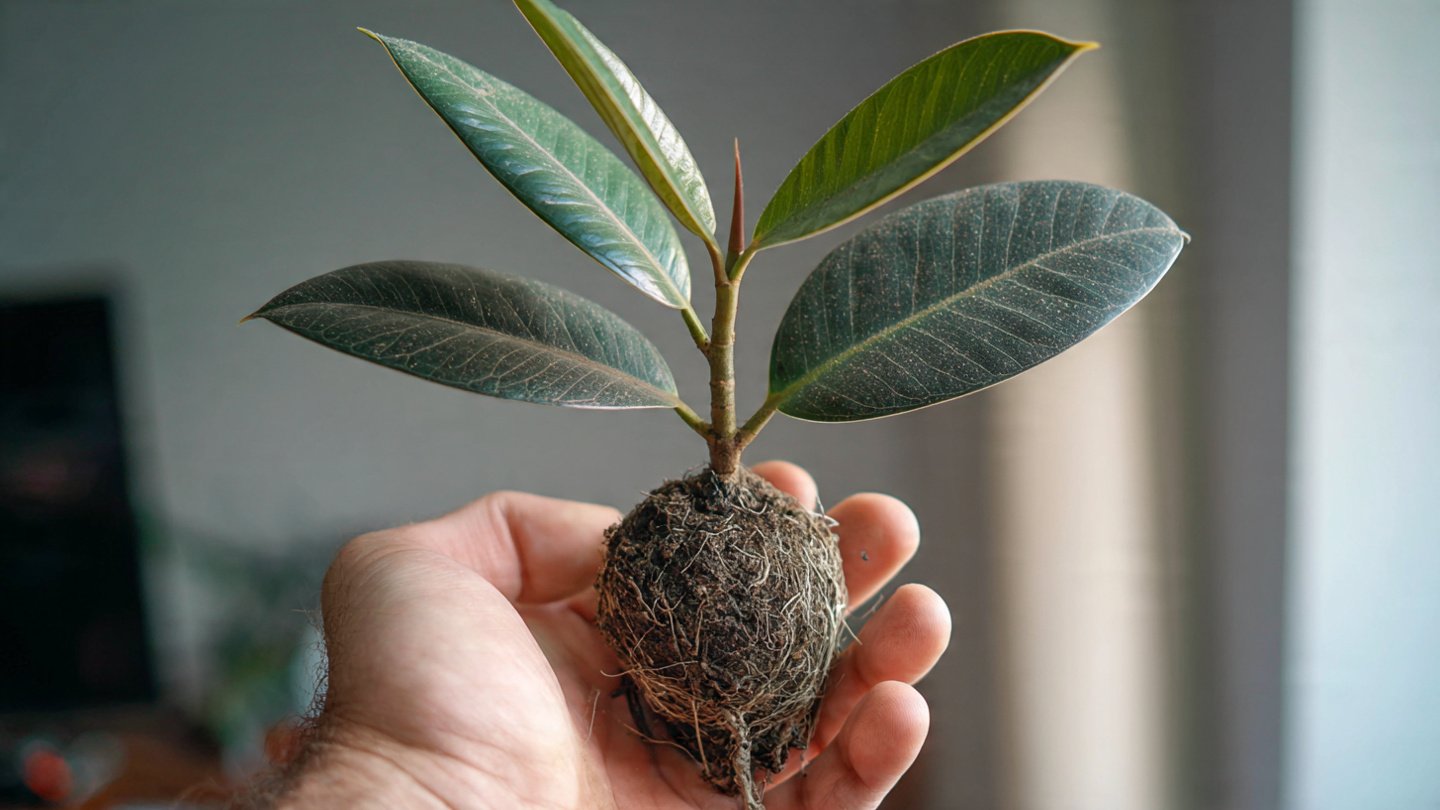
Transplanting into a Pot
After the cutting develops a strong root system, it’s ready for a permanent container.
Transplanting steps:
- Choose a pot with drainage holes and appropriate size.
- Prepare a well-draining potting mix with perlite or orchid bark.
- Gently place the rooted cutting in the new pot.
- Water lightly and allow the plant to adjust.
Transplanting carefully reduces stress and sets the stage for long-term growth.
Light and Placement for Mature Rubber Plants
Rubber plants thrive in bright, indirect light and moderate indoor temperatures.
Placement tips:
- East-facing or north-facing windows provide ideal light.
- Avoid harsh midday sun that can scorch leaves.
- Maintain indoor temperatures between 18–24°C (65–75°F).
- Ensure good air circulation to reduce disease risk.
Proper placement helps your young plant grow strong, glossy leaves and sturdy stems.
Fertilizing Your Rubber Plant
Balanced nutrition supports vigorous growth and healthy foliage.
Fertilization guidelines:
- Use a balanced liquid fertilizer every 4–6 weeks during the growing season.
- Reduce or stop feeding during winter dormancy.
- Avoid over-fertilizing, which can burn roots and damage leaves.
- Organic options like diluted compost tea can also be effective.
Consistent feeding encourages larger leaves and robust stem growth.
Pruning and Maintenance
Pruning encourages a fuller plant and maintains an attractive shape.
- Remove yellow, damaged, or dying leaves.
- Pinch or trim new growth to encourage branching.
- Wipe leaves periodically to remove dust and improve photosynthesis.
- Monitor for pests like spider mites or scale insects.
Regular maintenance keeps the plant healthy and visually appealing.
Patience is Key
Growing a rubber plant from a single node cutting requires patience. While roots form relatively quickly, it may take several months for the plant to develop into a mature, thriving indoor plant. Consistent care, proper light, and attention to moisture are crucial during this period.
Advantages of Growing from a Node Cutting
Propagating from a node cutting offers several benefits for indoor gardeners:
- Cost-effective: Produce multiple plants from one parent.
- Satisfaction: Witness the full growth process from a single node.
- Space-efficient: Start cuttings in small containers before transferring to larger pots.
- Customizable: Choose which branch or leaf shape to propagate.
Node propagation allows indoor gardeners to expand their collection with minimal investment.
Final Thoughts
Growing a rubber plant from a single node cutting is an easy and rewarding way to cultivate a lush indoor plant. By selecting a healthy cutting, preparing it properly, using the right rooting medium, and providing consistent care, anyone can achieve success.
With patience and attention, a single node can grow into a full, vibrant rubber plant, adding beauty, elegance, and a touch of greenery to your indoor space. This propagation method not only saves money but also gives gardeners a deeper connection to their plants and the satisfaction of nurturing life from a single point.