Growing your own vegetables at home is one of the most rewarding ways to enjoy fresh, nutritious produce while saving money. However, many gardeners face challenges such as limited space, poor soil quality, or unpredictable weather. A creative solution that has gained popularity in recent years is using plastic in vegetable gardening. With smart planning, plastic can help you create affordable, space-saving, and highly productive vegetable gardens, whether on your balcony, terrace, or backyard. This guide provides a complete step-by-step approach to growing vegetables with plastic, making gardening accessible for beginners and experienced home growers alike.
Why Use Plastic in Vegetable Gardening?
Plastic has become a versatile tool for modern gardeners. While some may worry about environmental impact, when used thoughtfully and safely, plastic can greatly enhance vegetable production. Key advantages include:
- Space efficiency: Plastic containers, trays, and beds allow vertical or tiered gardening, maximizing even small areas.
- Affordable setup: Recycled plastic bottles, crates, or sheets can be transformed into productive growing spaces without expensive materials.
- Improved soil control: Plastic beds and containers allow you to fill with nutrient-rich soil or compost, regardless of the native soil quality.
- Water retention: Plastic-lined beds and pots help maintain moisture for longer periods, reducing watering frequency.
- Protection from pests and weeds: Plastic covers or sheets can shield seedlings from harsh weather, pests, and weeds.
By combining these benefits, plastic gardening can provide a sustainable, efficient way to grow vegetables in urban and small-space settings.
Choosing the Right Plastic Materials
Not all plastics are suitable for vegetable gardening. Safety and durability are essential. Here are some common options:
- Plastic Containers and Buckets: Large buckets, tubs, or bins work well for individual plants like tomatoes, peppers, or eggplants. Ensure proper drainage holes are made.
- Plastic Sheets or Films: Used to create mini-greenhouses, mulching beds, or seedling covers. Clear sheets promote warmth and moisture retention.
- Plastic Crates or Bottles: Recycled bottles can be cut and converted into self-watering planters, while crates allow stacking and vertical gardening.
- Plastic Pipes or PVC Tubes: Ideal for hydroponic systems or vertical gardens where water and nutrients are delivered efficiently.
Always avoid plastics that may leach harmful chemicals. Look for food-grade or durable, UV-resistant plastic to ensure safe vegetable growth.
Planning Your Plastic Vegetable Garden
Before assembling your plastic garden, careful planning ensures maximum productivity. Consider the following factors:
- Available Space: Measure your balcony, terrace, or backyard to determine how many containers or raised beds you can fit.
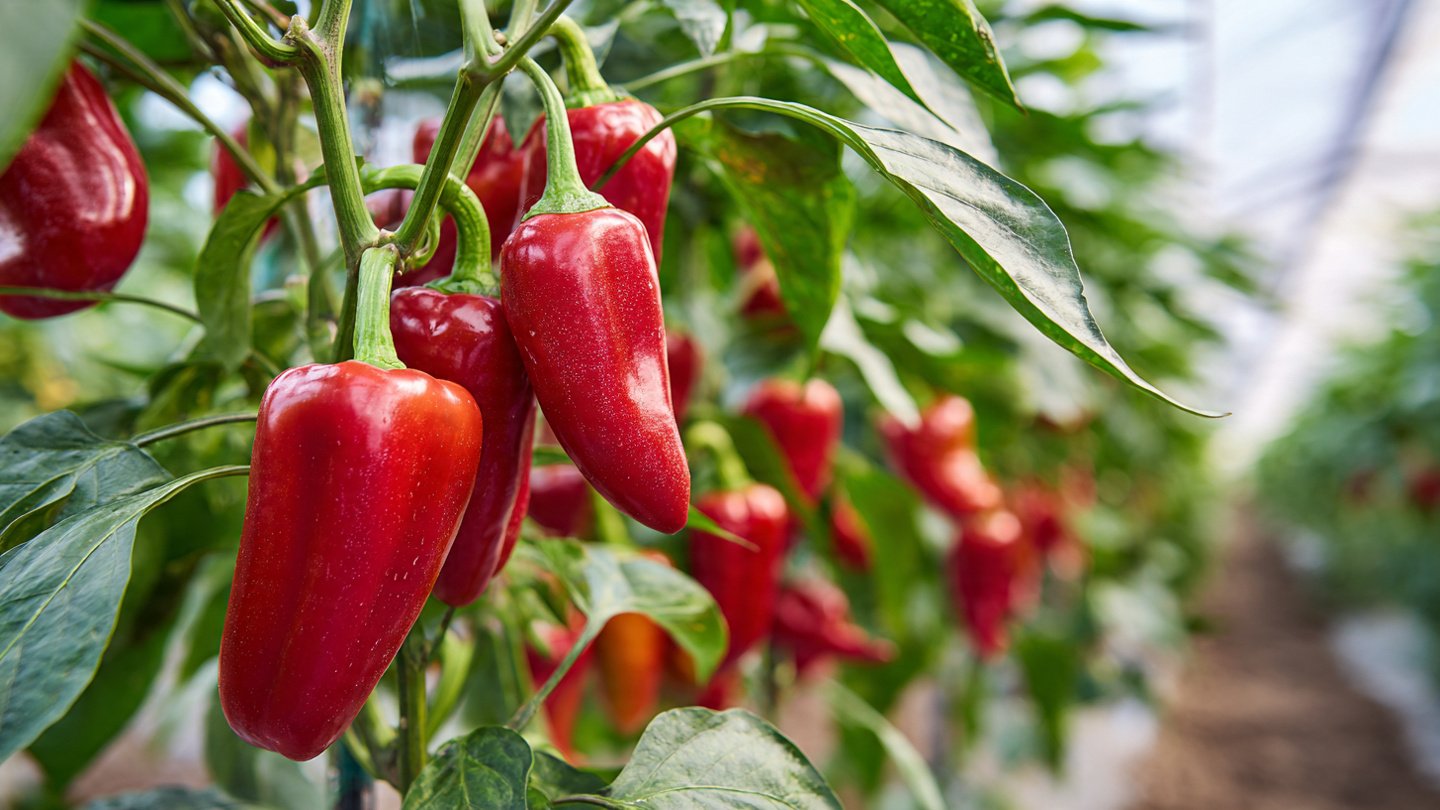
- Vegetable Selection: Choose crops suited for container or small-space gardening. Leafy greens, herbs, radishes, tomatoes, and peppers thrive in plastic setups.
- Sunlight Requirements: Most vegetables need 6–8 hours of sunlight daily. Position plastic containers where plants will get adequate light.
- Watering and Drainage: Plan for easy watering and ensure containers have drainage to prevent waterlogging.
Proper planning saves resources and ensures your plastic garden thrives.
Step-by-Step Guide to Growing Vegetables with Plastic
Step 1: Prepare Containers
Clean all containers thoroughly. Drill small holes at the bottom for drainage. For large plastic tubs, create multiple holes to ensure even water distribution.
Step 2: Add a Base Layer (Optional)
Add a layer of small stones or broken clay pots at the bottom to prevent soil from escaping and improve drainage.
Step 3: Fill with Soil Mix
Use a light, nutrient-rich soil mix. A combination of garden soil, compost, and coco peat or sand works well. For better aeration, mix in some perlite or vermiculite.
Step 4: Plant Seeds or Seedlings
Follow recommended spacing for each crop. Plastic containers allow intensive planting, but avoid overcrowding. Gently firm the soil around the roots and water lightly.
Step 5: Mulch and Protect
Cover the soil surface with plastic mulch or sheets to retain moisture, reduce weeds, and protect young plants. Transparent or black plastic sheets can increase soil warmth and boost growth.
Step 6: Install Supports if Needed
Tall crops like tomatoes or beans benefit from stakes or trellises. PVC pipes or plastic mesh can be used as affordable and lightweight supports.
Creative Space-Saving Methods
Plastic enables unique gardening methods that save space and increase yield:
- Vertical Gardens: Stack plastic crates or bottles to grow herbs, leafy greens, or strawberries vertically. This is perfect for balconies or small patios.
- Hanging Planters: Cut plastic bottles or buckets into hanging pots. These can be suspended from railings, ceilings, or walls.
- Self-Watering Containers: Convert plastic bottles or tubs into reservoirs to provide continuous moisture for roots. Ideal for busy gardeners or hot climates.
- Plastic Mulched Raised Beds: Line raised beds with black plastic sheets to suppress weeds, retain moisture, and warm the soil for faster growth.
By thinking creatively, even the smallest urban space can become a productive vegetable garden.
Watering and Fertilization
Plastic containers can dry out faster than ground soil, so consistent watering is critical. Use drip irrigation or watering cans for precise control. Avoid overwatering, as stagnant water may lead to root rot.
Fertilization is also important. Organic fertilizers such as compost, vermicompost, or liquid manure provide essential nutrients. For leafy vegetables, a nitrogen-rich feed encourages lush growth, while flowering and fruiting crops benefit from balanced NPK fertilizers.
Common Challenges and Solutions
Even in plastic gardens, you may encounter problems:
- Overheating: Transparent plastic can trap too much heat in summer. Move containers to partial shade or ventilate covered beds.
- Pests: Aphids, caterpillars, or whiteflies may attack plants. Use organic sprays, neem oil, or sticky traps.
- Root Crowding: Smaller containers can limit root growth. Ensure large enough containers or periodically repot plants.
- Plastic Wear: Over time, thin plastics may crack. Use UV-resistant or thicker plastics for longevity.
Careful observation and preventive care help overcome these challenges.
Advantages of Plastic Gardening for Beginners
Plastic gardening is ideal for beginners because it is forgiving, modular, and low-cost. You can start small and gradually expand your garden as you gain confidence. The ability to control soil, water, and sunlight reduces common gardening failures, increasing the chances of a successful harvest.
Additionally, plastic setups are easy to clean, move, or modify, making them perfect for rental apartments, terraces, and temporary setups.
Conclusion
Creating a vegetable garden with plastic is a smart, affordable, and space-saving method for growing fresh, healthy produce at home. From vertical gardens to self-watering containers, plastic enables gardeners to maximize space, conserve water, and produce more vegetables with minimal effort. With proper planning, quality soil, consistent care, and creative use of materials, you can enjoy a bountiful harvest even in limited spaces. This method is not only practical but also empowering, giving urban and small-space gardeners the ability to cultivate fresh, nutritious vegetables year-round.
Plastic gardening transforms small corners of your home into productive green spaces, making vegetable cultivation accessible, efficient, and enjoyable for everyone.