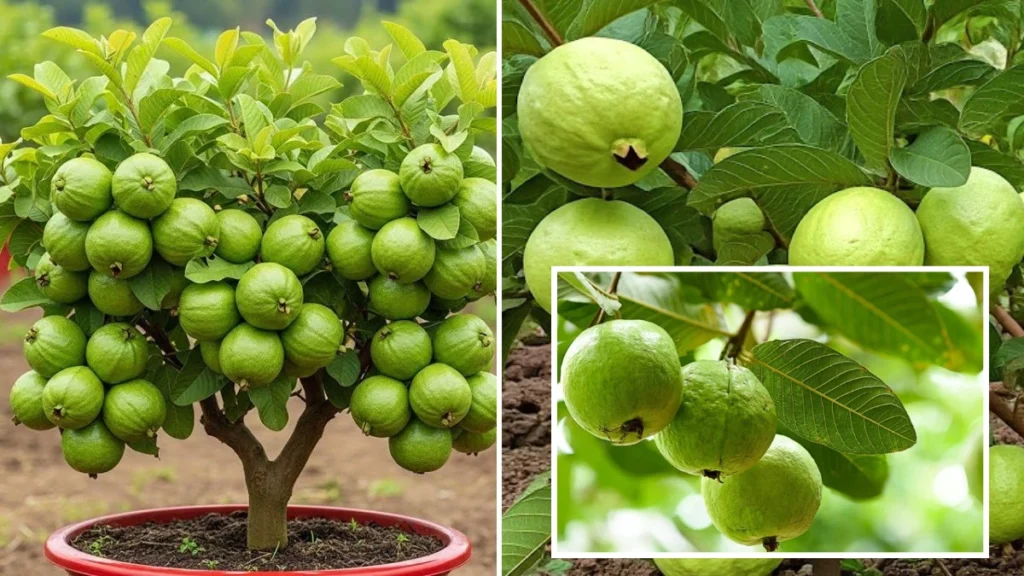
Guava is one of the easiest and most rewarding fruit trees you can grow at home. Whether you have a backyard, terrace, or even a large balcony, guava adapts beautifully to different spaces. With the right sunlight, soil preparation, and watering techniques, you can enjoy sweet, fragrant fruits straight from your own plant.
If you’re planning to grow guava in 2026, this complete guide will help you succeed using simple, practical hacks that actually work.
Why Grow Guava at Home?
Guava is a tropical fruit tree known for its delicious taste and impressive nutritional value. It is rich in vitamin C, fiber, and antioxidants. Growing it at home ensures:
- Fresh, chemical-free fruits
- Cost savings over time
- A low-maintenance fruit tree
- Year-round greenery
Guava trees are hardy, drought-tolerant, and suitable for Indian climates, making them ideal for beginners.
Step 1: Choosing the Right Variety
Selecting the right variety is the first step toward success. Some popular types include:
- Allahabad Safeda
- Lalit
- Lucknow 49
- Thai Guava (large fruit variety)
If you’re growing in pots, dwarf or grafted varieties are best because they fruit earlier and remain compact.
Pro Tip: Always buy a grafted plant from a trusted nursery. Grafted guava trees start fruiting within 1–2 years, while seed-grown plants may take 3–4 years.
Step 2: Sunlight – The Most Important Factor
Guava loves sunlight. Without enough sun, fruit production will be poor.
Ideal Sunlight Requirement:
- 6–8 hours of direct sunlight daily
- Open, airy location
- Avoid heavy shade
If planting on a terrace or balcony, choose the sunniest corner. Lack of sunlight often leads to weak growth and fewer flowers.
Step 3: Soil Preparation – The Foundation of Success
Guava trees are adaptable but thrive best in well-draining soil.
Perfect Soil Mix for Pots:
- 40% garden soil
- 30% compost (vermicompost or cow dung compost)
- 20% sand
- 10% cocopeat
The soil should be loose and airy. Waterlogging can cause root rot, so drainage is essential.
If planting directly in the ground:
- Dig a 2×2 feet pit
- Mix compost into the native soil
- Allow the soil to settle for a week before planting
Step 4: Watering Hacks That Truly Work
Guava trees are moderately drought-tolerant but need consistent watering during fruiting.
Watering Guidelines:
- Water deeply but less frequently
- Let the top 2 inches of soil dry before watering again
- Reduce watering during winter
Overwatering is one of the biggest mistakes gardeners make. Too much water leads to fungal problems and poor fruit sweetness.
Summer Tip: Mulch around the base with dry leaves or straw to retain moisture.
Step 5: Fertilization for Maximum Fruit Yield
Proper feeding boosts flowering and fruiting.
Organic Feeding Schedule:
- Add compost every 30–45 days
- Use banana peel compost for potassium
- Apply neem cake powder once every 2 months
During flowering season, adding wood ash in small amounts can improve fruit sweetness.
Avoid excessive nitrogen fertilizers, as they encourage leaf growth but reduce fruit production.
Step 6: Pruning for Better Production
Pruning is essential for a healthy and productive guava tree.
When to Prune:
- After harvesting fruits
- During early spring
How to Prune:
- Remove dead or weak branches
- Trim overcrowded areas
- Maintain a balanced, open canopy
Pruning improves air circulation and encourages new fruit-bearing shoots.
Step 7: Growing Guava in Pots (Urban Gardening Hack)
Don’t have land? No problem. Guava grows well in containers.
Pot Requirements:
- Minimum 18–24 inch wide pot
- Large drainage holes
- Use sturdy containers (cement or heavy plastic)
Place the pot in full sun and rotate occasionally for even growth.
With proper care, potted guava trees can produce 8–15 kg of fruit annually.
Step 8: Flowering and Fruiting Tips
Guava trees usually flower twice a year in warm climates.
To encourage more fruits:
- Reduce watering slightly before flowering
- Ensure maximum sunlight
- Avoid over-fertilizing with nitrogen
Hand pollination (using a soft brush) can improve fruit set in small gardens.
Step 9: Common Problems and Easy Solutions
1. Fruit Fly Attack
- Use neem oil spray weekly
- Cover young fruits with paper bags
2. Yellow Leaves
- Check for overwatering
- Add compost to improve nutrients
3. Small or Hard Fruits
- Ensure proper sunlight
- Add potassium-rich organic fertilizer
Regular inspection keeps your plant healthy.
Step 10: Harvesting at the Right Time
Guava fruits are ready to harvest when:
- Skin turns light green to yellow
- Fruit gives a mild fragrance
- Slightly soft when pressed
Avoid waiting too long, as overripe fruits attract pests.
Freshly harvested guavas taste sweeter and juicier than store-bought ones.
Climate Considerations for 2026
With changing climate patterns, gardeners must adapt.
- Protect plants from extreme heat using shade nets
- Use mulch to maintain soil moisture
- Install proper drainage during heavy rains
Guava is resilient, but smart care ensures consistent production even in unpredictable weather.
Bonus Hack: Boost Sweetness Naturally
If you want sweeter guavas:
- Reduce watering slightly during fruit maturation
- Add wood ash or banana peel compost
- Ensure full sunlight exposure
Sweetness largely depends on sunlight and balanced watering.
Why Guava Is Perfect for Beginners
- Low maintenance
- Tolerates different soil types
- Produces fruit quickly (grafted plants)
- Suitable for pots and ground planting
Even first-time gardeners can succeed with guava if they follow basic care steps.
Final Thoughts
Growing guava successfully in 2026 doesn’t require complicated techniques. With proper sunlight, well-draining soil, balanced watering, and regular pruning, you can enjoy a healthy tree that produces abundant fruits year after year.
Start with a grafted plant, choose the sunniest spot in your home, and feed it organically. Small, consistent care efforts will reward you with sweet, fragrant guavas straight from your garden.
Whether you grow it in your backyard or on your terrace, guava is a fruit tree that truly delivers. With these easy sun, soil, and water hacks, success is not just possible—it’s guaranteed with patience and care.