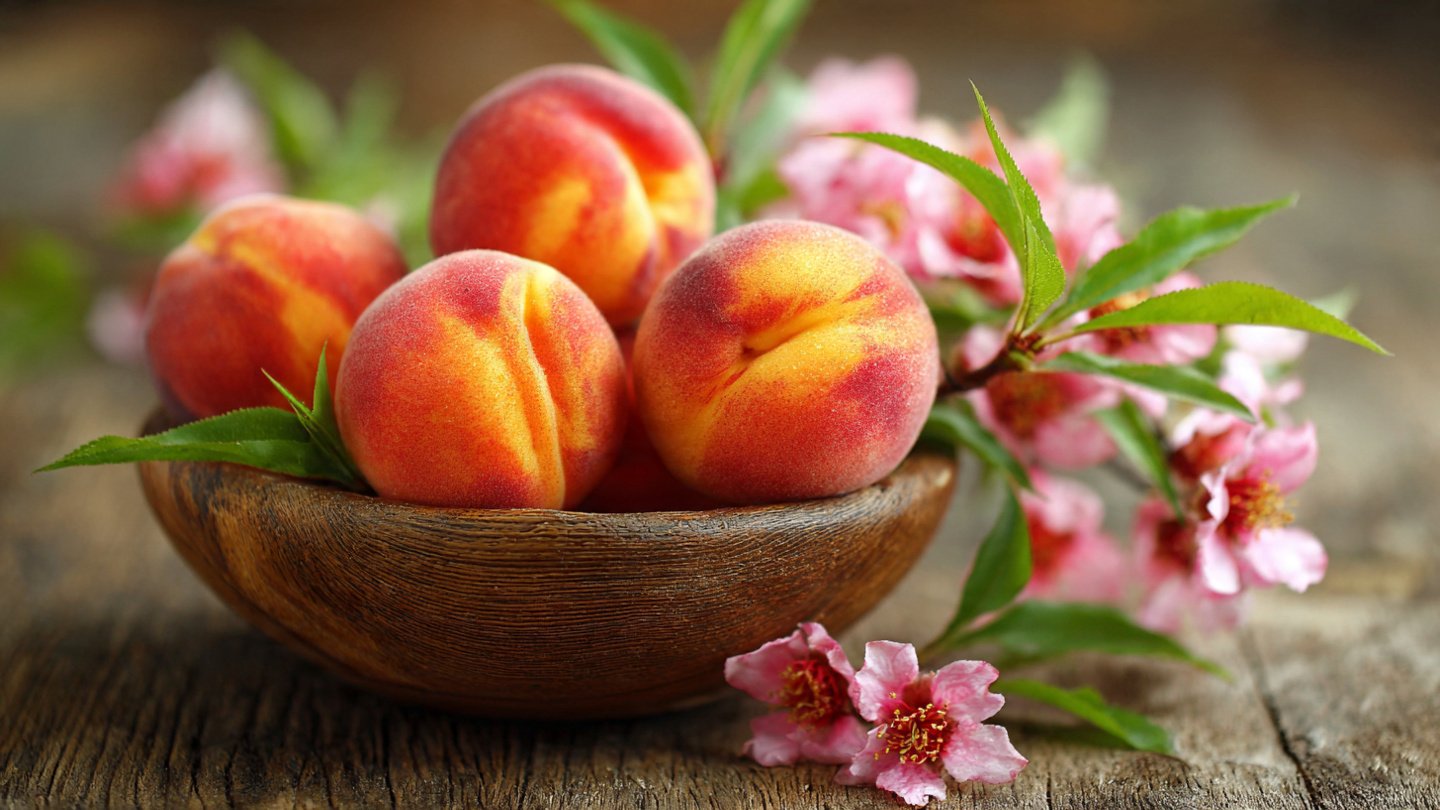
Peach trees are a rewarding fruit crop, prized for their juicy, sweet fruits and fragrant blossoms. Growing peach trees from seeds can be a fun and satisfying project for home gardeners, but success requires proper preparation. One of the most important steps in cultivating peach trees from seeds is cold treatment, also known as stratification. Cold treatment mimics winter conditions, breaking seed dormancy and encouraging germination.
If done correctly at home, cold treatment can significantly improve germination rates and set you on the path to a healthy, productive peach tree. This comprehensive guide will walk you through the entire process, from selecting seeds to post-stratification care, ensuring your peach seeds sprout successfully.
Why Cold Treatment Is Essential for Peach Seeds
Peach seeds have a natural dormancy mechanism that prevents them from germinating immediately after being dispersed from the fruit. This dormancy ensures that seedlings don’t sprout in the fall when conditions are unsuitable for growth.
Benefits of Cold Treatment:
- Breaks Dormancy: Cold stratification signals to the seed that winter has passed and spring has arrived.
- Improves Germination Rates: Seeds that undergo proper cold treatment are more likely to sprout.
- Encourages Uniform Sprouting: Proper stratification results in more consistent germination.
- Supports Healthy Seedlings: Cold treatment strengthens the seed, preparing it for robust root and shoot development.
Without cold treatment, peach seeds may remain dormant for months or fail to germinate altogether.
Step 1: Selecting and Preparing Peach Seeds
The first step is to select viable seeds from ripe peaches.
Selection Guidelines:
- Choose fully mature fruits with healthy, undamaged pits.
- Remove the fruit flesh completely to prevent rot.
- Wash the pits thoroughly with water to remove any remaining fruit residue.
Optional Step: Some gardeners like to soak seeds in warm water for 24 hours to soften the hard seed coat. This can help improve germination rates during stratification.
Step 2: Cracking the Hard Seed Coat (Optional but Helpful)
Peach seeds are encased in a hard shell called the endocarp, which can slow germination. Cracking or nicking the seed coat can help water penetrate and accelerate germination.
How to Do It Safely:
- Use a small hammer or nutcracker to lightly crack the hard outer shell without damaging the inner seed.
- Alternatively, use sandpaper to scuff the seed surface, which allows moisture to enter.
- Be gentle; damaging the inner seed can prevent germination.
This step is optional but can reduce stratification time and increase success rates.
Step 3: Preparing the Stratification Medium
The stratification medium provides moisture and insulation during cold treatment. Common mediums include:
- Damp paper towels
- Peat moss
- Vermiculite
- Sand
Preparation Steps:
- Moisten the medium with water until it is damp but not soggy.
- Place the cleaned seeds into the medium, ensuring they are well-covered and separated.
- Seal seeds in a plastic bag or airtight container to maintain consistent moisture.
Proper moisture is critical; seeds should not dry out or sit in standing water.
Step 4: Cold Storage Conditions
Peach seeds need cold, but not freezing, temperatures to break dormancy.
Recommended Conditions:
- Temperature: 1–4°C (34–39°F)
- Duration: 6–10 weeks, depending on the peach variety
- Location: Refrigerator is ideal; avoid freezer storage.
Check seeds periodically to ensure the medium remains damp and that no mold develops. If mold appears, remove affected seeds and lightly rinse the rest.
Step 5: Checking Seed Progress
During the cold treatment period, you can monitor seeds for early signs of germination:
- Look for small root tips or shoots emerging from the seed.
- Some seeds may take longer to sprout; patience is essential.
- Avoid disturbing the seeds excessively, as this can damage emerging roots.
Successful stratification typically results in visible sprouting by the end of the treatment period.
Step 6: Planting Stratified Peach Seeds
Once seeds have completed cold treatment, they are ready to be planted:
- Choose well-draining soil rich in organic matter.
- Plant seeds about 1–2 inches deep in small pots or seed trays.
- Water lightly to settle the soil around the seed.
- Place pots in a warm, sunny location with indirect sunlight.
After planting, maintain consistent moisture but avoid waterlogging. Young seedlings are delicate and need careful handling.
Step 7: Caring for Peach Seedlings
After germination, proper care is essential for healthy seedling development:
- Sunlight: Provide at least 6 hours of indirect sunlight per day.
- Watering: Keep soil consistently moist but not soggy.
- Temperature: Maintain a warm environment around 20–25°C (68–77°F) for optimal growth.
- Fertilization: Once seedlings develop 2–3 true leaves, begin using a diluted balanced fertilizer every 2–3 weeks.
Healthy early growth lays the foundation for a strong, productive peach tree in the future.
Step 8: Transplanting Seedlings
After 8–12 weeks, seedlings can be moved to larger pots or planted in the garden once they are strong enough:
- Harden off seedlings by gradually exposing them to outdoor conditions over 1–2 weeks.
- Choose a sunny location with well-draining soil for permanent planting.
- Space trees at least 12–15 feet apart in the garden to accommodate growth.
- Continue regular watering, mulching, and fertilization to encourage vigorous growth.
Proper transplantation reduces shock and ensures healthy establishment in the new location.
Step 9: Common Mistakes to Avoid
- Skipping cold treatment: Seeds may remain dormant indefinitely.
- Using overly wet or dry stratification medium: Can cause mold or desiccation.
- Cracking seeds too hard: Damages the inner seed and prevents germination.
- Exposing seeds to freezing temperatures: Kills the seed.
- Neglecting seedling care: Poor sunlight, watering, or nutrition can stunt growth.
Avoiding these mistakes increases germination rates and ensures strong seedlings.
Step 10: Benefits of Home-Stratified Peach Seeds
Performing cold treatment at home has several advantages:
- Control Over Quality: Choose organic, pesticide-free seeds.
- High Germination Success: Proper stratification improves sprouting rates.
- Cost-Effective: Avoid purchasing expensive seedlings from nurseries.
- Satisfaction: Growing a peach tree from seed is rewarding and educational.
Home-grown peach trees often produce fruits that are healthier, tastier, and more resilient than store-bought saplings.
Conclusion
Cold treatment is the secret to successfully germinating peach seeds at home. By selecting high-quality seeds, preparing them properly, using the right stratification medium, and maintaining ideal cold storage conditions, gardeners can break seed dormancy and encourage uniform, healthy germination.
With careful planting, proper sunlight, consistent watering, and attentive care, your stratified seeds will develop into strong seedlings capable of growing into productive, fruit-bearing peach trees. Whether you are an experienced gardener or a beginner, mastering the cold treatment process opens the door to cultivating your own delicious peaches from seed at home.