An outdoor shower is a luxurious addition to any backyard, pool area, or beachside property. But beyond functionality, the flooring plays a critical role in both safety and aesthetics. Pebble mosaics have emerged as a popular choice for outdoor shower floors, offering natural beauty, slip resistance, and a soothing, spa-like feel underfoot. Crafting your own pebble mosaic may seem challenging, but with careful planning, the right materials, and patience, you can create a stunning, personalized design that elevates your outdoor shower experience.
Why Choose a Pebble Mosaic?
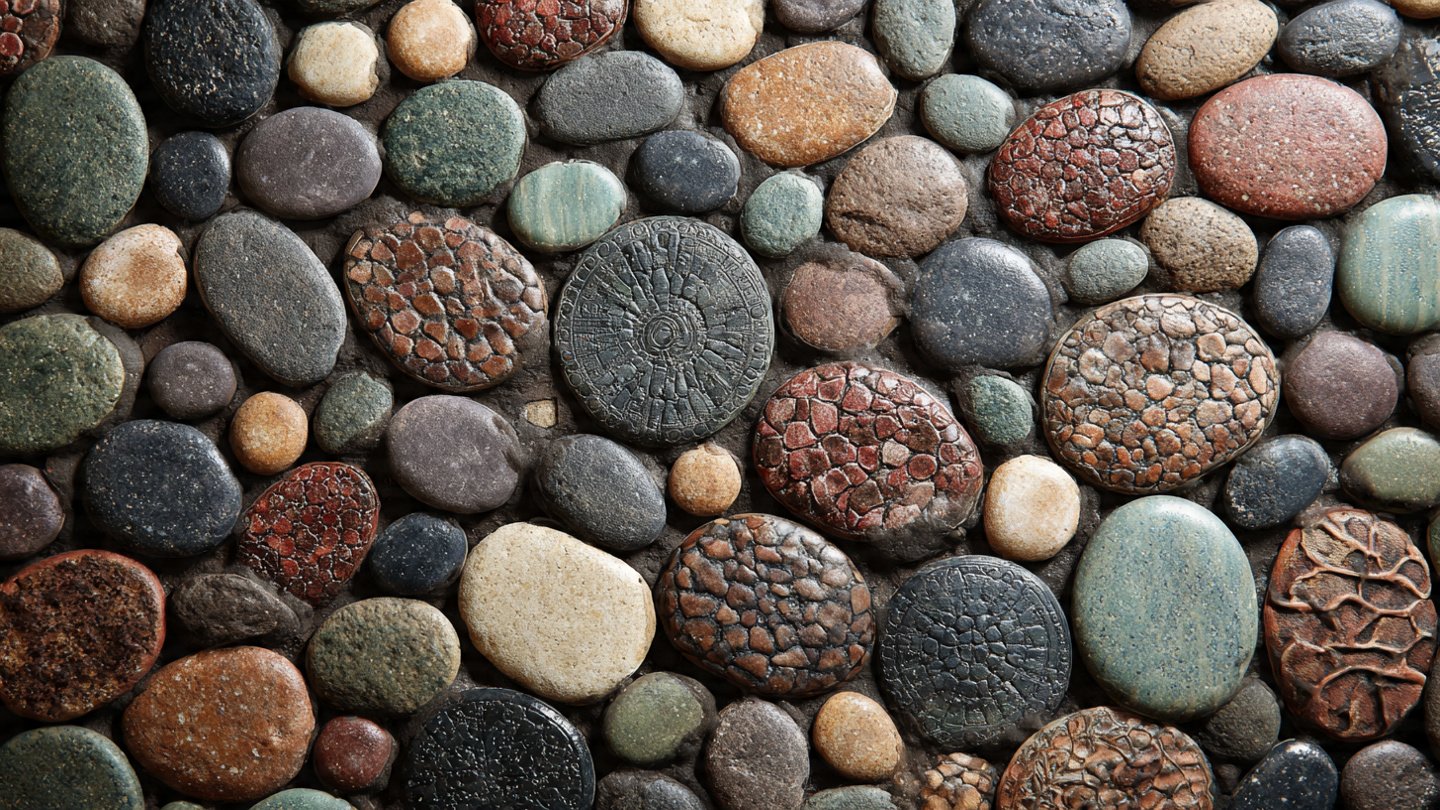
Pebble mosaics offer a combination of beauty and practicality that is ideal for outdoor showers. Some of the key benefits include:
- Natural Aesthetic: Pebbles bring an organic, calming look, blending seamlessly with outdoor landscapes.
- Slip Resistance: The textured surface provides traction, making wet areas safer.
- Massage Effect: Walking barefoot on smooth, rounded pebbles provides a gentle massage for your feet.
- Durability: Properly installed pebbles with grout and sealant withstand outdoor weather conditions.
- Design Flexibility: Pebbles come in a variety of colors, sizes, and shapes, allowing endless creative possibilities.
By choosing a pebble mosaic, you combine practicality with artistic expression, turning your outdoor shower into a focal point of your backyard oasis.
Planning Your Pebble Mosaic
The first step in crafting a pebble mosaic is careful planning. This ensures the final result is both functional and visually appealing.
- Measure the Area: Accurately measure your shower floor to determine the amount of pebbles and adhesive needed. Include any drains in your calculations.
- Select Pebbles: Decide on pebble color, size, and shape. You can use uniform pebbles for a minimalist look or a mix of shapes and colors for a more intricate mosaic. Smooth river stones are popular for comfort, while flat stones provide stability.
- Choose a Design: Consider simple patterns like concentric circles or waves, or get creative with abstract designs. Sketching your mosaic beforehand helps visualize the layout.
- Prepare Materials: You’ll need:
- Pebbles
- Thin-set mortar or tile adhesive
- Grout suitable for outdoor use
- A trowel and grout float
- Sealer for finishing
Planning reduces mistakes and ensures a polished, professional-looking mosaic.
Preparing the Outdoor Shower Floor
Proper preparation of the shower floor is essential for a durable mosaic.
- Clean and Level the Surface: Remove dirt, debris, and any previous flooring materials. Ensure the surface is smooth and slightly sloped toward the drain to prevent water pooling.
- Waterproofing: Since outdoor showers are exposed to water, applying a waterproof membrane is critical. This prevents water from seeping into the substrate and causing damage.
- Mark the Layout: Using chalk or pencil, mark the basic outline of your mosaic design. This guides pebble placement and ensures symmetry.
Laying the Pebble Mosaic
Now comes the most creative and rewarding step: laying the pebbles.
- Apply Adhesive: Spread a thin layer of thin-set mortar over a small section of the floor using a notched trowel. Work in sections to prevent the adhesive from drying too quickly.
- Arrange Pebbles: Press the pebbles into the adhesive, following your planned pattern. Use a slight rocking motion to ensure each pebble is firmly embedded. For larger areas, consider using mesh-backed sheets of pebbles for faster installation.
- Check Leveling: Use a rubber mallet to gently tap pebbles into place and ensure the surface is even. Avoid protruding pebbles that could cause discomfort or tripping.
- Allow to Set: Let the adhesive cure for 24–48 hours, depending on the manufacturer’s instructions, before grouting.
Grouting and Finishing
Grouting not only fills the gaps between pebbles but also secures them and creates a polished finish.
- Select Grout: Choose a grout suitable for wet outdoor areas. Epoxy grout is durable and water-resistant, while cement-based grout is easier to work with for beginners.
- Apply Grout: Spread the grout over the pebble surface with a rubber float, pressing it into all the gaps. Remove excess grout from the pebble tops to prevent haze.
- Clean the Surface: Wipe the surface with a damp sponge multiple times during grouting to remove residue and smooth the grout lines.
- Cure and Seal: Allow the grout to cure according to the manufacturer’s instructions. Then, apply a waterproof sealer to protect the mosaic from moisture, mold, and outdoor wear.
Creative Design Ideas
Pebble mosaics offer endless opportunities for creativity. Here are some ideas to inspire your design:
- Natural Waves: Use different shades of blue and gray pebbles to mimic water ripples.
- Floral Motifs: Arrange colored pebbles to create flowers or leaves for a garden-inspired theme.
- Geometric Patterns: Mix pebble sizes to form chevrons, triangles, or concentric circles for a modern look.
- Gradient Effects: Gradually change pebble colors from light to dark to create a natural gradient.
Your design can be as simple or intricate as your skill and patience allow.
Maintenance Tips
To keep your pebble mosaic looking beautiful and functional for years:
- Regular Cleaning: Sweep or rinse the floor regularly to remove dirt, leaves, and debris.
- Avoid Harsh Chemicals: Mild soap and water are sufficient; harsh chemicals can degrade grout and sealer.
- Reseal Annually: Reapply a waterproof sealer every year or two, depending on exposure and wear.
- Inspect for Damage: Check for loose pebbles or cracks in the grout and repair promptly to prevent larger issues.
Proper maintenance ensures your mosaic remains a highlight of your outdoor shower for years.
Safety Considerations
While pebbles provide natural slip resistance, you can enhance safety further:
- Choose smooth, flat pebbles for comfort and to reduce tripping hazards.
- Maintain adequate slope toward the drain to prevent standing water.
- Use a non-slip sealant for added traction, especially in high-moisture areas.
Conclusion
Crafting a pebble mosaic for your outdoor shower floor is a rewarding way to combine functionality with artistic expression. From planning your design and selecting the right materials to precise installation and finishing touches, the process transforms a simple shower floor into a work of art. Pebbles not only provide a visually appealing surface but also offer safety, comfort, and durability, making your outdoor shower a true backyard oasis.
With patience, creativity, and attention to detail, you can design a mosaic that reflects your personal style, complements your outdoor space, and stands up to the elements year after year. The tactile and visual beauty of a pebble mosaic transforms ordinary showers into spa-like retreats, proving that even small details can make a big impact on your home’s outdoor experience.