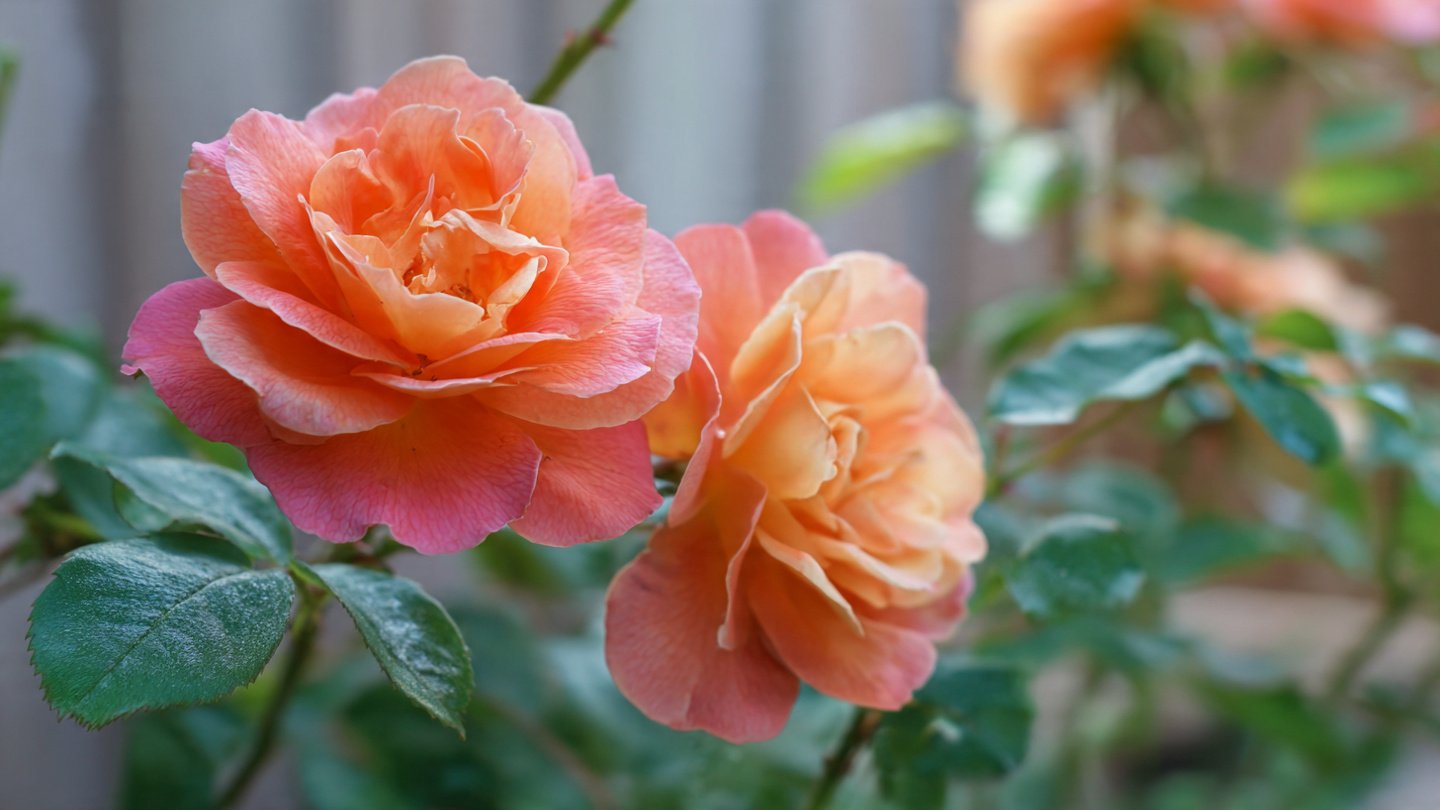
Roses have long held a special place in gardens and homes worldwide. Their beauty, fragrance, and symbolic significance make them a favorite among gardeners, florists, and plant enthusiasts alike. Yet, propagating roses can often seem daunting. Traditional methods like cuttings, grafting, or layering require patience, skill, and sometimes months before seeing results. Fortunately, there’s a surprising, innovative method using oranges that can accelerate propagation and improve the health of your rose plants.
This guide explores the “Orange Technique” in detail, offering step-by-step instructions, tips for healthy growth, and tricks to ensure your roses flourish quickly and robustly.
Understanding Rose Propagation
Propagation is the process of creating new rose plants from existing ones. Successful propagation ensures that you can:
- Multiply your favorite rose varieties.
- Preserve heirloom or rare rose species.
- Save money by growing roses at home instead of buying mature plants.
Traditional rose propagation methods include:
- Stem Cuttings: Cutting a healthy stem and rooting it in soil or water.
- Grafting: Attaching a rose stem to a rootstock.
- Layering: Burying part of a stem while still attached to the parent plant to form roots.
While effective, these methods can be slow and sometimes have low success rates. This is where the orange technique comes in—a natural, nutrient-rich method that encourages fast root development and healthy growth.
What Is the Orange Technique?
The orange technique uses the inside of a fresh orange as a medium for rooting rose cuttings. The idea may sound unconventional, but it works for several reasons:
- Natural Acidity: Orange pulp has a mildly acidic pH, similar to the rooting environment roses prefer, which stimulates root formation.
- Nutrients: Oranges contain natural sugars, vitamin C, and other compounds that promote plant health and fight off bacterial infections.
- Moisture Retention: The orange pulp keeps the cutting moist without waterlogging, reducing the risk of rot.
This technique is particularly useful for gardeners struggling with traditional propagation methods, as it creates a micro-environment that encourages faster rooting and stronger plants.
Selecting the Right Rose Cuttings
The success of the orange technique starts with choosing the right rose cuttings:
- Choose Healthy Stems: Select disease-free, mature stems about 6–8 inches long with 3–5 leaf nodes. Avoid old, woody stems or those with signs of disease.
- Timing: The best time for cuttings is during spring or early summer, when roses are actively growing.
- Leaf Preparation: Remove most leaves except the top 1–2 leaves. This reduces water loss and directs energy toward root development.
Proper selection ensures that your rose cuttings have the best chance of developing strong, healthy roots.
Preparing the Orange
The orange acts as a rooting medium and needs to be prepared carefully:
- Choose a Fresh Orange: Pick a ripe, juicy orange. Avoid overripe or moldy fruits.
- Cut in Half: Slice the orange in half, creating a cavity to hold the rose cutting.
- Hollow Out the Pulp: Using a spoon, gently remove some pulp to make space for the cutting while leaving some pulp inside. This retained pulp provides moisture and nutrients.
- Optional Step – Add a Bit of Sand or Soil: For extra drainage, you can add a thin layer of sand or potting soil at the bottom of the cavity.
The orange cavity now acts as a mini-greenhouse and nutrient source, supporting root formation naturally.
Inserting the Rose Cutting
Once your orange is prepared, it’s time to place the rose cutting:
- Trim the Cutting: Make a diagonal cut at the base of the stem just below a leaf node. A sharp, clean cut increases rooting success.
- Optional – Dip in Rooting Hormone: While the orange technique can work without rooting hormones, dipping the base of the cutting in a natural or commercial rooting hormone can enhance root development.
- Insert into Orange: Place the base of the cutting into the hollowed-out orange pulp. Ensure that at least one leaf node is in contact with the pulp for maximum rooting potential.
The pulp provides consistent moisture and natural nutrients, creating an ideal environment for root initiation.
Maintaining the Right Conditions
After inserting the cutting, creating the right environment is crucial for fast and healthy growth:
- Humidity: Cover the orange and cutting with a clear plastic bag or dome to maintain high humidity. This prevents the cutting from drying out.
- Light: Place the setup in indirect sunlight. Direct sunlight can overheat the orange and damage the cutting.
- Temperature: Keep the setup in a warm location, ideally around 20–25°C (68–77°F). Temperatures outside this range may slow rooting.
- Monitoring: Check regularly for mold growth on the orange. If mold appears, gently remove the affected portion or replace the orange.
Consistency in humidity and temperature is key to encouraging rapid root formation.
Root Development Timeline
Using the orange technique, rose cuttings often develop roots faster than traditional methods:
- First 7 Days: Initial swelling at the base of the stem indicates the start of root formation.
- 2–3 Weeks: Small roots emerge into the orange pulp, nourished by sugars and nutrients.
- 4–6 Weeks: Roots become strong enough for transplanting into soil.
The natural sugars and acidity in the orange accelerate the plant’s metabolic processes, allowing for faster growth and a higher success rate.
Transplanting into Soil
Once the rose cutting has developed a healthy root system, it’s time to transfer it to soil:
- Prepare Soil: Use a well-draining rose mix or a combination of garden soil, compost, and perlite.
- Transplant Carefully: Remove the cutting gently from the orange, trying not to damage the fragile new roots.
- Plant at Correct Depth: Place the cutting in soil so that the roots are fully covered, but the top leaves remain above soil level.
- Water Thoroughly: Water lightly but consistently for the first few weeks until the plant becomes established.
Proper transplantation ensures that your rose cutting continues to grow healthily and eventually blooms.
Advantages of the Orange Technique
The orange technique offers several surprising benefits:
- Faster Rooting: Root development is quicker compared to soil-only or water-only propagation.
- Stronger Plants: The nutrients in the orange promote robust roots, leading to healthier adult plants.
- Reduced Risk of Rot: Unlike water propagation, the semi-solid pulp reduces the likelihood of stem rot.
- Cost-Effective: Using a simple orange instead of expensive rooting gels or pots makes it accessible for home gardeners.
By leveraging a natural fruit, gardeners can achieve superior results with minimal effort.
Tips for Successful Orange-Based Propagation
To maximize success with this technique, keep these tips in mind:
- Use Fresh Fruit: Old or overripe oranges may harbor mold or bacteria that can harm cuttings.
- Monitor Humidity: High humidity is essential, but excess moisture on leaves can encourage fungal growth.
- Rotate the Setup: Occasionally rotate the orange to ensure the cutting receives even light.
- Be Patient: While the orange accelerates rooting, patience is still necessary. Avoid disturbing the cutting frequently.
Beyond Propagation: Caring for Your New Rose Plant
Once your rose cutting is transplanted, proper care ensures it thrives:
- Sunlight: Roses need at least 6 hours of sunlight daily. Gradually acclimate young plants to direct sun.
- Watering: Keep soil moist but not soggy. Water early in the day to reduce fungal risks.
- Fertilization: Begin light feeding after 4–6 weeks with a balanced rose fertilizer. Gradually increase feeding during active growth and blooming periods.
- Pruning: Remove dead or weak stems to promote airflow and encourage blooms.
Combining the orange propagation technique with good post-transplant care ensures your roses develop quickly into mature, flowering plants.
Conclusion
The orange technique is a surprisingly effective, natural method for propagating roses quickly and healthily. By creating a nutrient-rich, acidic environment in the pulp of a fresh orange, gardeners can accelerate root development, reduce the risk of rot, and establish strong, vibrant rose plants.
Key takeaways include:
- Choose healthy rose cuttings and fresh, leafy or flowering varieties.
- Prepare an orange carefully, retaining some pulp for moisture and nutrients.
- Insert the cutting properly and maintain a warm, humid, and well-lit environment.
- Monitor for roots over 2–4 weeks and transplant carefully once established.
- Continue proper care post-transplant to ensure long-term health and blooms.
This simple, cost-effective technique is ideal for both beginner and experienced gardeners. It transforms the sometimes frustrating process of rose propagation into a fun, rewarding, and successful experience. Using oranges for propagation isn’t just clever—it’s a smart, natural way to grow roses faster, healthier, and more reliably than traditional methods.
With patience, attention, and the surprising power of oranges, you can cultivate beautiful, thriving roses right from cuttings, giving your garden or home a long-lasting burst of color, fragrance, and elegance.