Imagine turning ordinary plastic bottles into a thriving vegetable garden that produces fresh, delicious vegetables all year round. No backyard? No problem. With a little creativity, recycled plastic bottles can transform even the tiniest balcony, terrace, or windowsill into a productive vegetable garden. This method is cost-effective, eco-friendly, and perfect for anyone looking to grow food at home without large spaces or expensive equipment.
In this guide, we’ll show you step by step how to set up your plastic bottle vegetable garden, choose the right crops, and maximize yields for continuous harvests.
Why Plastic Bottles Are Perfect for Home Gardens
Plastic bottles are more than just trash—they’re ready-made containers ideal for small-space gardening.
Benefits include:
- Lightweight and portable
- Easy to hang or stack vertically
- Perfect for shallow-root vegetables
- Reduce household waste
- Affordable or free
With the right approach, a simple plastic bottle can grow vegetables that are just as productive as traditional garden beds.
Choosing Vegetables for High Yields in Bottles
Not all vegetables thrive in small containers, but many fast-growing, shallow-rooted crops are perfect for plastic bottles.
Best choices include:
- Lettuce (loose-leaf varieties)
- Spinach
- Arugula
- Mustard greens
- Fenugreek (methi)
- Green onions
- Microgreens (broccoli, sunflower, pea shoots)
- Small cherry tomatoes or dwarf peppers (for advanced gardeners)
These vegetables grow quickly, are easy to manage, and can be harvested multiple times using the “cut-and-come-again” method.
Preparing Plastic Bottles for Gardening
The first step is to select and prepare your bottles.
Steps for preparation:
- Use bottles from 1.5 liters to 5 liters for best results.
- Wash thoroughly to remove residues.
- Cut a rectangular opening along the side for planting, or cut off the top for vertical planting.
- Drill drainage holes in the bottom to prevent waterlogging.
- Smooth any sharp edges to avoid injury.
Proper preparation ensures healthy plant growth and prevents root rot.
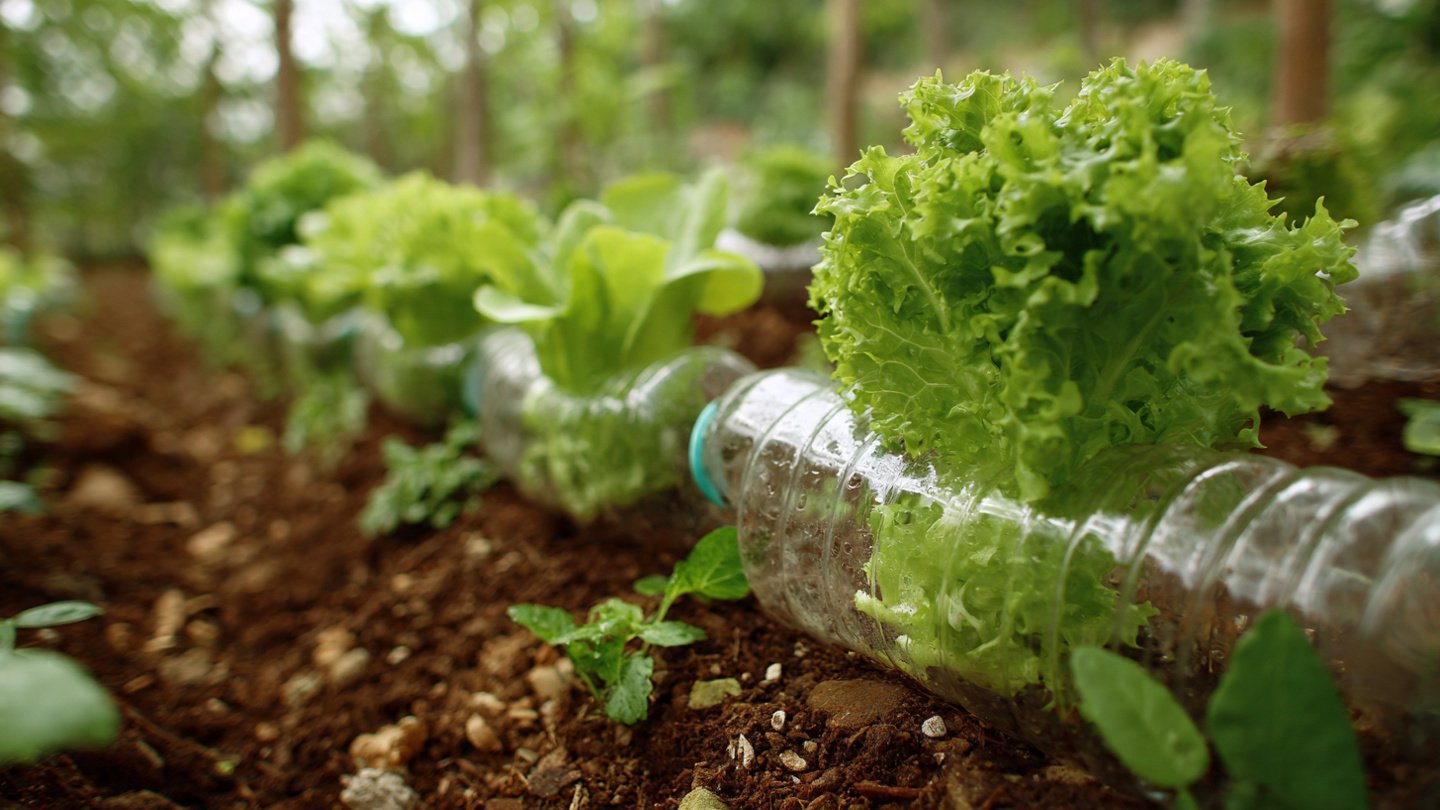
Vertical vs. Horizontal Bottle Gardening
Plastic bottle gardening can be set up either vertically or horizontally. Both have unique advantages:
Vertical gardening:
- Hang bottles on walls, fences, or rails.
- Saves floor space.
- Ideal for herbs, leafy greens, and vine vegetables.
Horizontal gardening:
- Place bottles on shelves, window ledges, or low platforms.
- Holds more soil for larger vegetables.
- Better water retention and stability.
Choose a method depending on your space and sunlight availability.
Soil Mix for High-Yield Bottle Gardens
Because bottles hold limited soil, using a nutrient-rich, well-draining mix is essential.
Recommended soil mix:
- 40% potting soil
- 40% compost or vermicompost
- 20% coco peat, perlite, or sand
This blend ensures:
- Adequate drainage
- Good moisture retention
- Nutrient-rich growth for faster, healthier plants
Avoid heavy garden soil, which compacts easily and reduces root health.
Planting Seeds and Transplants
For seeds:
- Fill bottles with soil mix.
- Sprinkle seeds evenly over the soil.
- Cover lightly with soil.
- Water gently.
For transplants:
- Fill the bottle with soil mix, leaving room for roots.
- Plant one seedling per bottle.
- Firm the soil gently around the roots and water thoroughly.
Most leafy greens sprout within 3–5 days.
Sunlight Requirements
Even the best soil can’t replace sunlight.
Light tips:
- At least 4–6 hours of sunlight daily.
- Morning sun is preferable.
- Rotate bottles to ensure all plants receive even light.
If sunlight is limited indoors, consider LED grow lights for 10–12 hours daily.
Watering and Moisture Management
Plastic bottles dry out faster than traditional beds, so consistent watering is crucial.
Tips:
- Keep soil lightly moist but not soggy.
- Water daily or every other day depending on weather.
- Use a spray bottle for seedlings to prevent washing out seeds.
- Ensure drainage holes allow excess water to escape.
Proper watering ensures tender, flavorful vegetables.
Fertilizing for Maximum Yield
Vegetables in small containers use up nutrients quickly.
Fertilizing tips:
- Mix compost into the soil before planting.
- Use diluted organic liquid fertilizer every 10–14 days.
- Compost tea or worm castings are excellent for continuous growth.
Avoid heavy chemical fertilizers, which can harm delicate roots in small containers.
Harvesting Techniques for Continuous Production
The secret to ongoing high yields is proper harvesting.
Cut-and-come-again method:
- Harvest leaves when they are 3–4 inches tall.
- Cut outer leaves first, leaving the center intact.
- Do not remove more than one-third of the plant at a time.
This approach allows plants to keep producing for weeks or even months.
Troubleshooting Common Problems
Even small-space gardening can encounter issues:
Yellow leaves: Overwatering or nutrient deficiency.
Leggy plants: Lack of sunlight.
Slow growth: Overcrowding or poor soil.
Bitter leaves: Irregular watering or heat stress.
Most issues are easy to fix with adjustments in watering, lighting, and feeding.
Expanding Your Plastic Bottle Garden
Once you master the basics, you can expand your garden:
- Use multiple bottles for a continuous harvest.
- Combine vertical and horizontal setups.
- Try small vine plants like cherry tomatoes with trellises.
- Stagger plantings every 1–2 weeks to ensure a steady supply.
Plastic bottles are highly versatile, allowing you to scale your dream garden at your own pace.
Why This Method Is Ideal for Urban Living
Plastic bottle gardening is perfect for city dwellers:
- Requires minimal space.
- Portable, perfect for balconies, terraces, and windowsills.
- Affordable and sustainable.
- Allows year-round production of fresh, healthy vegetables.
Even if you don’t have soil or a traditional garden, this method gives you control over what you eat.
Final Thoughts
Growing a dream vegetable garden using only plastic bottles proves that gardening doesn’t require a big yard or expensive equipment. With creativity, patience, and proper care, even the tiniest spaces can yield fresh, delicious, nutrient-packed vegetables.
This approach is not only practical and sustainable but also immensely satisfying. Imagine harvesting fresh greens, herbs, and small vegetables that you grew yourself—right from recycled bottles. It’s eco-friendly, fun, and extremely rewarding.
Start today, and in just a few weeks, you’ll enjoy your first home-grown harvest from a garden that costs almost nothing and fits anywhere.