The ZZ plant is famous for its glossy leaves, modern look, and near-indestructible nature. Loved by beginners and experienced plant lovers alike, this hardy houseplant thrives even with minimal care. What many people don’t realize is that the ZZ plant is also very easy to propagate at home. With just a healthy stem and a little patience, you can grow brand-new plants without any special tools or advanced skills.
This complete guide will walk you through easy, proven techniques to propagate a ZZ plant from stem cuttings using simple methods and minimal effort, whether you prefer water propagation or soil propagation.
Why Propagating a ZZ Plant Is So Easy
ZZ plants store water in thick underground rhizomes, which makes them extremely resilient. These energy reserves allow cuttings to survive long periods while developing new roots and rhizomes. Because of this unique structure, ZZ plant stems can successfully propagate even in less-than-perfect conditions.
Some key benefits of propagating ZZ plants include:
- Creating new plants for free
- Reviving leggy or overgrown plants
- Sharing plants with friends and family
- Maintaining healthy parent plants
Once you learn the basics, propagation becomes a simple, repeatable process.
Best Time to Propagate ZZ Plant
The ideal time to propagate a ZZ plant is during its active growing season, usually from spring to early summer. During this period, the plant naturally focuses on root and shoot development, which increases the success rate of propagation.
That said, ZZ plants are tough and can still be propagated at other times of the year, though growth may be slower in cooler months.
Tools and Materials You’ll Need
One of the reasons ZZ plant propagation is so beginner-friendly is the minimal equipment required.
You’ll need:
- A healthy ZZ plant
- Sharp, clean scissors or pruning shears
- A glass or jar (for water propagation)
- A small pot with drainage holes (for soil propagation)
- Well-draining potting mix
- Clean water
That’s it—no rooting hormones or special setups required.
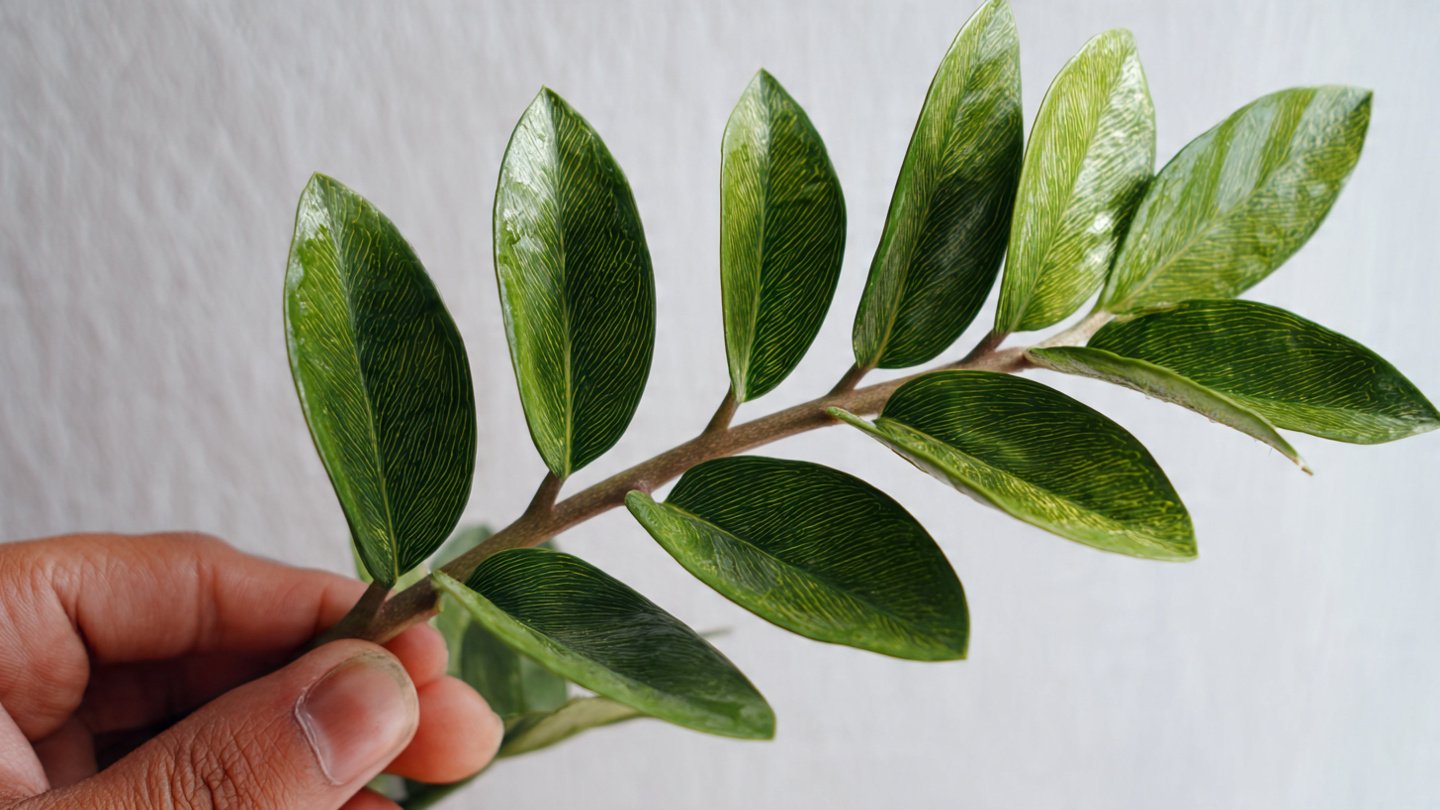
Selecting the Right Stem for Propagation
Choose a mature, healthy stem with firm leaves and no signs of yellowing, rot, or pests. Strong stems produce better results and develop rhizomes faster.
How to cut the stem correctly:
- Cut the stem close to the base of the plant
- Make a clean, straight cut
- Avoid tearing or crushing the stem
After cutting, allow the stem to sit in a dry place for a few hours. This helps the cut end dry slightly and reduces the risk of rot.
Method 1: Propagating ZZ Plant Stem in Water
Water propagation is one of the easiest and most popular methods because it allows you to watch the roots develop.
Step-by-Step Water Propagation:
- Place the cut end of the stem into a glass of clean water
- Ensure only the lower part of the stem is submerged
- Keep the leaves above water to prevent rotting
- Place the glass in bright, indirect light
Change the water every 7–10 days to keep it fresh and oxygenated.
What to Expect:
- Roots may appear after 4–6 weeks
- Small rhizomes will slowly form at the base
- Full root development can take 2–3 months
Once the roots are at least 2–3 cm long and a small rhizome has formed, the cutting is ready to be planted in soil.
Method 2: Propagating ZZ Plant Stem in Soil
Soil propagation is slightly slower to show results, but it’s equally effective and requires less monitoring.
Step-by-Step Soil Propagation:
- Fill a small pot with well-draining potting mix
- Insert the stem 2–3 inches into the soil
- Gently firm the soil around the stem
- Water lightly to settle the soil
Place the pot in a warm area with bright, indirect light.
Care During Soil Propagation:
- Keep soil slightly moist, not wet
- Avoid frequent watering
- Do not disturb the cutting unnecessarily
Roots and rhizomes develop below the soil surface, so patience is key.
Light and Temperature Requirements
ZZ plant cuttings prefer bright, indirect light. Direct sunlight can stress the cutting and slow down root formation.
Ideal conditions:
- Bright, filtered light
- Warm temperatures between 18–30°C
- Good air circulation
Avoid placing cuttings near air conditioners or cold drafts.
Watering: Less Is More
Overwatering is the most common mistake during ZZ plant propagation. Whether using water or soil, moderation is essential.
- In water: Change water regularly but don’t top it up daily
- In soil: Water only when the top layer feels dry
Excess moisture can cause stem rot before roots develop.
How Long Does ZZ Plant Propagation Take?
ZZ plant propagation is a slow but rewarding process.
General timeline:
- Root formation: 4–8 weeks
- Rhizome development: 2–3 months
- New shoot growth: 4–6 months
Although slow, once established, the new plant grows steadily and requires very little maintenance.
Transplanting Rooted Cuttings
When roots and rhizomes are well developed, transplant the cutting into a slightly larger pot.
Potting tips:
- Use a pot with drainage holes
- Choose a loose, well-draining soil mix
- Water lightly after transplanting
Avoid fertilizing immediately; wait at least one month.
Common Problems and Simple Solutions
Stem turning yellow:
- Too much water or poor drainage
No roots after weeks:
- Low temperature or insufficient light
Stem rot:
- Waterlogged conditions
Most issues can be solved by reducing watering and improving light exposure.
Caring for Your New ZZ Plant
Once established, ZZ plants are extremely low maintenance.
- Water every 10–15 days
- Keep in indirect light
- Wipe leaves occasionally to remove dust
The plant will continue producing new stems from the rhizome over time.
Final Thoughts
Propagating a ZZ plant from stem cuttings is one of the easiest and most satisfying ways to expand your indoor garden. With minimal tools, simple techniques, and a bit of patience, you can turn a single stem into a thriving new plant. Whether you choose water or soil propagation, the key is gentle care and avoiding overwatering.
If you’re looking for a low-effort, high-success propagation project, the ZZ plant is the perfect choice to start with.