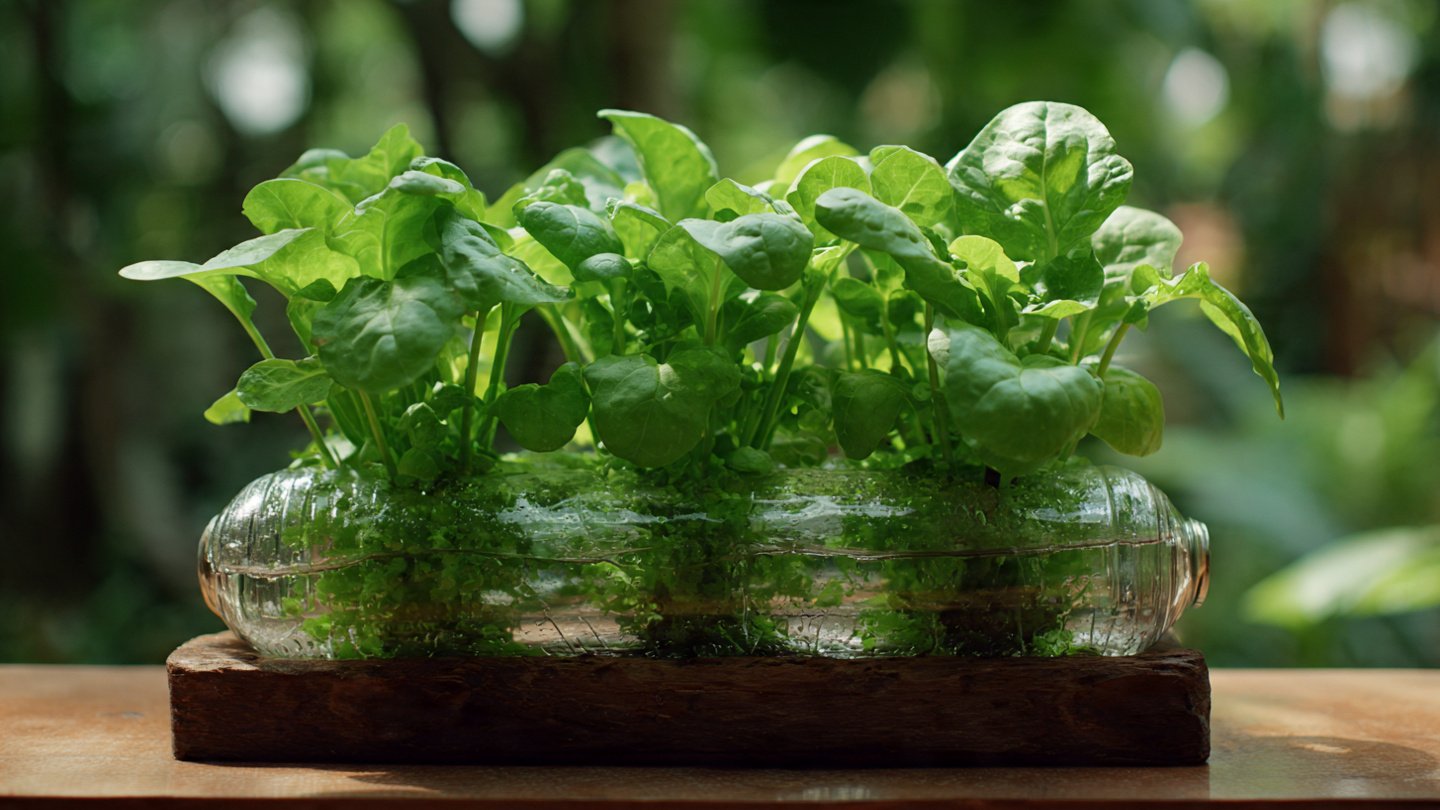
If you love fresh greens but lack garden space, creating a DIY plastic bottle garden is a simple and effective solution. Malabar spinach, a fast-growing, heat-loving vine, thrives in this setup, giving you a continuous supply of succulent, nutrient-packed leaves. With minimal investment and a few recycled bottles, you can transform your balcony, terrace, or kitchen windowsill into a thriving green oasis. This guide will take you through every step to grow Malabar spinach successfully and enjoy an endless harvest.
Why Choose Malabar Spinach?
Malabar spinach (Basella alba) is not a true spinach but a vine with thick, fleshy leaves. It is a favorite in tropical and subtropical regions because of its high nutritional value and fast growth.
Benefits of Malabar spinach include:
- Rich in vitamins A, C, and iron
- Thrives in hot weather, unlike regular spinach
- Continuous harvest through cut-and-come-again method
- Requires minimal maintenance
- Delicious in salads, stir-fries, soups, and smoothies
Its climbing nature makes it ideal for vertical gardening in bottles.
Why a Plastic Bottle Garden?
Plastic bottles are an excellent choice for home gardening:
- Space-saving: Stack vertically or hang to maximize small areas
- Affordable and sustainable: Reuse waste bottles
- Portable: Move plants for sunlight or protection from harsh weather
- Easy to maintain: Water and feed efficiently
Using bottles, even urban gardeners without soil beds can enjoy fresh greens year-round.
Materials You’ll Need
Before starting, gather these items:
- Empty plastic bottles (1–2 liters work best)
- Sharp scissors or craft knife
- Potting soil or a mix of garden soil, compost, and coco peat
- Malabar spinach seeds or seedlings
- Watering can or spray bottle
- Rope or strong string for hanging (optional)
- Fertilizer: organic compost or liquid fertilizer
All materials are easily available and inexpensive.
Preparing Plastic Bottles
- Clean the bottles thoroughly to remove residues.
- Cut a rectangular opening on the side for planting. The hole should be 8–10 cm wide and 6–8 cm tall.
- Create drainage holes at the bottom of each bottle to prevent waterlogging.
- Optional: Use the bottle cap to control water flow, leaving a small hole for drip irrigation.
Bottles can be used horizontally or vertically; both work well depending on space.
Choosing the Right Soil Mix
Malabar spinach prefers well-draining soil rich in organic matter. A good potting mix includes:
- 50% garden soil
- 30% compost
- 20% coco peat or sand
This mix retains moisture without becoming soggy and provides nutrients for lush growth.
Planting Malabar Spinach
From Seeds:
- Soak seeds for 24 hours to improve germination
- Plant 2–3 seeds per bottle at 1–2 cm depth
- Lightly water and keep soil moist until germination (7–10 days)
From Seedlings:
- Transplant seedlings gently to avoid root damage
- Place the root ball in the bottle and fill around with soil
- Water lightly
Light and Temperature Requirements
Malabar spinach thrives in warm conditions:
- Full sun for at least 4–6 hours daily
- Ideal temperature: 20–35°C
- Can tolerate partial shade, but growth may slow
If growing indoors, place bottles near a sunny window or use a grow light.
Watering and Fertilizing
Watering:
- Keep the soil consistently moist but not waterlogged
- Water more frequently during hot, dry weather
- Mulching the soil can help retain moisture
Fertilizing:
- Use organic compost every 2–3 weeks
- Liquid fertilizers like vermicompost leachate encourage faster growth
- Avoid over-fertilizing nitrogen-heavy fertilizers as it may reduce leaf quality
Supporting the Vines
Malabar spinach is a climber and will need support for optimal growth.
- Use sticks, bamboo poles, or strings tied to a wall or railing
- Train vines as they grow to prevent tangling
- A well-supported vine produces more leaves and keeps them healthy
Vertical growth also saves space and improves airflow, reducing disease risks.
Harvesting for Endless Supply
One of the best things about Malabar spinach is the cut-and-come-again method:
- Start harvesting when plants reach 20–30 cm in height
- Cut leaves and tender stems 5–10 cm above the soil
- Leave the main stem and some leaves for regrowth
- Repeat harvesting every 7–10 days
With proper care, you can enjoy a continuous harvest for several months.
Common Pests and Diseases
Malabar spinach is generally hardy, but keep an eye on:
- Aphids – Spray with neem oil or insecticidal soap
- Leaf miners – Remove affected leaves promptly
- Fungal issues – Ensure good airflow and avoid water on leaves
Regular inspection and early intervention prevent major damage.
Tips for Maximum Growth and Yield
- Rotate bottles occasionally for even sunlight exposure
- Trim excessive growth to encourage lateral shoots
- Provide support for heavy vines
- Keep soil nutrient-rich with regular compost or organic liquid feed
- Use hanging bottles to avoid pests crawling from the ground
Following these tips ensures a lush, productive garden all year round.
Benefits of a Plastic Bottle Garden
- Minimal space required—ideal for apartments or balconies
- Eco-friendly by reusing plastic bottles
- Continuous fresh greens without store trips
- Educational for kids and family, demonstrating sustainability
- Portable, allowing easy relocation to suit sunlight and weather
With creativity, you can expand your garden vertically or create multi-level bottle walls.
Final Thoughts
Creating a DIY plastic bottle garden for Malabar spinach is simple, cost-effective, and rewarding. This method gives urban gardeners, apartment dwellers, and anyone with limited space the chance to grow fresh, nutritious greens at home. By following proper planting, watering, and care techniques, you can enjoy an endless supply of succulent leaves suitable for salads, soups, and stir-fries.
Once you start, the cycle of planting, supporting, and harvesting becomes almost effortless, turning a few recycled bottles into a thriving, productive garden that keeps giving—leaf after leaf, month after month.