If you love fresh vegetables but lack a garden, growing pak choi (also called bok choy) in a tray is a game-changer. This nutrient-packed leafy green, popular in Asian cuisine, is rich in vitamins A, C, and K, calcium, and antioxidants. With minimal space and effort, you can enjoy homegrown pak choi right from your kitchen, balcony, or windowsill. Whether you’re a beginner gardener or simply looking for a quick and easy way to supplement your meals with fresh greens, tray gardening offers an ideal solution. This guide will show you how to easily grow pak choi in a tray and enjoy continuous harvests.
Why Grow Pak Choi at Home?
There are several reasons why pak choi is a perfect candidate for indoor or small-space gardening:
- Fast-Growing: Pak choi is one of the fastest-growing leafy vegetables. From seed to harvest, it usually takes 30–45 days, making it ideal for quick kitchen gardening.
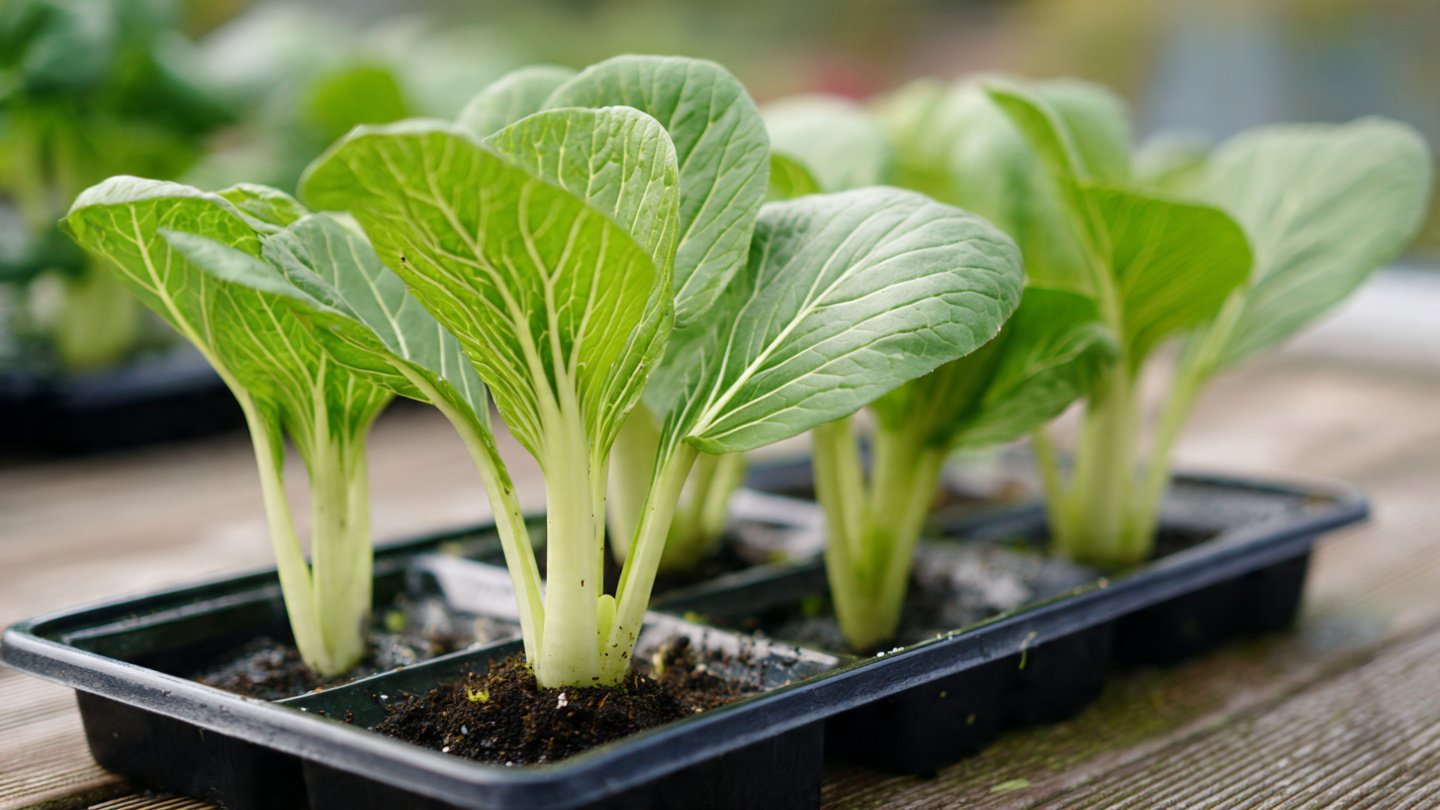
- Compact Size: Pak choi does not require deep soil or large containers. A shallow tray is enough to grow multiple plants.
- Continuous Harvest: By planting seeds in intervals, you can enjoy a steady supply of fresh greens for several months.
- Nutritional Value: Pak choi is low in calories and high in essential nutrients, making it a healthy addition to salads, stir-fries, and soups.
- Easy to Grow: Even beginners can grow pak choi successfully with proper care and a few simple steps.
Step 1: Choosing the Right Tray
The first step is selecting a tray suitable for pak choi:
- Size: Choose a tray at least 2–3 inches deep for soil. Wider trays allow you to grow multiple plants.
- Drainage: Ensure the tray has drainage holes at the bottom to prevent waterlogging, which can lead to root rot. If your tray does not have holes, you can drill a few small ones.
- Material: Plastic trays are lightweight and inexpensive, while ceramic or wooden trays provide durability and aesthetics.
For indoor gardeners with limited space, trays that can fit on windowsills or shelves are ideal.
Step 2: Preparing the Soil
Pak choi prefers well-draining, fertile soil with a slightly acidic to neutral pH (6.0–7.0). Here’s how to prepare the soil:
- Mix Potting Soil and Compost: Combine potting mix with compost to provide nutrients for leafy growth.
- Add Perlite or Sand: This improves drainage and prevents soil compaction.
- Moisture Check: The soil should be moist but not soggy. Consistent moisture encourages fast growth without causing root issues.
For tray gardening, filling the tray with 1–2 inches of enriched soil is usually sufficient for pak choi seedlings.
Step 3: Sowing Pak Choi Seeds
Sowing seeds properly ensures healthy seedlings:
- Evenly Spread Seeds: Scatter the seeds across the surface of the tray, leaving space for air circulation. You can grow dense seedlings and later thin them out.
- Cover Lightly: Sprinkle a thin layer of soil (about ¼ inch) over the seeds to protect them and help retain moisture.
- Water Gently: Use a spray bottle or gentle watering can to moisten the soil without washing seeds away.
- Provide Warmth: Pak choi seeds germinate best in temperatures between 15–20°C (59–68°F). Keep the tray in a warm spot or near a sunny window.
Seeds usually germinate in 5–7 days.
Step 4: Thinning Seedlings
Once seedlings have developed two true leaves, thinning is necessary:
- Remove weaker or overcrowded seedlings to prevent competition for nutrients and light.
- Leave about 4–6 inches between each plant for optimal growth.
- Transplanted seedlings can be reused in another tray if desired.
Thinning helps pak choi grow larger, healthier leaves instead of stunted or crowded plants.
Step 5: Light Requirements
Pak choi thrives in bright, indirect sunlight:
- Indoor Growing: Place the tray near a south-facing window for at least 4–6 hours of sunlight per day.
- Artificial Light: If natural light is insufficient, use LED grow lights positioned 6–12 inches above the plants. Keep the lights on for 12–14 hours per day to simulate sunlight.
- Rotate the Tray: Rotate the tray every few days to ensure even growth and prevent seedlings from leaning toward the light source.
Proper light is crucial for healthy, leafy growth and prevents pak choi from becoming leggy or bitter.
Step 6: Watering and Fertilization
Consistent moisture and nutrients are key to a thriving tray of pak choi:
- Watering: Keep the soil evenly moist. Use a spray bottle or small watering can to avoid washing away seedlings.
- Avoid Waterlogging: Ensure the tray has drainage holes and excess water drains away.
- Fertilization: Use a liquid organic fertilizer or compost tea every 2–3 weeks. Nitrogen-rich fertilizers encourage lush leaf growth, which is essential for pak choi.
Indoor tray gardens may need more frequent watering than outdoor gardens, especially in dry climates or heated rooms.
Step 7: Pest and Disease Management
Even in trays, pak choi can attract pests or diseases:
- Aphids: Small green insects that cluster on leaves. Spray with neem oil or insecticidal soap.
- Flea Beetles: Tiny holes in leaves indicate their presence. Use row covers or sticky traps to protect seedlings.
- Fungal Diseases: Overwatering can cause damping-off or mold. Ensure good airflow and avoid soggy soil.
- Regular Inspection: Check leaves and stems daily to catch issues early.
Indoor tray gardening reduces exposure to many garden pests, but vigilance is still necessary.
Step 8: Harvesting Pak Choi
Pak choi can be harvested in stages, depending on your cooking needs:
- Baby Leaves: Snip leaves when they are 3–4 inches long for tender greens suitable for salads and stir-fries.
- Mature Plants: Harvest the entire plant when it reaches 6–12 inches tall. Cut at the base just above the soil line.
- Continuous Harvest: If you sow seeds every 1–2 weeks, you can enjoy a continuous supply of fresh greens from the same tray.
Harvesting regularly also encourages new growth, allowing multiple yields from a single tray.
Tips for Success
- Stagger Planting: Sow new seeds every 1–2 weeks to maintain a steady harvest.
- Avoid Leggy Growth: Provide adequate light and rotate trays to ensure even growth.
- Use Shallow Trays: Pak choi doesn’t need deep soil, making it ideal for windowsills or small balconies.
- Experiment with Flavors: Try different varieties like Shanghai bok choy, Taiwanese pak choi, or dwarf green pak choi for variety in taste and texture.
- Pair with Other Greens: Grow lettuce, spinach, or arugula in the same tray for a mini salad garden.
Advantages of Growing Pak Choi in a Tray
- Space Efficiency: Ideal for apartments, kitchens, or balconies.
- Quick Harvest: Ready in 30–45 days.
- Low Cost: Minimal investment in seeds, soil, and trays.
- Healthy Eating: Always have fresh, pesticide-free greens available.
- Educational and Fun: Great for children or beginners learning about gardening and plant growth.
Conclusion
Growing pak choi in a tray is not only simple and practical, but it’s also incredibly rewarding. With a shallow tray, nutrient-rich soil, consistent water, and a bit of light, you can harvest fresh, nutritious greens in just a few weeks. Whether you’re a busy urban dweller, an indoor gardening enthusiast, or simply someone who loves homegrown food, tray gardening offers an easy and efficient way to enjoy leafy vegetables year-round.
From sowing seeds to harvesting tender leaves, the process is straightforward and beginner-friendly. By following this guide, you can create a thriving mini garden on your windowsill, kitchen counter, or balcony tray. With proper care, continuous sowing, and a little patience, your tray of pak choi will provide delicious, healthy, and visually appealing greens for your meals—and maybe even inspire you to expand your indoor gardening adventure.