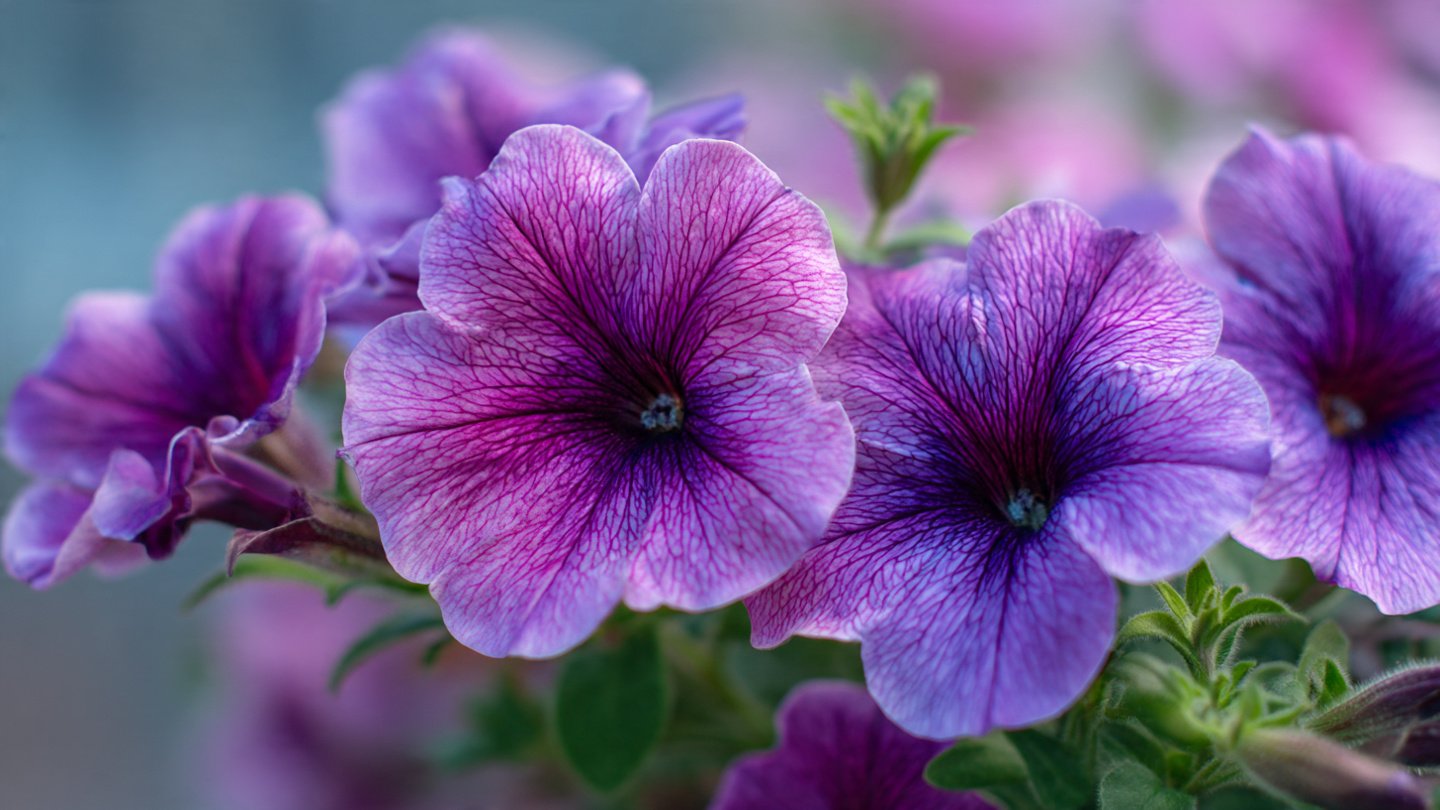
Petunias are among the most vibrant and versatile flowering plants you can grow at home. Their bright, colorful blooms can light up gardens, balconies, or window boxes, making them a favorite among gardeners. While buying new petunia plants is always an option, propagating petunias from cuttings is a cost-effective and rewarding way to multiply your plants while preserving the beauty and characteristics of your favorite varieties.
Whether you are a beginner or an experienced gardener, mastering the art of petunia propagation ensures a continuous supply of flowers throughout the season. This guide walks you through the best techniques for successfully propagating petunia cuttings at home, from selecting the right stems to nurturing strong, healthy plants.
Why Propagate Petunias from Cuttings
Propagating petunias from cuttings offers several advantages over growing from seeds:
- Faster bloom time: Cuttings produce flowers more quickly than seeds.
- Preserves plant traits: Ensures the new plants are true to the parent’s color, pattern, and growth habit.
- Cost-effective: Multiplying plants without purchasing seeds or seedlings.
- Continuous supply: Maintain a steady rotation of blooming plants throughout the season.
By learning proper cutting and rooting techniques, gardeners can enjoy a thriving display of petunias year after year.
Selecting the Right Parent Plant
Healthy parent plants are key to successful propagation:
- Choose a petunia that is disease-free and actively growing.
- Select strong, non-flowering stems for cuttings. Flowering stems are less likely to root successfully.
- Look for stems that are firm, green, and about 4–6 inches long.
Using vigorous parent plants ensures your cuttings have a higher chance of rooting and producing robust growth.
Preparing Petunia Cuttings
Once you have chosen the parent plant, it’s time to take cuttings:
- Cut a 4–6 inch stem: Use sterilized scissors or pruning shears to make a clean cut just below a node.
- Remove lower leaves: Strip leaves from the lower half of the cutting to reduce moisture loss and prevent rotting.
- Pinch flower buds: Remove any buds or flowers to direct energy toward root development.
- Optional rooting hormone: Dip the cut end into a rooting hormone powder or gel to accelerate root formation.
Proper preparation of cuttings increases the likelihood of fast and strong root growth.
Choosing the Right Medium
Petunia cuttings root best in well-draining, lightweight media that retains moisture without becoming soggy. Common options include:
- Perlite and vermiculite mix: Excellent aeration and drainage.
- Cocopeat or peat moss: Retains moisture while allowing air circulation.
- Seed-starting mix: Fine-textured and sterile, reducing risk of fungal infection.
Fill a small pot or tray with the chosen medium, gently firm it, and make a hole for inserting the cutting.
Planting Petunia Cuttings
Planting the cuttings correctly ensures healthy root development:
- Insert the cut end of the petunia into the prepared medium about 1–2 inches deep.
- Firm the soil gently around the cutting to support it upright.
- Water lightly to settle the medium around the stem.
Avoid burying the cutting too deep, which can cause rot, or leaving it too shallow, which may dry out the base.
Creating the Ideal Environment for Rooting
Petunia cuttings root best under controlled conditions:
- Light: Provide bright, indirect light; avoid direct sunlight, which can scorch tender cuttings.
- Temperature: Maintain a warm environment around 20–25°C (68–77°F) for optimal root formation.
- Humidity: High humidity encourages rooting. Cover cuttings with a plastic dome or a clear plastic bag, leaving small openings for airflow.
- Air circulation: Ensure gentle airflow to prevent fungal growth and damping-off disease.
Creating a favorable environment encourages faster root development and reduces stress on cuttings.
Watering and Care
Proper moisture management is crucial during rooting:
- Keep the medium consistently moist but not soggy.
- Mist cuttings lightly to maintain humidity.
- Avoid overwatering, which can cause stem rot.
- Remove the plastic covering gradually once roots begin forming to acclimate the cuttings to normal conditions.
Regular care during this stage ensures strong, healthy root systems.
Monitoring Root Development
Rooting typically takes 2–4 weeks depending on environmental conditions and plant health:
- Gently tug the cutting after 2–3 weeks to check for resistance, indicating root formation.
- Look for new growth at the top of the cutting, a sign that roots are establishing.
- Avoid disturbing cuttings unnecessarily, as this can damage fragile developing roots.
Patience during this stage is key to success.
Transplanting Rooted Cuttings
Once roots are well-established, it’s time to move cuttings into larger containers or garden beds:
- Prepare a pot with well-draining, nutrient-rich soil.
- Carefully lift the rooted cutting from the propagation medium, keeping roots intact.
- Plant the cutting in the new container, firming the soil around it.
- Water gently to settle the soil and support the plant.
Rooted cuttings should now be ready for normal care, including sunlight, watering, and fertilization.
Fertilizing Young Plants
Young petunia plants benefit from regular feeding to encourage flowering:
- Use a balanced liquid fertilizer every 2–3 weeks.
- Avoid over-fertilizing, which can promote leaf growth at the expense of flowers.
- Fertilize more frequently once the plant is actively flowering.
Proper nutrition ensures vibrant blooms and sustained growth throughout the season.
Maintaining Healthy Petunias
To keep propagated petunias thriving:
- Pinch back stems periodically to encourage bushier growth and more blooms.
- Remove spent flowers to promote continuous flowering.
- Monitor for pests such as aphids, whiteflies, or spider mites and treat promptly.
- Provide support for sprawling varieties to keep plants tidy and healthy.
Consistent maintenance ensures long-lasting, colorful displays.
Common Challenges and Solutions
- Stem rot: Caused by overwatering or poor drainage; use well-draining medium and proper watering.
- Failure to root: Check that cuttings are from healthy parent plants and maintained in proper light, temperature, and humidity.
- Pest infestation: Keep propagation area clean and inspect regularly.
- Fungal diseases: Provide good air circulation and avoid overcrowding.
Early detection and preventive care increase your chances of successful propagation.
Benefits of Propagating Petunias at Home
- Cost-effective way to multiply plants without buying new ones.
- Preserve favorite flower colors, patterns, and plant traits.
- Provides a continuous supply of blooms throughout the season.
- Ideal for container gardening, balconies, and small spaces.
Propagation is not only economical but also rewarding, offering gardeners the satisfaction of growing beautiful flowers from their own plants.
Final Thoughts
Propagating petunias from cuttings is an easy and effective way to multiply your plants while ensuring consistent blooms and vibrant colors. By selecting healthy parent plants, preparing cuttings correctly, using a suitable medium, and providing optimal environmental conditions, you can successfully root and grow new petunia plants at home.
Whether you are a beginner or an experienced gardener, mastering petunia propagation allows you to maintain a colorful, flourishing garden or balcony year after year. With patience, care, and attention to detail, your propagated petunias will reward you with stunning flowers that brighten your home and outdoor spaces.