Chili peppers are one of the most versatile and rewarding plants to grow in home gardens. From fiery hot varieties to sweet bell peppers, chilies not only add flavor to dishes but also offer numerous health benefits due to their high vitamin and capsaicin content. However, growing chili peppers can sometimes be a challenge—slow germination, inconsistent growth, and low yields are common problems that many gardeners face.
The good news is that revolutionary gardening methods are making it easier than ever to grow chili peppers with faster germination and higher yields. By adopting innovative planting techniques, gardeners can maximize productivity, enjoy a continuous harvest, and even cultivate chilies in smaller spaces without sacrificing quality. This guide will walk you through this exciting new method and provide all the tips you need to get thriving chili plants.
Why Chili Fruit Gardening Can Be Challenging
Despite being hardy plants, chili peppers have some characteristics that make traditional planting tricky:
- Slow Germination – Chili seeds can take 2–3 weeks to sprout under normal conditions.
- Nutrient Sensitivity – Chilies require nutrient-rich soil for optimal growth.
- Temperature Dependence – They thrive in warm conditions, and cold or inconsistent temperatures can delay germination.
- Pest and Disease Susceptibility – Fungal diseases, aphids, and mites can hinder plant development.
These challenges often discourage gardeners, especially beginners, from growing chili peppers. But with a few modern techniques, these issues can be significantly reduced.
The Revolutionary Idea: Pre-Germination and Controlled Seedling Growth
The core of this innovative method revolves around pre-germinating seeds and using controlled seedling growth to ensure faster sprouting and higher yield. The concept is simple: instead of planting chili seeds directly in soil and waiting for them to sprout, you stimulate germination before planting, then transfer the seedlings to nutrient-rich growing media under optimal conditions.
This approach offers several advantages:
- Faster germination – Seeds sprout in days rather than weeks.
- Higher survival rate – Only healthy, strong seedlings are planted.
- Uniform growth – Plants develop evenly, leading to better yields.
- Stress reduction – Young seedlings avoid the shocks of poor soil, drought, or pests.
Materials Needed
To implement this method, gather the following materials:
- High-quality chili seeds (choose a variety suited to your climate)
- Paper towels or cotton pads
- Plastic trays or small containers
- Ziplock bags or seedling trays with transparent lids
- Sterilized potting soil with compost or organic fertilizer
- Watering can or spray bottle
- Optional: heated seed mat for cold climates
- Grow lights or sunny windowsill for indoor germination
Having these materials ready will make the process smooth and increase the chances of success.
Step 1: Pre-Germination Using the Paper Towel Method
Pre-germination is the first step in revolutionary chili planting. Here’s how to do it:
- Take a paper towel or cotton pad and moisten it with water. It should be damp but not dripping.
- Spread chili seeds evenly on the towel, leaving some space between them.
- Fold the towel gently over the seeds to cover them.
- Place the towel in a ziplock bag or cover with a transparent container to retain moisture.
- Keep the setup in a warm location (70–85°F or 21–29°C).
- Check daily to ensure the towel stays moist. Seeds should start sprouting within 3–7 days depending on the variety.
- Pro tip: Using a heated seed mat can accelerate germination, especially in cooler climates.
This method guarantees faster and more uniform germination than direct soil planting.
Step 2: Preparing Seedlings for Planting
Once seeds sprout, it’s time to transfer them to soil for continued growth.
- Fill seedling trays or small pots with sterilized potting soil enriched with compost or organic fertilizer.
- Make small holes about 1/4 inch deep and gently place the sprouted seeds or tiny seedlings into the soil.
- Cover lightly and water gently to avoid washing away the delicate roots.
- Place seedlings in a bright, warm location, ideally with 12–16 hours of light daily.
- Maintain consistent moisture—soil should be damp but not soggy.
By starting seedlings in controlled conditions, you ensure strong, healthy plants that are more likely to survive transplanting and thrive in the garden.
Step 3: Optimal Spacing and Planting
Once seedlings reach 3–4 inches in height with a few sets of true leaves, they are ready for planting in their final location. Proper spacing is crucial for higher yields:
- Outdoor garden: Space chili plants 12–18 inches apart in rows 24–36 inches apart.
- Pots or containers: Use pots at least 8–12 inches wide for smaller varieties and 12–16 inches for larger types.
- Ensure good air circulation to reduce fungal diseases.
Planting at the right spacing prevents competition for sunlight and nutrients, leading to stronger plants and more fruit production.
Step 4: Fertilization for Maximum Yield
Fertilizing chili plants is key to higher fruit production. Follow these guidelines:
- Use a balanced fertilizer (NPK 10:10:10) during vegetative growth.
- Once the plant flowers, switch to a fertilizer higher in phosphorus and potassium to encourage fruit development.
- Apply fertilizer every 2–3 weeks, or use organic options like compost tea or fish emulsion for consistent nutrients.
Consistent nutrition ensures that plants grow vigorously, flower prolifically, and produce larger, juicier chili fruits.
Step 5: Watering and Mulching
Water management is critical for healthy chili plants:
- Consistent moisture: Keep soil consistently damp but not waterlogged. Overwatering can lead to root rot.
- Mulching: Apply a thin layer of straw or shredded leaves around the base of the plant to retain moisture, suppress weeds, and regulate soil temperature.
- Drip irrigation: If possible, use a drip system to provide steady moisture and avoid wetting foliage, which can reduce fungal risk.
Proper watering and mulching reduce stress on the plants, which contributes to faster growth and higher fruit yield.
Step 6: Pruning for Productivity
Pruning chili plants encourages better air circulation, stronger stems, and more fruit:
- Remove lower leaves and small branches that do not receive enough sunlight.
- Pinch off the growing tips to encourage branching and more flower clusters.
- Regularly remove any diseased or damaged leaves.
This simple maintenance step ensures that the plant focuses energy on producing flowers and fruit rather than excessive foliage.
Step 7: Pest and Disease Management
Healthy plants produce more fruit, and controlling pests is vital:
- Aphids and mites: Spray with water, neem oil, or insecticidal soap.
- Fungal infections: Ensure good air circulation and avoid overhead watering.
- Fruit worms or caterpillars: Inspect regularly and remove manually or use organic pest control.
Proactive pest and disease management prevents yield loss and ensures a thriving harvest.
Step 8: Harvesting for Continuous Production
Chili peppers are typically ready to harvest 60–90 days after transplanting, depending on the variety:
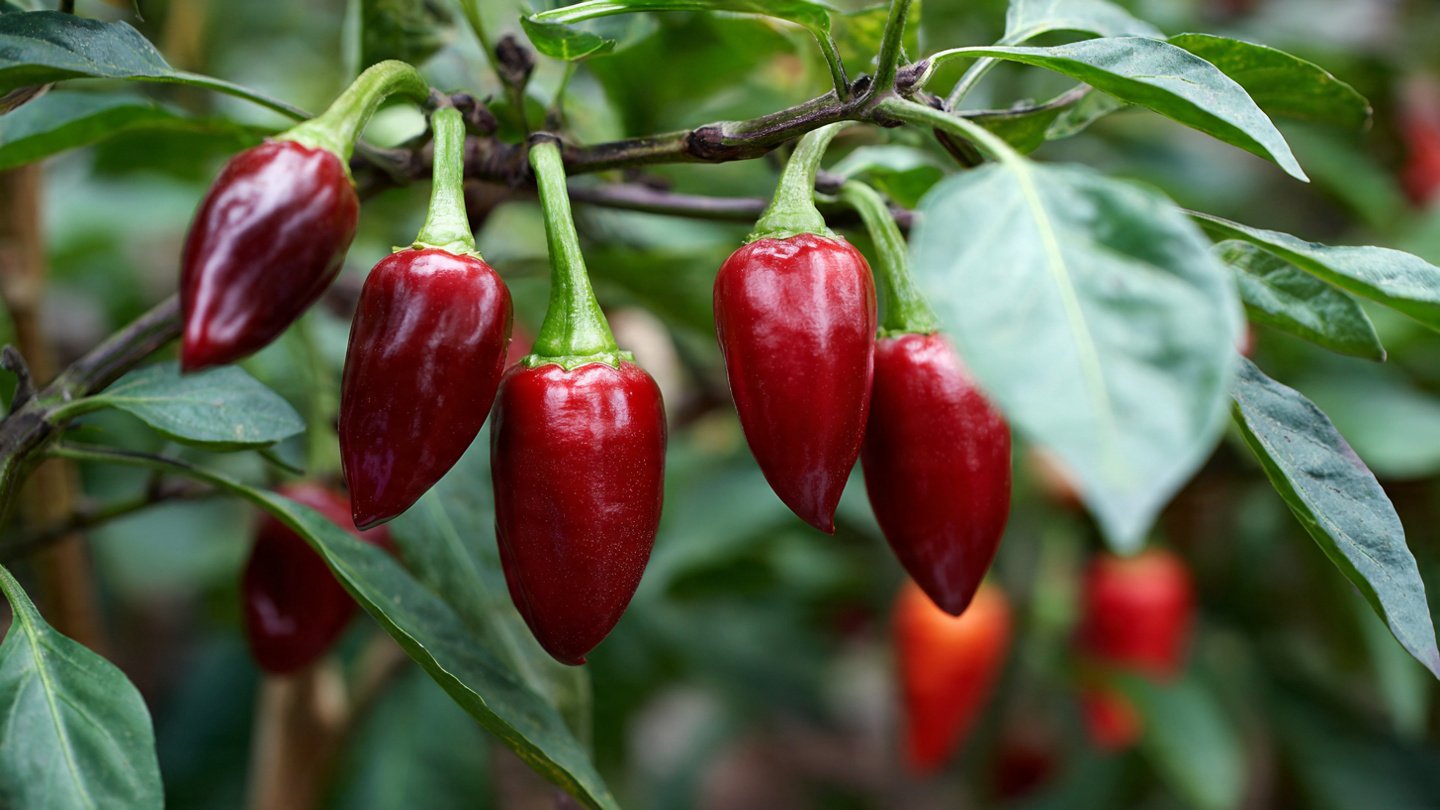
- Harvest green chilies for a mild flavor or wait until they ripen to red, yellow, or orange for full heat.
- Regular picking encourages the plant to produce more flowers and fruits.
- Use scissors or hand-pick carefully to avoid damaging stems.
By harvesting regularly, you ensure continuous production and maximum yield throughout the growing season.
Additional Tips for Maximum Success
- Choose high-yielding varieties such as Cayenne, Jalapeno, or Thai chilies.
- Rotate crops annually to prevent soil-borne diseases if planting in garden beds.
- Supplement with organic foliar sprays like seaweed extract to stimulate growth.
- Use stakes or cages for taller chili varieties to prevent stem breakage under heavy fruit load.
Following these tips enhances your chances of achieving robust growth and abundant harvests.
Why This Revolutionary Method Works
This modern approach guarantees faster germination and higher yields because it:
- Reduces seed failure by starting seedlings in controlled conditions.
- Ensures uniform growth and strong root systems before transplanting.
- Optimizes nutrition, water, and sunlight for maximum flowering and fruiting.
- Protects young plants from environmental stressors and pests.
The result is a thriving chili garden with predictable, bountiful harvests—perfect for home cooks, small-scale gardeners, or anyone looking to boost productivity.
Conclusion
With this revolutionary gardening method, growing chili peppers becomes faster, easier, and far more rewarding. By pre-germinating seeds, nurturing seedlings under optimal conditions, and following best practices for planting, watering, fertilizing, and pruning, gardeners can enjoy faster germination and consistently higher yields.
Whether you’re a seasoned gardener or just starting out, this approach transforms chili growing from a gamble into a reliable and productive venture. Imagine harvesting a steady supply of fresh, vibrant chilies from your backyard or balcony, knowing that each step you took was designed for success.
Start implementing this innovative chili planting technique today and enjoy the double benefits of faster germination and higher yields, making your gardening efforts truly revolutionary!