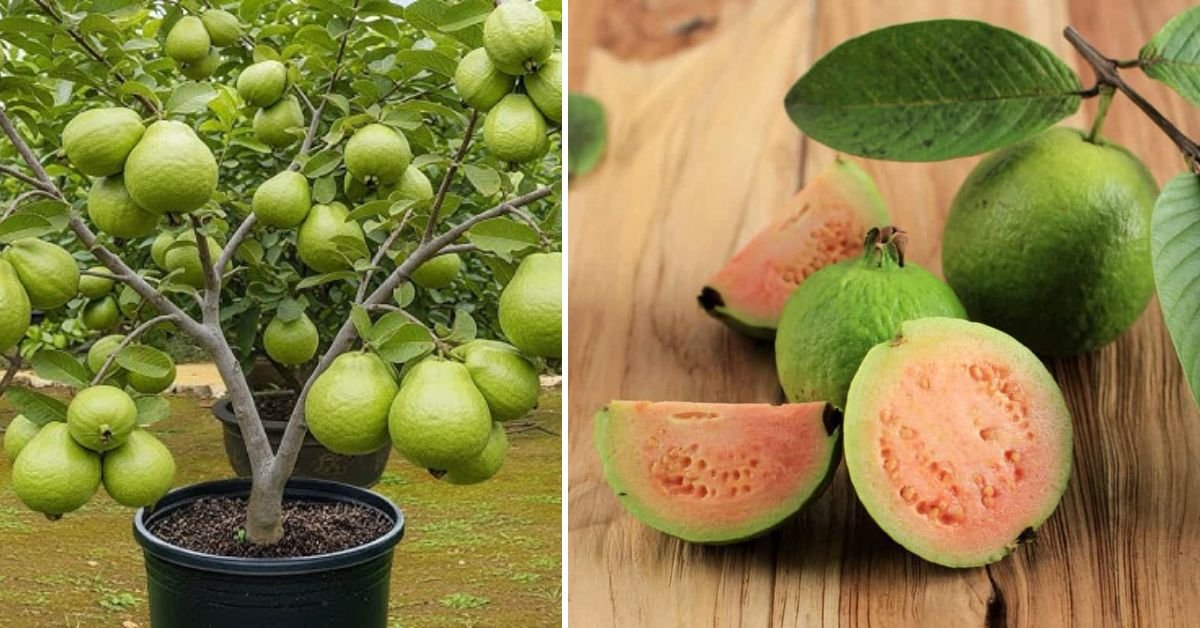
Guava is one of the most rewarding fruit trees for home gardeners, but growing it from seed can test your patience. Seed-grown guava plants often take years to fruit, and the quality of the harvest can be unpredictable. This is where grafting becomes a game changer. By using a simple yet effective guava grafting technique, you can dramatically speed up growth, ensure superior fruit quality, and enjoy sweeter, more reliable harvests.
This detailed guide reveals a practical, beginner-friendly guava grafting method that has helped countless gardeners achieve faster results without expensive tools or complicated procedures.
Why Grafting Is a Game Changer for Guava Growers
Grafting is the process of joining two plants so they grow as one. The lower part (rootstock) provides strength and disease resistance, while the upper part (scion) determines fruit quality.
Key benefits of grafting guava include:
- Faster fruiting compared to seed-grown plants
- Guaranteed fruit taste, size, and sweetness
- Stronger root systems and better adaptability
- Uniform growth and consistent yields
Instead of waiting 3–5 years for fruit, grafted guava plants can start producing in as little as 18–24 months under good care.
Understanding the Secret Behind Faster Growth
The real secret of revolutionary guava grafting lies in combining the right rootstock with a proven, high-quality scion. When done correctly, the plant spends less energy establishing roots and more energy on growth, flowering, and fruiting.
Healthy rootstock absorbs nutrients efficiently, while the scion carries the genetic traits responsible for sweetness and aroma. This powerful combination accelerates the plant’s development naturally.
Choosing the Right Rootstock
Rootstock selection is critical for grafting success.
Ideal rootstock characteristics:
- Grown from healthy, disease-free seeds
- About pencil thickness
- 6–12 months old
- Well-established roots
Seedlings grown in local soil conditions make excellent rootstock because they are already adapted to the climate and environment.
Selecting a High-Quality Scion
The scion determines the quality of your guava fruits.
Choose scion wood that is:
- Taken from a known high-yielding, sweet guava tree
- Semi-hardwood (not too soft or woody)
- Free from pests and diseases
- About 10–15 cm long with 2–3 healthy buds
Using the right scion ensures the grafted plant produces fruits identical to the parent tree.
The Simple Guava Grafting Technique (Step-by-Step)
This easy method works well for beginners and has a high success rate.
Step 1: Prepare the Rootstock
Cut the rootstock stem cleanly at about 15–20 cm above the soil level. Make a vertical slit (about 3–4 cm deep) at the center of the cut stem.
Step 2: Prepare the Scion
Trim the bottom of the scion into a wedge shape so it fits snugly into the slit of the rootstock.
Step 3: Join the Two Parts
Insert the scion into the slit, ensuring the cambium layers (the green tissue just under the bark) of both parts touch. This contact is essential for successful grafting.
Step 4: Secure the Graft
Wrap the graft union tightly with grafting tape or plastic strip to hold the scion firmly in place and prevent moisture loss.
Step 5: Cover for Protection
Cover the grafted area with a transparent plastic bag to maintain humidity. Make small holes for airflow.
Best Time to Graft Guava for Maximum Success
Timing plays a major role in grafting success.
Ideal conditions:
- Warm temperatures
- Moderate humidity
- Active sap flow in plants
Late winter to early summer is often the best period, depending on your climate. Avoid extreme cold or peak heat, as both can reduce success rates.
Post-Grafting Care: Where Most Gardeners Go Wrong
Proper aftercare is just as important as the graft itself.
Essential post-grafting tips:
- Keep the plant in partial shade for 2–3 weeks
- Avoid direct sunlight on the graft union initially
- Water regularly but do not overwater
- Remove any shoots that grow below the graft
Within 2–4 weeks, you should see new leaves emerging from the scion—an exciting sign of success.
Encouraging Faster Growth After Grafting
Once the graft has taken, focus on rapid but healthy growth.
Smart growth boosters:
- Apply well-rotted compost or vermicompost every 20–30 days
- Use organic liquid feeds like compost tea
- Ensure full sunlight after the graft is well established
- Mulch around the base to retain moisture
Balanced nutrition helps the plant grow quickly without becoming weak or leggy.
Why Grafted Guava Fruits Are Sweeter
Sweetness in guava depends largely on genetics and plant health. Since the scion comes from a proven sweet variety, the fruits inherit those traits directly.
Additionally, grafted plants:
- Flower earlier
- Set fruits more uniformly
- Develop better sugar content due to efficient nutrient uptake
This results in consistently sweeter, more flavorful guavas compared to seed-grown trees.
Common Mistakes to Avoid
Avoid these errors to ensure success:
- Using unhealthy or mismatched plant material
- Loose wrapping at the graft union
- Allowing moisture to enter the graft area
- Ignoring post-graft care
Even a simple graft can fail if these basics are overlooked.
How Soon Will You See Results?
With this simple grafting method:
- Graft union heals in 2–4 weeks
- Strong new growth appears within 1–2 months
- Flowering may begin within a year
- Fruits develop much earlier than seed-grown plants
The difference in growth speed is noticeable and rewarding.
Final Thoughts: A Simple Technique with Powerful Results
Guava grafting doesn’t require advanced skills or costly equipment. With the right timing, healthy plant material, and consistent care, this revolutionary yet simple technique can transform how you grow guava at home.
By grafting wisely, you’re not just saving time—you’re guaranteeing better fruits, faster harvests, and a healthier tree. For gardeners seeking reliable success and sweeter guavas, this method truly delivers on its promise.