Growing microgreens at home is one of the easiest and most rewarding ways to add fresh nutrition to your daily meals. These young vegetable greens may be small in size, but they are packed with flavor, color, and nutrients. Whether you have a spacious backyard, a small balcony, or just a sunny windowsill, microgreens can thrive almost anywhere with minimal effort. This guide will walk you through everything you need to know to grow healthy microgreens easily and successfully at home.
What Are Microgreens and Why Grow Them?
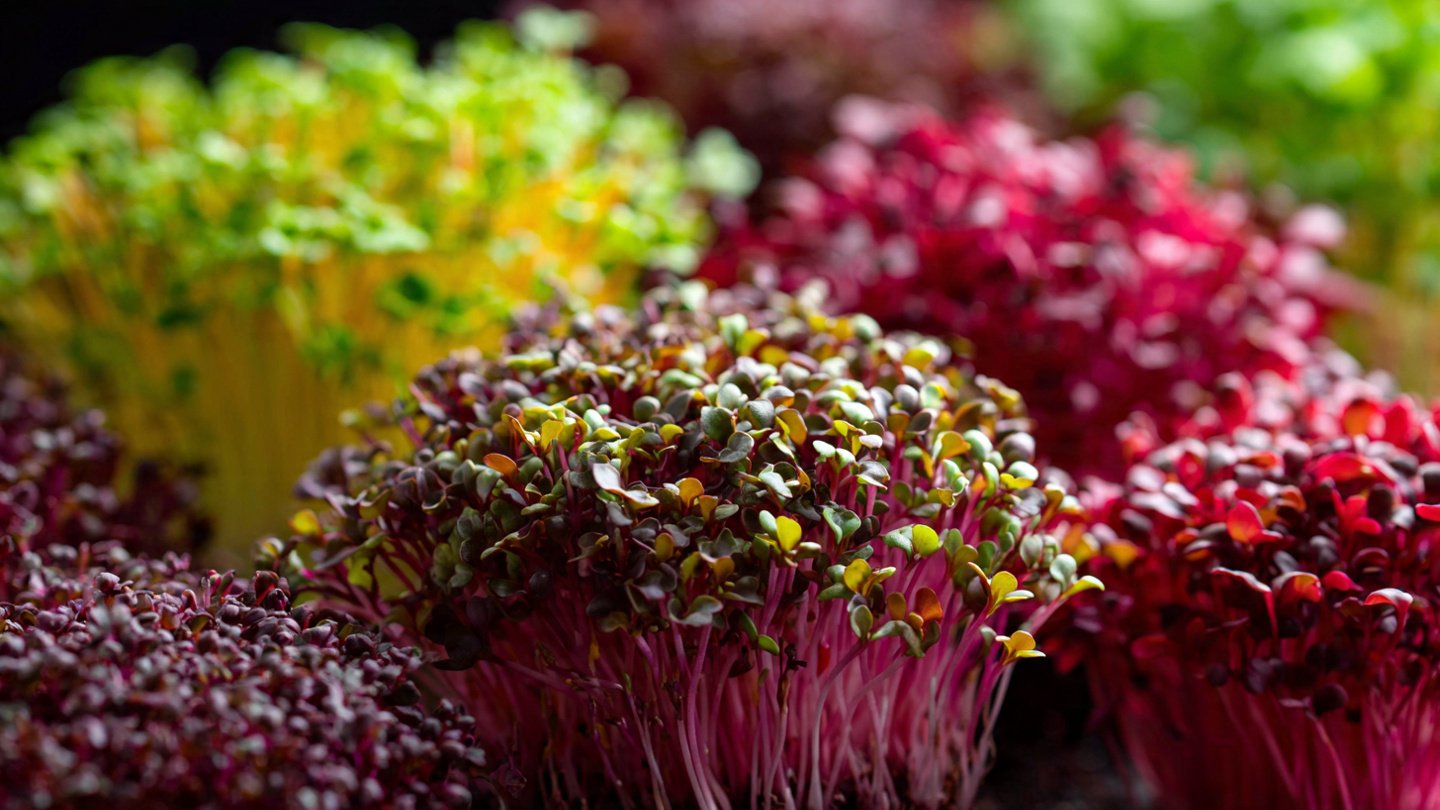
Microgreens are young seedlings of vegetables and herbs harvested just after the first true leaves develop. They typically grow within 7 to 21 days, depending on the variety. Popular microgreens include radish, mustard, broccoli, kale, peas, sunflower, coriander, and beetroot.
People love growing microgreens because they are:
- Highly nutritious – Often containing higher concentrations of vitamins and antioxidants than mature plants.
- Fast-growing – Ready to harvest in just a couple of weeks.
- Space-efficient – Perfect for apartments and small homes.
- Cost-effective – Cheaper than buying store-bought microgreens regularly.
- Fresh and chemical-free – You control what goes into your food.
Choosing the Right Microgreens to Grow
For beginners, it’s best to start with easy and fast-growing varieties. Radish, mustard, fenugreek (methi), and broccoli are excellent choices. Once you gain confidence, you can experiment with peas, sunflower, basil, or amaranth.
Always use seeds specifically labeled for microgreens or edible sprouts. These seeds are untreated and safe for consumption, unlike some garden seeds that may be coated with chemicals.
Supplies You’ll Need
You don’t need fancy equipment to get started. Basic household items work just fine.
- Shallow trays or containers (with or without drainage holes)
- Quality potting mix or coco peat
- Microgreen seeds
- Spray bottle for watering
- A sunny windowsill or access to indirect sunlight
Optional but helpful items include grow lights, seed mats, or organic compost for added nutrition.
Step-by-Step Process to Grow Microgreens
1. Prepare the Growing Tray
Fill your tray with 1.5 to 2 inches of moist potting mix or coco peat. Gently level the surface without compacting the soil too much, as roots need air to grow.
2. Sow the Seeds Evenly
Sprinkle seeds evenly across the surface. Avoid overcrowding, as this can lead to poor airflow and mold growth. Microgreens grow close together, but each seed should still have space.
3. Cover and Mist
Lightly press the seeds into the soil and mist them with water. Some growers cover the tray with another tray or a lid for 1–3 days to encourage germination. This creates a dark, humid environment that helps seeds sprout evenly.
4. Provide Light After Germination
Once the seeds sprout, remove the cover and place the tray in bright, indirect sunlight. If natural light is limited, grow lights can be used for 10–12 hours a day.
5. Water Carefully
Use a spray bottle to keep the soil consistently moist, not soggy. Overwatering can cause mold or root rot, so gentle misting is best. Bottom watering (adding water to a tray underneath) is also effective.
Maintaining Healthy Growth
Healthy microgreens depend on the right balance of light, water, and airflow. Rotate trays occasionally to ensure even light exposure. Keep the growing area clean and well-ventilated to reduce the risk of fungal problems.
Avoid using chemical fertilizers. Microgreens don’t need much feeding since they grow quickly and rely mostly on the nutrients stored in the seed. If desired, a mild organic liquid fertilizer can be used sparingly.
Common Problems and Easy Solutions
- Mold on soil surface: Improve airflow, reduce watering, and avoid overcrowding seeds.
- Leggy or weak microgreens: Increase light exposure or move trays closer to the light source.
- Uneven growth: Ensure seeds are spread evenly and soil moisture is consistent.
These issues are common for beginners and easy to fix with small adjustments.
Harvesting Your Microgreens
Microgreens are usually ready to harvest when they are 2–4 inches tall and have developed their first true leaves. This typically takes 7 to 14 days.
Use clean scissors to cut the greens just above the soil line. Harvest only what you need, or cut the entire tray at once for maximum freshness. Wash gently and use immediately, or store in an airtight container in the refrigerator for a few days.
Using Microgreens in Everyday Meals
Microgreens are incredibly versatile. You can add them to:
- Salads and sandwiches
- Smoothies and juices
- Soups and curries (added at the end)
- Omelets, parathas, and wraps
- Garnishes for rice and pasta dishes
Their fresh flavor and vibrant color instantly elevate simple meals.
Tips for Continuous Harvests
To enjoy a steady supply, sow new trays every 5–7 days. This staggered planting method ensures you always have fresh microgreens ready to harvest. Keep notes on what varieties you enjoy most and how long they take to grow in your conditions.
Final Thoughts
Growing healthy microgreens at home is simple, affordable, and deeply satisfying. With minimal space and effort, you can produce fresh, nutrient-rich greens year-round. Whether you’re a beginner gardener or someone looking to eat healthier, microgreens are a perfect starting point. Once you experience the joy of harvesting your own fresh greens, it’s hard to go back to store-bought options.
Start small, stay consistent, and enjoy the process—your home garden will soon be bursting with vibrant, nourishing microgreens.