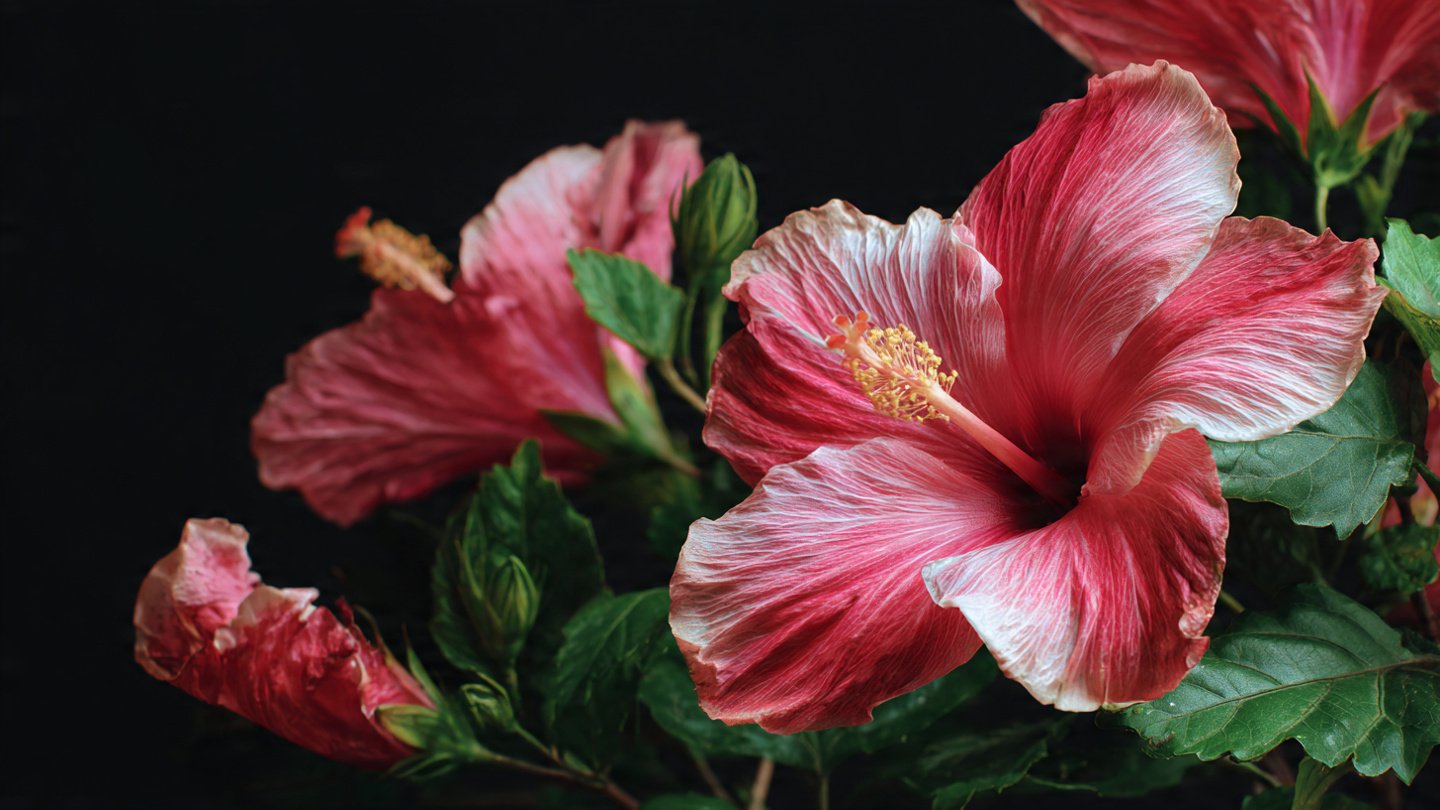
Hibiscus is a tropical beauty admired for its large, vibrant blooms that add a splash of color to gardens, patios, and balconies. Known for its ornamental appeal and medicinal benefits, hibiscus is a favorite among gardeners worldwide. While buying nursery plants is common, propagating hibiscus at home allows gardeners to multiply their favorite varieties, save money, and create a garden full of endless blooms.
With the right techniques, tools, and care, you can grow hibiscus from cuttings, seeds, or grafts and enjoy a steady supply of flourishing plants. This complete guide will walk you through everything you need to know to propagate hibiscus successfully at home.
Why Propagate Hibiscus at Home?
Propagating hibiscus at home offers multiple benefits:
- Cost-Effective: Multiplying your plants from cuttings or seeds reduces the need to purchase new plants.
- Variety Preservation: Ensure you can reproduce your favorite hibiscus variety with identical blooms.
- Control Over Growth: Home propagation lets you manage soil quality, fertilizers, and growing conditions from the start.
- Continuous Blooms: Healthy propagated plants provide fresh blooms for your garden season after season.
Whether your goal is a vibrant patio display, a hedge, or indoor container hibiscus, propagation is the key to creating a lush, colorful garden.
Understanding Hibiscus Propagation Methods
Hibiscus can be propagated in several ways, each with its advantages:
1. Propagating from Cuttings
This is the most common method and ensures new plants are genetically identical to the parent:
- Step 1: Select Healthy Cuttings: Choose semi-hardwood branches that are 4–6 inches long with 3–5 leaves. Avoid flowering stems, as energy should focus on root growth.
- Step 2: Remove Lower Leaves: Strip the bottom leaves, leaving 1–2 at the top.
- Step 3: Apply Rooting Hormone: Dip the cut end in rooting hormone powder to encourage root development.
- Step 4: Planting: Insert the cutting into a pot with well-draining soil or a mix of perlite and peat moss. Firm gently around the base.
- Step 5: Maintain Humidity: Cover with a plastic bag or mini greenhouse to retain moisture. Mist the cutting regularly.
- Step 6: Light and Temperature: Place in bright, indirect sunlight. Keep the soil warm (around 70–75°F / 21–24°C).
- Step 7: Rooting: Roots generally develop in 4–6 weeks. Tug gently to check for resistance, indicating root formation.
Cuttings produce fast-growing plants and flower earlier than seed-grown hibiscus.
2. Propagating from Seeds
Seed propagation allows for experimentation but may not produce plants identical to the parent:
- Step 1: Seed Selection: Choose fresh, viable hibiscus seeds from mature pods.
- Step 2: Soak Seeds: Soak in warm water for 24 hours to soften the hard seed coat.
- Step 3: Planting: Sow seeds ½ inch deep in a light, well-draining seed-starting mix.
- Step 4: Maintain Moisture: Keep soil consistently moist but not waterlogged.
- Step 5: Germination: Seeds usually germinate in 2–4 weeks.
- Step 6: Transplanting: Once seedlings develop 2–3 sets of true leaves, transplant them into larger pots.
Seed-grown plants take longer to bloom but are ideal for breeding new color varieties.
3. Grafting Hibiscus
Grafting is a method used by professional growers to combine desirable traits:
- Step 1: Choose Scion and Rootstock: Select a healthy flowering scion and a robust rootstock.
- Step 2: Make a Precise Cut: Both scion and rootstock are cut at complementary angles.
- Step 3: Join and Secure: Attach the scion to the rootstock and wrap with grafting tape.
- Step 4: Care: Maintain humidity and avoid direct sunlight until the graft takes.
Grafting produces strong, disease-resistant plants with guaranteed flower color but requires more skill than cuttings or seeds.
Choosing the Right Soil for Propagation
Soil quality is critical for successful hibiscus propagation:
- Well-Draining Soil: Hibiscus roots rot in waterlogged conditions. Use a mix of potting soil, sand, and perlite for drainage.
- Nutrient-Rich: Incorporate compost or organic fertilizer to provide essential nutrients for growth.
- Aeration: Loose, airy soil encourages strong root formation and prevents compaction.
A suitable propagation medium ensures healthy roots and vigorous plant growth.
Container and Pot Selection
Proper containers are essential for propagating hibiscus:
- Size: Small pots (4–6 inches) work for cuttings. Once established, transplant into 10–12 inch pots.
- Drainage: Ensure all containers have sufficient holes to prevent standing water.
- Material: Lightweight plastic pots are convenient for moving plants to optimal light or humidity conditions.
Container choice affects root health and plant stability, influencing long-term growth and bloom production.
Caring for Propagated Hibiscus
After planting, consistent care ensures successful growth:
Watering
- Maintain Moisture: Keep soil consistently damp, especially for cuttings.
- Avoid Waterlogging: Ensure excess water drains freely to prevent root rot.
Light
- Indirect Sunlight: Young cuttings prefer filtered light. Avoid direct sun, which can scorch tender leaves.
- Acclimation: Gradually expose plants to full sun as they develop.
Temperature and Humidity
- Warmth: Ideal temperatures for propagation are 70–75°F (21–24°C).
- Humidity: Covering cuttings or placing them in a humidity tray helps prevent leaf dehydration.
Fertilization
- Initial Stage: Avoid heavy fertilization until roots are established.
- After Rooting: Use a balanced, water-soluble fertilizer every 2–3 weeks to encourage leaf growth and blooms.
Troubleshooting Common Issues
Even with proper care, propagation challenges may arise:
- Cuttings Wilt or Die: Often caused by insufficient humidity or overwatering. Maintain consistent moisture and cover to retain humidity.
- Fungal Growth: Avoid excessive moisture on leaves and improve airflow around plants.
- Slow Rooting: Ensure cuttings are taken from healthy, semi-hardwood stems and use rooting hormone to encourage development.
Early intervention prevents failure and improves the success rate of your propagated plants.
Transplanting Hibiscus
Once your cuttings or seedlings have established strong roots, it’s time to transplant:
- Prepare the Larger Pot: Fill with a well-draining, nutrient-rich potting mix.
- Transplant Carefully: Remove the plant gently from its smaller container, preserving the root ball.
- Plant Depth: Keep the root crown at soil level.
- Water Thoroughly: Water immediately after transplanting to help the plant adjust.
Proper transplantation ensures minimal stress and a smooth transition for the plant.
Promoting Continuous Blooms
To enjoy endless hibiscus flowers:
- Regular Feeding: Use a high-phosphorus fertilizer to stimulate flower production.
- Pruning: Trim back leggy growth to encourage bushier plants and more blooms.
- Deadheading: Remove faded flowers to promote new buds and prevent energy loss.
- Sunlight: Provide at least 6 hours of full sun for optimal flowering.
With proper care, hibiscus plants can bloom multiple times per season, filling your garden with vibrant colors.
Advantages of Home Propagation
- Multiple Plants: Turn one parent plant into several healthy, flowering specimens.
- Variety Selection: Preserve your favorite color or flower type.
- Year-Round Blooming: Properly propagated and cared-for hibiscus can provide continuous color.
- Cost Savings: Avoid purchasing new plants each season by multiplying your existing collection.
Home propagation makes your garden more dynamic, colorful, and self-sufficient.
Conclusion
Propagating hibiscus at home is a rewarding way to enjoy endless blooms and expand your garden without significant expense. Whether using cuttings, seeds, or grafting, the key is to provide the right soil, containers, humidity, and care. By following this complete guide, you can grow strong, healthy hibiscus plants that bloom profusely and thrive in a variety of conditions.
From selecting the right parent plant to transplanting and promoting continuous flowers, each step contributes to successful propagation and abundant blooms. With patience, attention to detail, and proper care, you can transform your home or patio into a vibrant hibiscus paradise, filled with tropical color and beauty year-round.
Your garden will not only look spectacular, but you’ll also gain the satisfaction of nurturing plants from scratch, ensuring that your favorite hibiscus varieties continue to thrive for years to come.