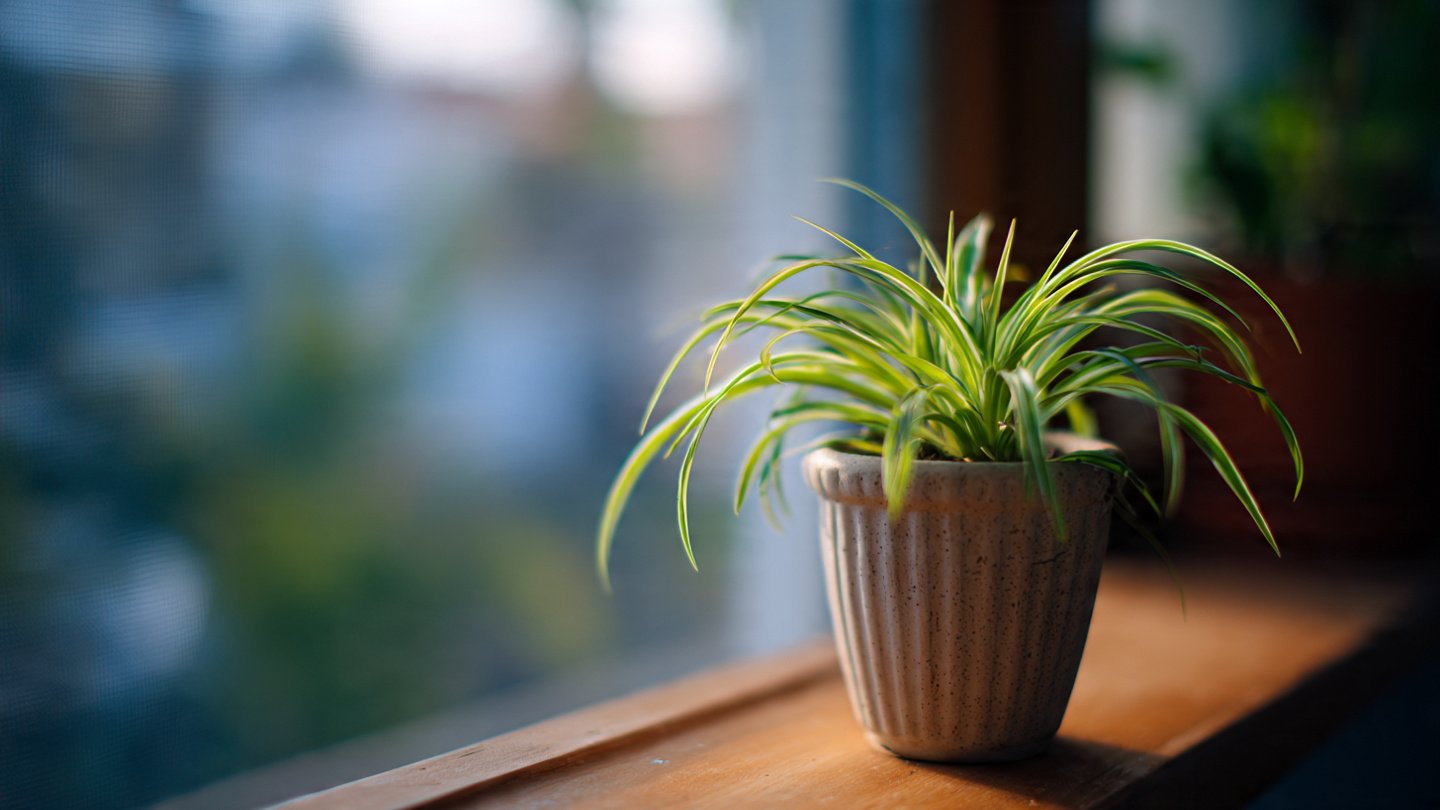
Spider plants (Chlorophytum comosum) are among the most beloved and easy-to-care-for houseplants. Their arching, green-and-white striped leaves and prolific production of “spiderettes” (small plantlets) make them a favorite for both beginners and experienced plant enthusiasts. Not only are they aesthetically pleasing, but spider plants also improve indoor air quality by filtering toxins and adding humidity to your living space. Cultivating healthy spider plant offspring at home is both rewarding and surprisingly straightforward. With the right techniques and a bit of patience, you can grow new plants from your spider plant mother and expand your indoor garden—or share them with friends and family.
Understanding Spider Plant Reproduction
Spider plants reproduce primarily through offsets, often referred to as spiderettes. These tiny offshoots develop at the end of long, arching stems and eventually form roots, ready to grow into independent plants. Unlike seeds, which require more specialized care and a longer time to germinate, spider plant propagation through offsets is simple and reliable. The process is also known as vegetative propagation, which means you are essentially cloning the parent plant.
Choosing the Right Spiderettes
Not all spiderettes are ready for propagation immediately. To ensure successful growth, select spiderettes that are healthy, firm, and have small root buds forming at their base. These tiny roots might be visible as little brown or white nodules. Avoid spiderettes that are soft, discolored, or damaged, as they are less likely to thrive once separated from the parent plant.
If you’re new to propagating spider plants, it’s helpful to wait until the spiderette has at least 1–2 inches of root growth. This greatly improves the chances of survival once planted.
Propagation Methods
There are two main methods for propagating spider plants at home: water propagation and soil propagation. Both methods are effective, and choosing one depends largely on your personal preference and available materials.
1. Water Propagation
Water propagation is an excellent way to watch your spiderette’s roots develop while ensuring it receives enough moisture. Here’s a step-by-step guide:
- Prepare a Container: Use a small glass or jar filled with clean, room-temperature water. Avoid using containers that previously held chemicals or detergents.
- Trim and Place the Spiderette: Cut the spiderette from the parent plant using clean scissors. Submerge only the root portion in water; avoid submerging the leaves, as they can rot.
- Monitor Growth: Place the jar in bright, indirect sunlight. Change the water every few days to prevent stagnation and bacterial growth.
- Wait for Roots to Develop: Within a few weeks, you should see the roots elongate. Once the roots are 2–3 inches long, the spiderette is ready to be transplanted into soil.
Water propagation is satisfying because it allows you to see root development in real time. However, plants started in water need to adjust gradually when moved to soil, as their roots will initially be accustomed to constant hydration.
2. Soil Propagation
Soil propagation is arguably the most natural method and often produces sturdier plants. Here’s how to do it:
- Select a Pot: Choose a small pot with drainage holes to prevent waterlogging.
- Use Well-Draining Soil: A mix of standard potting soil and perlite or sand works well. This ensures that excess water drains quickly, preventing root rot.
- Plant the Spiderette: Carefully remove the spiderette from the parent plant. If it has pre-formed roots, plant them gently into the soil. If it has no roots yet, you can still plant it; the soil will encourage root development.
- Water Lightly: Moisten the soil but avoid overwatering. The soil should be damp but not soggy.
- Provide Adequate Light: Place the pot in a location with bright, indirect sunlight. Avoid direct sun, which can scorch the tender leaves.
- Maintain Humidity: Spiderettes thrive in moderately humid environments. If your home is dry, consider using a humidity tray or misting the leaves occasionally.
Soil propagation often results in stronger, more resilient plants because the roots grow directly in the environment where they will mature.
Caring for Young Spider Plant Offspring
Once your spiderette has been successfully propagated, proper care is essential for healthy growth. Spider plants are generally hardy, but young plants are more susceptible to stress.
1. Watering
Keep the soil consistently moist but not waterlogged. Young spider plants are sensitive to both overwatering and underwatering. A good practice is to water when the top inch of soil feels dry to the touch. Use room-temperature water to prevent shock to the roots.
2. Light
Spider plants thrive in bright, indirect sunlight. While they can tolerate low light, insufficient light may slow growth and reduce the vibrancy of their leaves. Avoid harsh, direct sunlight, which can scorch the foliage and stunt development.
3. Fertilizing
Young spider plants benefit from occasional feeding. Use a balanced, water-soluble houseplant fertilizer diluted to half strength every 4–6 weeks during the growing season. Over-fertilization can burn the roots, so less is more.
4. Humidity and Temperature
Spider plants prefer moderate humidity and temperatures between 60–75°F (15–24°C). Keep them away from cold drafts, heaters, or air conditioners that could stress the plant. Mist the leaves occasionally or place the pot near other plants to maintain humidity levels.
Common Problems and Solutions
Even though spider plants are resilient, issues can arise during propagation. Recognizing and addressing them early ensures your offspring stay healthy.
- Yellowing Leaves: This is usually caused by overwatering or poor drainage. Allow the soil to dry slightly and ensure proper drainage.
- Brown Leaf Tips: Often a sign of low humidity or fluoride in tap water. Use distilled or filtered water and increase humidity around the plant.
- Root Rot: Caused by waterlogged soil. If roots are mushy or black, trim affected roots and replant in fresh, well-draining soil.
- Pests: Spider plants are occasionally affected by aphids, spider mites, or mealybugs. Wipe leaves with a damp cloth and use mild insecticidal soap if needed.
Multiplying Your Spider Plant Collection
One of the joys of spider plants is how easily they multiply. By regularly propagating spiderettes, you can expand your indoor garden without purchasing new plants. Some enthusiasts even create “spider plant jungles” by allowing multiple spiderettes to grow together in a large container.
Additionally, spiderettes make wonderful gifts. Their easy propagation and hardiness mean friends and family can enjoy the plants with minimal effort. Simply root a few spiderettes in soil or water and wrap them in a small, decorative pot.
Tips for Long-Term Success
- Rotate Plants: Rotate pots occasionally to ensure even growth and prevent one side from becoming leggy.
- Prune Regularly: Trim brown tips or dead leaves to maintain plant health and encourage new growth.
- Repot When Necessary: As spider plants mature, they can become root-bound. Repotting every 1–2 years in slightly larger containers refreshes the soil and provides room for growth.
- Watch for Flowering: Spider plants occasionally produce small white flowers. While not necessary for propagation, flowers indicate a healthy, mature plant and may lead to additional spiderettes.
Conclusion
Propagating spider plant offspring at home is a satisfying and straightforward way to enjoy the beauty and air-purifying benefits of these popular houseplants. Whether using water or soil propagation, selecting healthy spiderettes, providing proper care, and addressing issues promptly will ensure your new plants thrive. Over time, you can create a lush indoor garden filled with vibrant spider plants, all originating from a single mother plant.
With patience and a little attention, you can cultivate a thriving spider plant family at home. The process not only enhances your living space but also fosters a deeper connection with nature, proving that even the simplest plants can bring immense joy and satisfaction to everyday life.