Orchids are some of the most elegant and captivating indoor plants, admired for their exotic flowers and delicate beauty. Yet, many indoor orchid enthusiasts struggle with keeping their plants healthy and thriving. One of the most critical aspects of orchid care is proper watering. Too much water can lead to root rot, while too little can dry out the plant and prevent blooming. Mastering the art of watering is essential to keep your orchids vibrant, strong, and full of blooms year-round.
This guide offers a comprehensive approach to watering indoor orchids, from understanding their unique needs to adjusting techniques based on season, potting medium, and environment.
Understanding Your Orchid’s Water Needs
Orchids are not typical houseplants—they have unique water requirements due to their natural habitats. Most popular indoor orchids, such as Phalaenopsis, Cattleya, and Dendrobium, are epiphytes, meaning they grow on trees in tropical and subtropical forests rather than in soil. In the wild, their roots are exposed to air, moisture, and occasional rainfall.
Indoor orchids require a balance of moisture and airflow to mimic these conditions:
- Roots must remain slightly damp but never soggy
- Leaves benefit from occasional humidity but should not stay wet constantly
- Water should reach the roots without sitting in stagnant puddles
Understanding this balance is key to preventing common problems like root rot, yellow leaves, or bud drop.
Step 1: Choosing the Right Pot and Medium
Watering success begins with the right potting setup:
Pot Selection:
- Transparent plastic pots allow you to see root health and moisture levels
- Ensure the pot has sufficient drainage holes to prevent waterlogging
- Clay or ceramic pots can work but dry out faster and may require more frequent watering
Potting Medium:
- Most orchids do not thrive in regular soil
- Popular media include bark chips, sphagnum moss, coconut husk, or a mix
- Coarse bark provides excellent drainage and airflow
- Moss retains moisture longer, suitable for drier indoor conditions
A well-draining medium prevents root rot while retaining enough moisture for healthy growth.
Step 2: Understanding the Watering Schedule
Unlike typical houseplants, orchids should not be watered on a fixed schedule. Instead, watering depends on the plant’s environment, potting medium, and growth stage:
Signs the Orchid Needs Water:
- Roots appear silvery or grayish (indicating dryness)
- Potting medium feels dry to the touch
- Leaves may start to feel soft or wrinkled
Seasonal Adjustments:
- Active growth period (spring and summer): Water more frequently to support new roots and blooms
- Dormant period (fall and winter): Reduce watering as growth slows
Indoor factors such as humidity, temperature, and airflow also influence watering frequency. In dry air or heated rooms, orchids may need watering every 5–7 days, while in humid conditions, 10–14 days may be sufficient.
Step 3: Water Quality
The quality of water directly affects orchid health. These plants are sensitive to salts, chlorine, and chemicals often found in tap water.
Tips for Water Quality:
- Use room-temperature water to avoid shocking the roots
- Rainwater, distilled water, or filtered water is ideal
- Avoid softened water, which contains high salt content
- Let tap water sit for 24 hours before using to dissipate chlorine
High-quality water ensures healthy roots and vibrant leaves, reducing the risk of chemical damage.
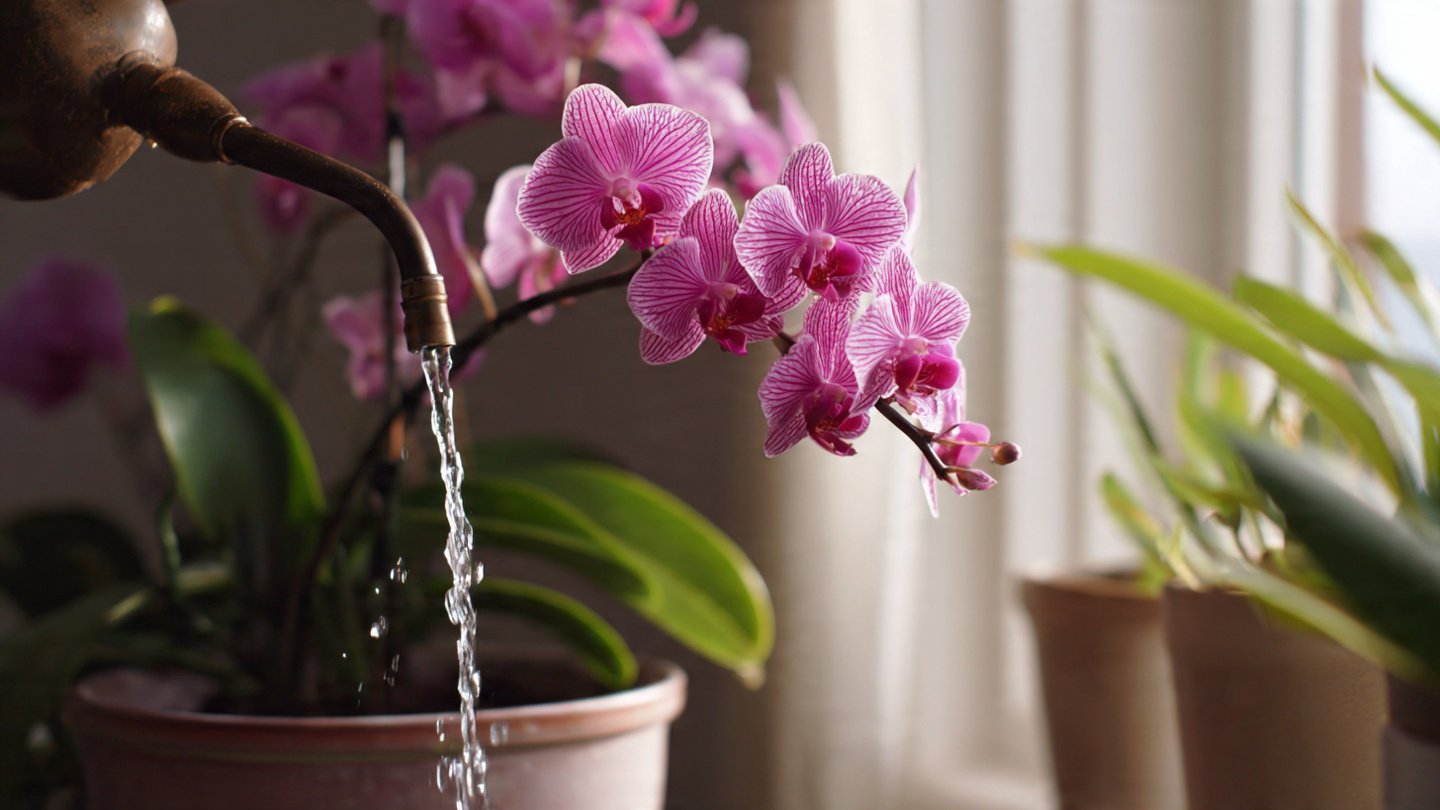
Step 4: Watering Techniques
Proper technique is as important as frequency:
Soaking Method:
- Place the orchid pot in a sink or bowl
- Pour water until it drains freely from the bottom
- Let the pot sit for a few minutes to allow roots to absorb water
- Drain thoroughly to prevent stagnant water
Misting Method:
- Lightly mist leaves and aerial roots occasionally to maintain humidity
- Avoid saturating leaves constantly, which can lead to fungal infections
Bottom Watering:
- Fill a tray with water and place the pot on it for 15–30 minutes
- Ensure the roots absorb moisture through the drainage holes
- Remove the pot and allow excess water to drain
Proper watering ensures roots stay hydrated while preventing water from sitting in the crown or base, which can cause rot.
Step 5: Observing Root Health
The roots are the most reliable indicator of orchid hydration. Healthy orchid roots should be firm and green when hydrated.
Signs of Root Issues:
- Gray or silver roots = dry, need water
- Brown or black roots = overwatered or rotting
- Soft, mushy roots = severe overwatering; trim and repot immediately
Regular observation helps you adjust watering schedules and prevents problems before they become severe.
Step 6: Humidity and Environmental Factors
Indoor orchids benefit from higher humidity levels, ideally 50–70%. Dry indoor air, especially during winter with heating systems, can cause roots and leaves to dry quickly.
Ways to Maintain Humidity:
- Use a humidity tray filled with water and pebbles beneath the pot
- Group orchids together to create a microclimate
- Use a humidifier in dry rooms
- Avoid placing orchids near direct heat sources or air vents
Maintaining adequate humidity complements proper watering and keeps orchids thriving.
Step 7: Adjusting for Growth Stage
Orchids have varying water needs depending on whether they are flowering, actively growing, or dormant:
- Flowering: Water moderately to keep blooms vibrant; avoid wetting flowers directly
- Active vegetative growth: Increase watering to support new roots and leaf expansion
- Dormant periods: Reduce watering to prevent root rot during slow growth
Tailoring watering to the growth stage promotes overall plant health and ensures longer-lasting blooms.
Step 8: Fertilization and Watering
Fertilization is closely linked to watering. Orchids absorb nutrients more effectively when watered appropriately:
- Use a balanced orchid fertilizer diluted to half strength
- Fertilize every 2–3 weeks during active growth
- Flush pots with plain water occasionally to prevent salt buildup
Combining proper watering with fertilization helps orchids develop strong roots, glossy leaves, and abundant flowers.
Step 9: Common Mistakes to Avoid
Even experienced growers sometimes make mistakes with orchid watering:
- Overwatering: Causes root rot, yellowing leaves, and bud drop
- Underwatering: Leads to shriveled roots, drooping leaves, and slow growth
- Watering at the wrong time: Water in the morning or early afternoon to allow leaves to dry before night
- Using poor-quality water: Can damage sensitive roots
Avoiding these errors ensures orchids stay healthy and bloom repeatedly.
Step 10: Monitoring and Adjusting
Orchid care is dynamic. Monitor your plant’s health regularly and adjust watering based on environmental changes. Factors like seasonal shifts, indoor heating, air conditioning, and potting medium breakdown can all influence moisture needs.
Key Monitoring Tips:
- Check roots weekly
- Observe leaf and stem firmness
- Adjust watering frequency as needed
By paying close attention to your orchids, you can prevent problems and encourage continuous growth and flowering.
Conclusion
Watering indoor orchids is both an art and a science. Proper technique, observation, and adjustment are essential to keeping these beautiful plants thriving. By selecting the right pot and medium, using high-quality water, observing roots, adjusting for season and growth stage, and maintaining humidity, you can enjoy strong, vibrant orchids with repeated, long-lasting blooms.
With patience and attentive care, even beginner indoor gardeners can master orchid watering and transform their living space into a stunning display of exotic flowers. Healthy roots, lush leaves, and vibrant blooms are all within reach with the right approach to watering.