Orchids are among the most elegant and captivating houseplants, admired for their exotic blooms, delicate shapes, and vibrant colors. Growing orchids may seem intimidating to beginners due to their reputation for being “tricky,” but with the right knowledge, even a sunny window sill can become the perfect home for these stunning plants. By understanding their light, water, soil, and care requirements, beginners can cultivate healthy orchids that bloom beautifully year after year.
This ultimate guide will walk you through simple, beginner-friendly methods for growing orchids on your window sill, covering everything from choosing the right varieties to caring for blooms and preventing common problems.
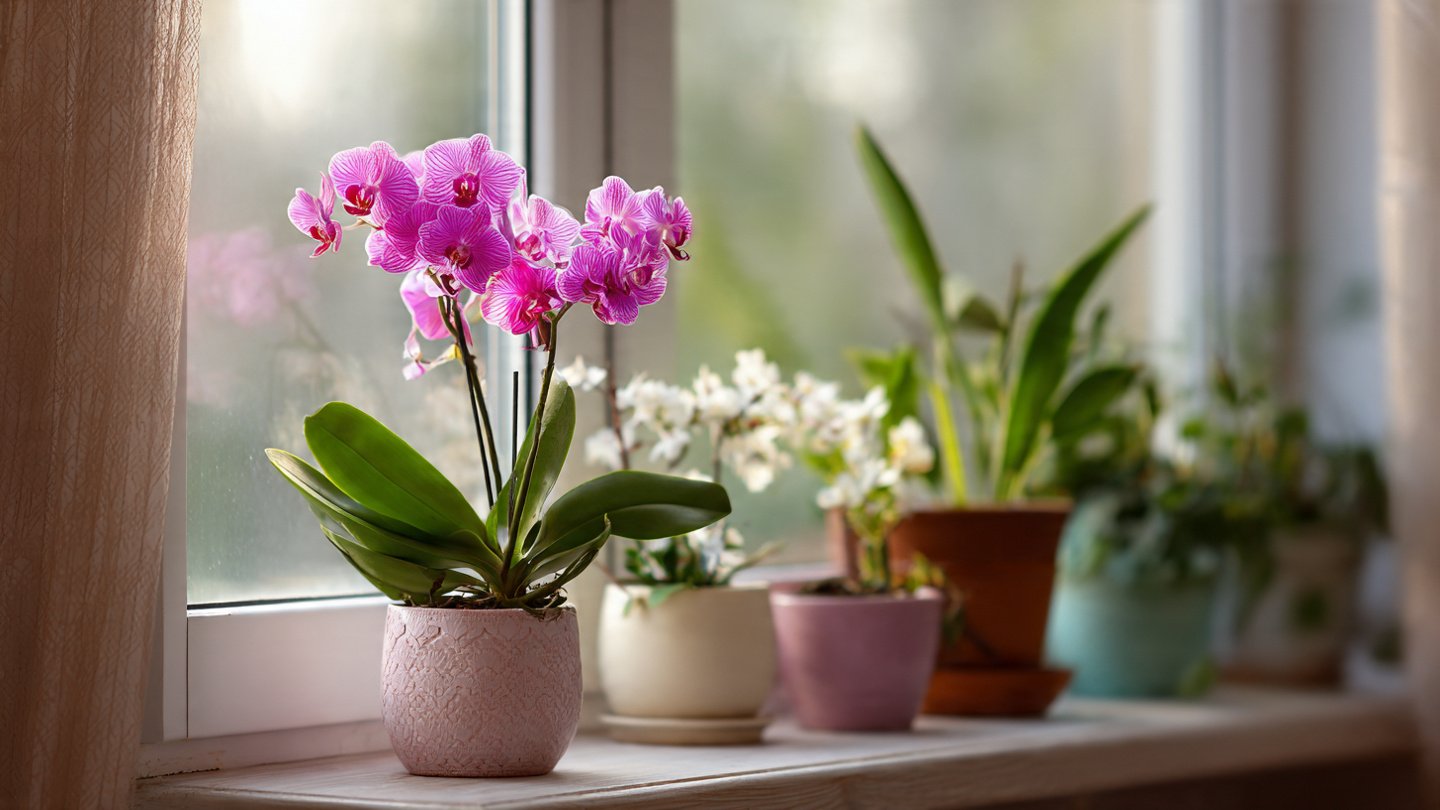
Why Orchids Are Perfect for Window Sill Gardening
Orchids are ideal for indoor gardeners, especially beginners, because:
- Compact Growth: Many orchid species are small and suitable for limited spaces like window sills.
- Aesthetic Appeal: Their exotic flowers can last for weeks or even months, enhancing home décor.
- Air Purifying: Orchids help improve indoor air quality by producing oxygen and removing pollutants.
- Variety of Species: Options such as Phalaenopsis, Dendrobium, and Paphiopedilum are beginner-friendly.
- Satisfying Hobby: Growing orchids teaches patience and attention to detail, rewarding gardeners with stunning blooms.
With proper care, your window sill can transform into a vibrant, colorful mini orchid garden.
Step 1: Choosing the Right Orchid Varieties for Beginners
Selecting the right type of orchid is crucial for success on a window sill. Some orchids are more forgiving and adapt well to indoor conditions.
Recommended Beginner-Friendly Varieties:
- Phalaenopsis (Moth Orchid): Durable, blooms repeatedly, thrives in moderate light.
- Dendrobium: Produces clusters of flowers, prefers bright indirect light.
- Paphiopedilum (Slipper Orchid): Tolerates lower light and cooler temperatures.
- Oncidium (Dancing Lady Orchid): Compact, colorful flowers, easy to maintain.
Choosing species suited for indoor window sill conditions ensures better survival and easier flowering.
Step 2: Selecting the Ideal Window Sill Location
Orchids need a delicate balance of light, temperature, and airflow to thrive:
- Light Requirements: Most orchids prefer bright, indirect sunlight. South or east-facing windows are ideal. Avoid direct, harsh sunlight that can scorch leaves.
- Temperature: Maintain a range of 18–25°C (65–77°F) during the day and slightly cooler at night.
- Air Circulation: Ensure gentle airflow to prevent fungal infections. A small fan or opening the window occasionally works well.
Correct placement ensures orchids receive enough light to bloom without stressing the plant.
Step 3: Choosing the Right Pot and Growing Medium
Orchids require well-draining pots and specialized growing media rather than standard garden soil:
- Pot Types: Transparent plastic pots are great for monitoring root health, while ceramic pots can enhance décor but need careful watering.
- Growing Medium:
- Bark chips
- Sphagnum moss
- Perlite or coconut husk chips
- Avoid compact soil; orchids are epiphytic in nature and need air around their roots to thrive.
Using the right medium prevents root rot and provides optimal conditions for healthy growth and blooming.
Step 4: Watering Your Window Sill Orchids
Watering is critical for orchid health, and overwatering is a common mistake for beginners.
Watering Guidelines:
- Water when the medium is nearly dry, usually once a week, depending on indoor humidity.
- Use room temperature water, avoiding cold water that shocks roots.
- Ensure water drains freely; never allow roots to sit in stagnant water.
- Mist leaves occasionally to maintain humidity, especially in dry indoor environments.
Proper watering encourages strong roots, lush foliage, and abundant blooms.
Step 5: Maintaining Humidity
Orchids thrive in moderate to high humidity (50–70%). Window sills can often be dry, especially in winter.
Methods to Maintain Humidity:
- Place a humidity tray with water and pebbles beneath the pot.
- Use a room humidifier near your orchids.
- Group orchids together to create a micro-humid environment.
- Avoid misting flowers directly to prevent fungal issues.
Consistent humidity helps orchids thrive, encouraging flowering and reducing stress.
Step 6: Fertilizing for Healthy Growth
Fertilizing orchids properly promotes robust foliage and vibrant blooms:
- Use a balanced, water-soluble fertilizer (20-20-20 or 30-10-10) diluted to half strength.
- Fertilize every 2–4 weeks during the growing season.
- Reduce fertilization slightly during the dormant or slower growth periods.
- Avoid applying fertilizer directly on leaves or flowers; water first to prevent burning.
Fertilization, combined with adequate light and water, supports long-lasting blooms.
Step 7: Repotting Window Sill Orchids
Repotting is essential to maintain orchid health:
- Repot every 1–2 years, or when the medium breaks down and drains poorly.
- Gently remove old medium and trim dead roots.
- Use fresh bark or moss mix, ensuring roots are aerated and lightly covered.
- Repotting in transparent pots allows monitoring of root health.
Proper repotting prevents root disease and encourages new growth and flowering.
Step 8: Pruning and Flower Care
Regular maintenance improves the longevity of orchids:
- Remove spent flower spikes by cutting just above the node after blooming.
- Trim yellow or damaged leaves to maintain plant health.
- Avoid removing green, healthy spikes as they may produce secondary blooms.
Pruning promotes healthy growth and increases the likelihood of repeat blooming.
Step 9: Preventing Pests and Diseases
Orchids can be affected by pests like aphids, mealybugs, and spider mites, as well as fungal infections.
Prevention Tips:
- Inspect plants regularly and isolate new plants before placing them with others.
- Use insecticidal soap or neem oil for infestations.
- Maintain good air circulation and avoid overwatering to prevent root rot and leaf spots.
- Clean leaves gently with a damp cloth to remove dust and deter pests.
Healthy orchids are more resilient and bloom more consistently.
Step 10: Encouraging Year-Round Blooms
With proper care, orchids can bloom multiple times a year:
- Provide consistent light, humidity, and temperature.
- Fertilize regularly during active growth.
- Remove old flowers promptly to encourage new ones.
- Rotate plants periodically to ensure even light exposure.
Following these practices ensures your orchids remain vibrant, decorative, and flowering consistently.
Step 11: Common Beginner Mistakes to Avoid
- Placing orchids in direct sunlight, causing leaf burn.
- Overwatering or letting roots sit in stagnant water.
- Using regular potting soil instead of orchid-specific medium.
- Ignoring humidity needs, especially in winter.
- Neglecting fertilization, pruning, or pest control.
Avoiding these mistakes increases the chance of healthy growth and repeat blooming.
Conclusion
Growing orchids on your window sill is not as complicated as it seems. By selecting beginner-friendly varieties, providing bright indirect light, well-draining medium, consistent water, and proper humidity, you can create a thriving indoor orchid display. Regular pruning, fertilization, and monitoring for pests ensure your plants remain healthy and bloom beautifully.
With patience and consistent care, your window sill can become a breathtaking orchid garden, showcasing exotic pink, white, or multi-colored blooms that add elegance, freshness, and charm to your home. Orchids reward attentive growers with long-lasting, striking flowers, making them one of the most satisfying houseplants for beginners and enthusiasts alike.