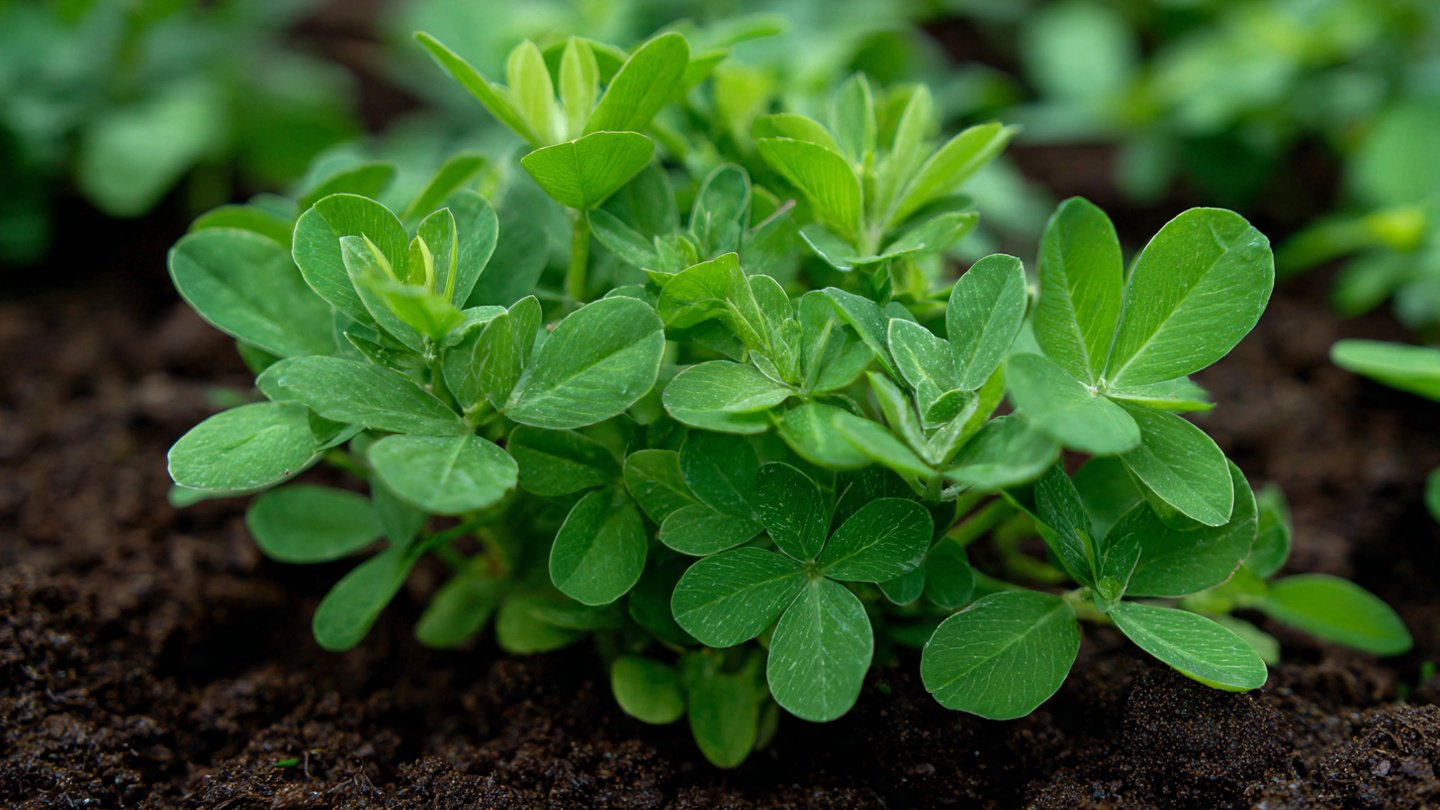
Fenugreek, commonly known as methi, is a versatile herb widely used in cooking and traditional medicine. Its leaves are packed with nutrients, including iron, calcium, vitamins A and C, and antioxidants. Growing methi at home is not only cost-effective but also ensures a steady supply of fresh, pesticide-free leaves. One of the challenges many gardeners face is cultivating thick, lush methi leaves that are flavorful and robust. With the right practices, you can grow methi that is dense, nutritious, and ideal for cooking.
This comprehensive guide explores the best practices for cultivating thick methi leaves at home, whether in pots, raised beds, or garden plots.
Why Grow Thick Methi Leaves?
Thicker leaves are often more tender, flavorful, and nutrient-rich. Advantages include:
- Higher Yield: More leaf mass per plant reduces the need for frequent sowing.
- Better Cooking Quality: Thick leaves retain texture and flavor in curries, stir-fries, and soups.
- Nutrient Density: Larger, healthy leaves are rich in vitamins and minerals.
- Ease of Harvest: Dense growth means less frequent sowing and trimming.
By focusing on practices that encourage robust growth, gardeners can enjoy bountiful harvests.
Step 1: Selecting the Right Methi Variety
Choosing the appropriate variety is crucial for achieving thick leaves. Some recommended varieties include:
- Pusa Early Green: Fast-growing with broad, thick leaves.
- Kasuri Methi: Aromatic leaves, suitable for drying and fresh use.
- Local Garden Varieties: Often more resistant to local pests and adaptable to your soil.
Select seeds that are fresh and untreated for better germination rates.
Step 2: Preparing the Soil
Methi thrives in fertile, well-draining soil with adequate organic matter. Key soil characteristics include:
- Loosened soil: Allows roots to expand and access nutrients.
- pH: Slightly acidic to neutral (6.0–7.0) is ideal.
- Nutrients: Rich in nitrogen for leafy growth.
Preparation Tips:
- Mix garden soil with compost or vermicompost in a 2:1 ratio.
- Add a handful of sand if the soil is heavy to improve drainage.
- Avoid waterlogged areas as methi is susceptible to root rot.
Healthy soil ensures strong roots, which support thick, lush leaves.
Step 3: Sowing Methi Seeds
Sowing Guidelines:
- Sow methi seeds directly in containers or garden beds.
- Plant seeds ½–1 inch deep and cover lightly with soil.
- Space seeds 1–2 inches apart to prevent overcrowding.
- For staggered harvests, sow every 2–3 weeks.
Thicker leaves grow best when plants have enough space to develop fully. Overcrowding leads to thin, weak leaves.
Step 4: Sunlight Requirements
Methi grows best in full sunlight, though it tolerates partial shade.
- Ensure 4–6 hours of direct sunlight daily.
- In extremely hot climates, provide partial shade during peak afternoon hours to prevent leaf scorching.
Adequate sunlight promotes photosynthesis, contributing to thicker, healthier leaves.
Step 5: Watering Practices
Consistent watering is essential for lush leaf development:
- Keep the soil evenly moist, especially during germination and early growth.
- Avoid overwatering, which can lead to root diseases.
- Mulching with straw or dried leaves helps retain moisture and prevent soil crusting.
Moist soil encourages strong cell structure, resulting in thick, succulent leaves.
Step 6: Fertilization for Leaf Thickness
Nitrogen-rich fertilizers are key to promoting broad, dense foliage:
- Use organic compost or well-rotted manure during soil preparation.
- Supplement with liquid nitrogen fertilizers or neem cake once plants reach 3–4 inches tall.
- Avoid excessive phosphorus or potassium at early stages; these encourage flowering rather than leaf growth.
Balanced nutrition ensures vigorous growth and thicker leaves.
Step 7: Thinning and Pruning
Thinning seedlings is crucial for healthy methi plants:
- Thin seedlings to 3–4 inches apart once they develop 2–3 true leaves.
- Prune older, damaged, or yellowing leaves regularly to promote new growth.
- Avoid cutting more than ⅓ of the plant at a time to prevent stress.
Proper thinning and pruning improve airflow, prevent disease, and encourage leaves to grow thick and lush.
Step 8: Pest and Disease Management
Methi is susceptible to pests like aphids, leaf miners, and fungal infections.
Preventive Measures:
- Inspect plants regularly and remove affected leaves.
- Use organic sprays such as neem oil for pest control.
- Ensure proper spacing and sunlight to reduce fungal infections.
- Rotate crops in containers or beds to maintain soil health.
Healthy, pest-free plants develop thicker leaves and maintain high nutritional value.
Step 9: Harvesting for Maximum Leaf Thickness
Proper harvesting techniques encourage regrowth and thick foliage:
- Start harvesting 3–4 weeks after sowing, once plants reach 6–8 inches.
- Snip leaves from the outer sections, leaving the central shoot intact.
- Harvest every 1–2 weeks for continuous thick leaf growth.
Frequent, careful harvesting stimulates the plant to produce more foliage, ensuring a steady supply of lush leaves.
Step 10: Using Containers for Home Gardens
Growing methi in containers is ideal for home gardeners:
- Choose pots 6–8 inches deep with good drainage.
- Use loose, nutrient-rich soil to encourage root development.
- Rotate containers occasionally to ensure even sunlight exposure.
- Container-grown methi can be moved indoors during heavy rains or extreme heat.
Container gardening allows urban gardeners to enjoy thick methi leaves year-round.
Step 11: Seasonal Considerations
- Cool Season Growth: Methi grows best in mild temperatures (15–25°C).
- Summer Care: Provide shade during scorching midday heat to prevent leaf wilting.
- Winter Care: Protect container-grown plants from frost using cloth covers or moving indoors.
By adjusting care according to seasons, you can maintain thick leaves all year.
Common Mistakes to Avoid
- Overcrowding seeds, leading to thin, weak leaves.
- Neglecting nitrogen supplementation, resulting in slow growth.
- Overwatering or poor drainage, causing root rot.
- Harvesting too aggressively, reducing leaf regrowth.
- Ignoring pests and fungal diseases, which stunt growth.
Avoiding these mistakes ensures a consistent supply of thick, healthy methi leaves.
Conclusion
Growing thick methi leaves in your home garden is achievable with the right variety, nutrient-rich soil, proper sunlight, and careful watering and pruning. Whether in garden beds or containers, these best practices ensure lush, robust, and flavorful foliage. Regular fertilization, proper thinning, and attentive pest management help your plants thrive, producing leaves that are perfect for cooking, garnishing, or even drying for later use.
By following these steps, your home garden can supply fresh, thick, and nutrient-packed methi leaves throughout the season, bringing both health benefits and culinary delight to your table