Growing plum trees from pits is a fun, rewarding, and surprisingly simple way to cultivate your own fruit right in your backyard. While many people assume growing plums requires purchasing young trees or saplings, starting from the seed or pit allows gardeners to enjoy the full process of nurturing a tree from the very beginning. With the right techniques, proper care, and patience, you can grow healthy plum trees that eventually produce delicious fruits in your own garden.
This guide will walk you through safe, easy, and effective methods for growing plum trees from pits, including preparation, planting, care, and long-term maintenance.
Why Grow Plum Trees from Pits?
Growing plum trees from pits offers several benefits:
- Cost-effective: Using seeds from fruits you already have avoids the expense of buying saplings.
- Satisfaction: Watching a tree grow from a tiny pit is rewarding for gardeners of all levels.
- Genetic variety: Seeds may produce unique fruit varieties with different flavors and sizes.
- Self-sufficiency: Growing your own plum trees contributes to a sustainable backyard garden.
While it takes longer for a seed-grown tree to produce fruit compared to grafted saplings, the process is a great learning experience and gives gardeners complete control over cultivation.
Selecting the Right Plum Pits
Not all plum pits are suitable for germination. Start with healthy, ripe plums to increase your success rate.
Tips for selecting pits:
- Choose fully ripe, disease-free fruits.
- Remove the pit carefully without damaging it.
- Wash the pit thoroughly to remove fruit residue.
- Inspect for cracks, mold, or damage and discard any compromised pits.
Using high-quality pits ensures a stronger start for your future plum tree.
Preparing Plum Pits for Germination
Plum seeds have a natural dormancy and hard outer shell, so pre-treatment is necessary to improve germination rates.
Stratification Method:
- Dry the cleaned pits for a few days.
- Place them in a plastic bag with slightly damp peat moss, sand, or paper towel.
- Refrigerate for 6–12 weeks at 1–5°C (34–41°F).
- Check periodically to ensure the medium remains slightly moist.
Cold stratification mimics winter conditions and signals the seed to start germination when planted in soil.
Choosing the Right Planting Site
Once stratified, plum pits are ready to be planted in your backyard. Site selection is crucial for long-term tree health.
Ideal planting conditions:
- Full sun exposure (at least 6–8 hours per day).
- Well-draining soil to prevent root rot.
- Open space with good air circulation to reduce disease risk.
- Slightly elevated areas to avoid frost pockets and waterlogging.
A well-chosen location supports strong root growth and healthy foliage for years to come.
Planting Plum Pits Safely
Planting plum pits requires attention to depth, spacing, and soil preparation.
Planting steps:
- Loosen the soil to a depth of 6–8 inches.
- Dig small holes approximately 2–3 inches deep.
- Place the stratified pit with the pointed end down.
- Cover gently with soil and lightly firm the surface.
- Water immediately to settle the soil.
Spacing multiple pits at least 6–8 feet apart ensures adequate room for future growth. This avoids crowding as the trees mature.
Watering and Moisture Management
Plum seeds need consistent moisture for germination, but overwatering can cause the seed to rot.
Watering tips:
- Keep the soil slightly moist during the germination period.
- Use a gentle spray to avoid washing away soil.
- Once seedlings emerge, water more deeply but less frequently.
- Reduce watering during winter dormancy.
Proper moisture control supports healthy roots and strong, vigorous seedlings.
Protecting Young Seedlings
Young plum seedlings are delicate and vulnerable to pests, harsh weather, and diseases.
Protection methods:
- Use a light mulch layer to maintain soil moisture and temperature.
- Create a small protective barrier with netting or cloches to prevent animals from disturbing the seedlings.
- Monitor regularly for insects such as aphids or caterpillars.
- Remove weeds around seedlings to reduce competition for nutrients.
Early protection increases survival rates and promotes healthier growth.
Transplanting Seedlings
After one or two growing seasons, seedlings may outgrow their initial planting space and require transplanting.
Transplanting tips:
- Wait until seedlings have several strong leaves and a healthy root system.
- Choose a permanent location in the backyard with adequate sun and space.
- Dig a hole slightly larger than the root system.
- Gently lift the seedling and place it in the new hole.
- Fill with soil, water thoroughly, and mulch to reduce stress.
Transplanting should be done during early spring or fall to allow roots to establish before extreme temperatures.
Fertilizing for Young Plum Trees
Balanced nutrition helps seedlings develop strong roots and healthy foliage.
Fertilization tips:
- Use a gentle, balanced fertilizer during the growing season.
- Avoid excessive nitrogen, which encourages leaf growth over root development.
- Incorporate compost or organic matter into the soil.
- Gradually increase feeding as the tree matures.
Proper fertilization strengthens seedlings and sets the stage for robust fruit production in the future.
Pruning and Shaping Young Trees
Pruning is essential to establish a strong framework and improve air circulation, reducing disease risk.
Pruning guidelines:
- Remove damaged, weak, or crossing branches early.
- Encourage a central leader structure for strong growth.
- Trim any overly vigorous shoots to maintain balance.
- Avoid heavy pruning during the first year.
Shaping the tree early ensures a more manageable, productive plum tree as it matures.
Long-Term Care and Maintenance
Growing plum trees from pits is a long-term project, but consistent care pays off.
Ongoing care includes:
- Watering deeply during dry spells.
- Fertilizing annually with balanced nutrients.
- Monitoring for pests and diseases.
- Protecting the tree from extreme winter cold, especially in northern climates.
With proper care, trees grown from pits can start producing fruit in 3–6 years, depending on the variety and growing conditions.
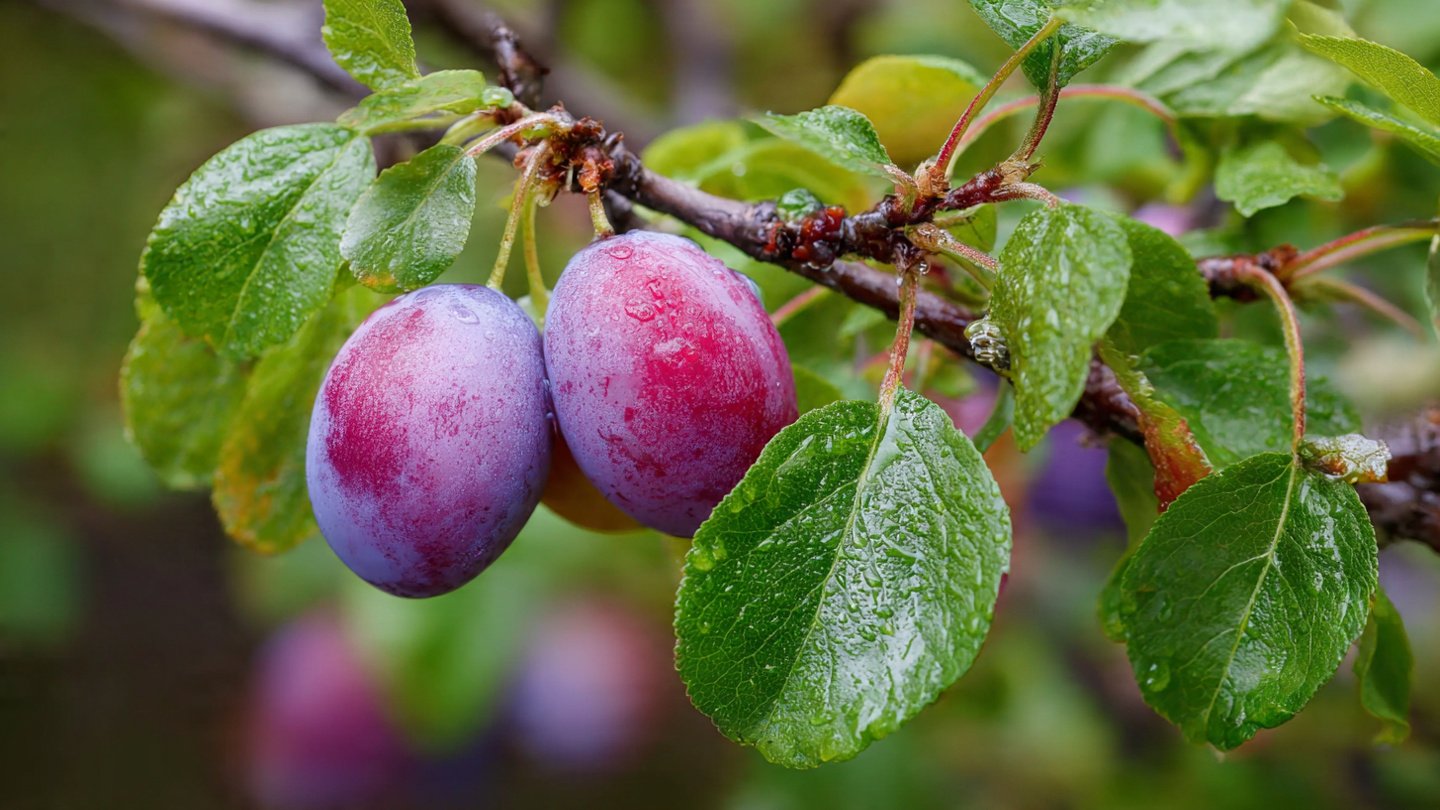
Harvesting Your First Homegrown Plums
Patience is key—plum trees grown from pits take several years to bear fruit. When ready, the fruit will offer a unique and rewarding taste.
Harvesting tips:
- Pick plums when fully colored and slightly soft to the touch.
- Handle gently to avoid bruising.
- Enjoy fresh, or use for jams, desserts, or preserves.
Growing plums from pits provides not only delicious fruit but also a sense of accomplishment for the gardener.
Final Thoughts
Growing plum trees from pits in your backyard is an easy, safe, and satisfying gardening project. By selecting healthy pits, preparing them correctly, planting in the right location, and providing consistent care, anyone can cultivate strong, thriving plum trees.
While seed-grown trees require patience, the journey of nurturing a tree from a tiny pit into a fruit-bearing plant is incredibly rewarding. With dedication, attention, and simple backyard techniques, you can enjoy fresh, homegrown plums and create a lasting addition to your garden for years to come.