Fresh salad greens are a cornerstone of healthy eating, but store-bought greens can be expensive, less fresh, and sometimes treated with chemicals. The good news is that you don’t need a garden plot or advanced skills to grow your own. With a simple tray, quality seeds, and basic care, you can grow crisp, flavorful salad greens right at home—quickly and easily.
This article explains an easy, reliable method for growing fresh salad greens in trays. Whether you live in an apartment, have limited space, or are completely new to gardening, this approach is designed for success.
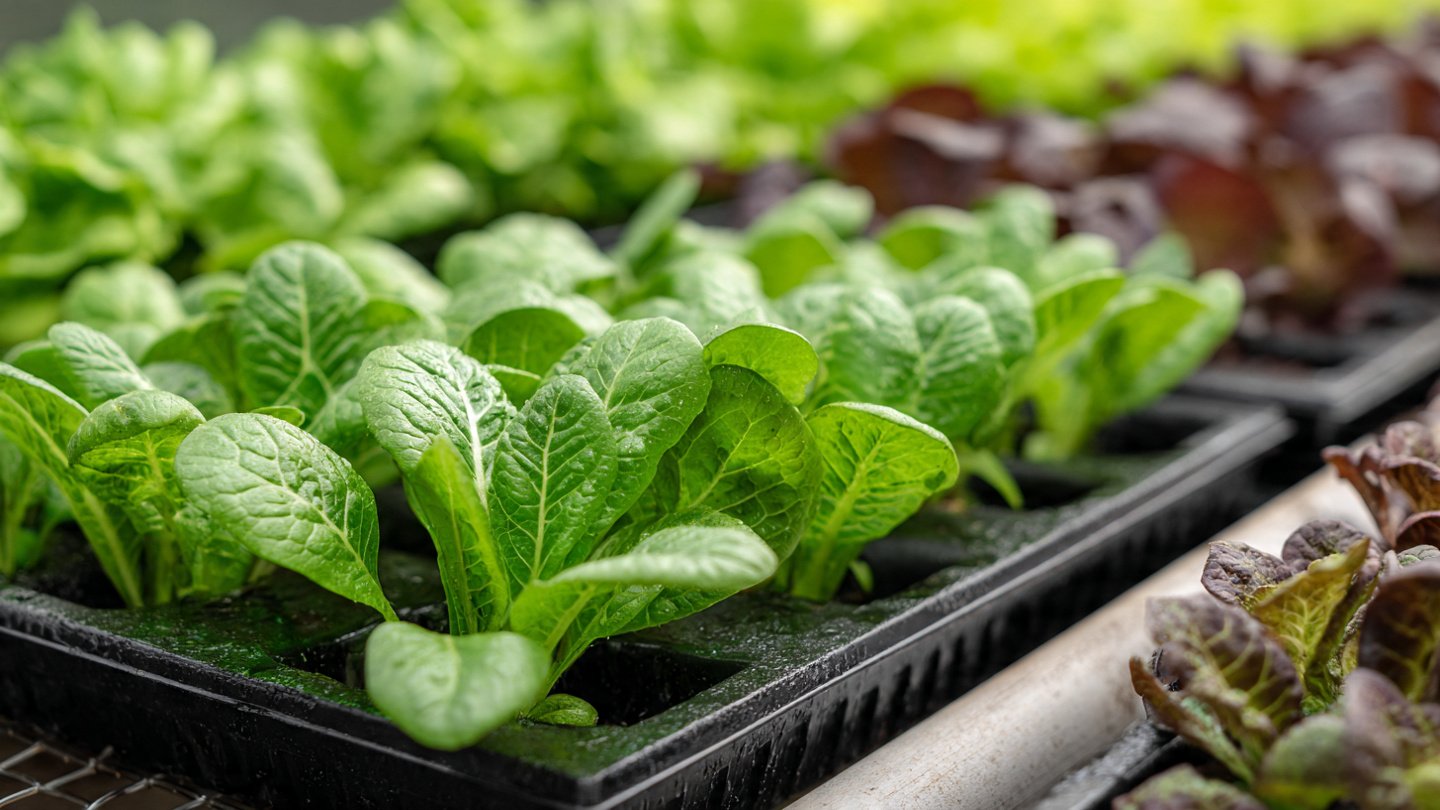
Why Grow Salad Greens in Trays?
Growing salad greens in trays is one of the most efficient ways to produce food at home. Trays are shallow, portable, and ideal for fast-growing leafy vegetables. Some key benefits include:
- Space-saving – perfect for balconies, terraces, and windowsills
- Quick harvests – many greens are ready in 3–4 weeks
- Low cost – minimal supplies needed
- Easy maintenance – simple watering and care
- Continuous supply – stagger plantings for regular harvests
Tray gardening also allows better control over soil quality, moisture, and cleanliness.
What Greens Grow Best in Trays?
Not all vegetables are suited to shallow containers, but salad greens thrive in them. Excellent options include:
- Loose-leaf lettuce
- Spinach
- Arugula
- Mustard greens
- Baby kale
- Swiss chard (harvested young)
- Mixed salad blends
These greens have shallow root systems and grow well when planted closely.
Choosing the Right Tray
The ideal tray for salad greens should be:
- 4–6 inches deep to allow root development
- Equipped with drainage holes to prevent waterlogging
- Made from plastic, wood, or recycled materials
- Wide enough to allow dense planting
Seedling trays, shallow planters, or repurposed containers all work well as long as drainage is provided.
Preparing the Growing Medium
Healthy soil is the foundation of successful tray gardening. Use a light, well-draining mix such as:
- 60% potting soil or garden soil
- 30% compost or vermicompost
- 10% coco peat or sand for aeration
Mix thoroughly and fill the tray to about one inch below the rim. Gently level the surface without compacting it.
Easy Step-by-Step Planting Method
Step 1: Moisten the Soil
Lightly water the soil before planting so it’s evenly moist but not soggy.
Step 2: Sow Seeds Densely
Sprinkle seeds evenly across the surface. Salad greens are meant to grow close together when harvested young.
Step 3: Cover Lightly
Add a thin layer of soil over the seeds—just enough to cover them.
Step 4: Water Gently
Use a spray bottle or gentle watering can to avoid disturbing the seeds.
Step 5: Place in Light
Move the tray to a bright location with good airflow.
Light and Temperature Requirements
Salad greens prefer moderate conditions.
- Sunlight: 4–6 hours of sunlight daily is ideal. Morning sun works best.
- Temperature: Most greens grow best between 15–25°C (59–77°F).
If sunlight is limited, bright indirect light still supports healthy leaf growth.
Watering and Daily Care
Consistent moisture is crucial for tender leaves.
- Water lightly once or twice a day, depending on climate
- Keep soil evenly moist but never waterlogged
- Avoid letting soil dry out completely
Check trays daily, especially in warm weather, as shallow containers dry faster.
Thinning and Maintenance
If seedlings grow too crowded, lightly thin them by snipping excess plants at soil level. This improves airflow and reduces disease risk. Thinned seedlings can be eaten as microgreens.
Remove yellow or damaged leaves promptly to encourage healthy growth.
Harvesting the Right Way
Salad greens are usually ready to harvest in 20–30 days.
Cut-and-Come-Again Method
- Use scissors to cut leaves about 1 inch above soil level
- Leave the center intact for regrowth
- Harvest outer leaves first
This method allows multiple harvests from the same tray, extending productivity.
Common Problems and Simple Fixes
Slow growth:
Likely caused by low light or cool temperatures. Move trays to a brighter, warmer spot.
Bitter leaves:
Usually due to heat stress or late harvesting. Harvest earlier and water consistently.
Yellowing leaves:
Often from overwatering or poor drainage. Improve airflow and drainage.
Growing Salad Greens Year-Round
One of the biggest advantages of tray gardening is year-round growing.
- In warm seasons, grow trays in partial shade
- In cooler months, place trays in full sun
- Indoors, a sunny window works well
Stagger sowing every 1–2 weeks to ensure a constant supply of fresh greens.
Why This Method Works So Well
This tray method focuses on simplicity: shallow containers, dense planting, quick harvests, and minimal care. Because salad greens are harvested young, you avoid many challenges like bolting, pests, and nutrient deficiencies common in mature plants.
The result is fast success—even for first-time gardeners.
Final Thoughts
Growing fresh salad greens in trays at home is one of the easiest and most rewarding ways to start gardening. With minimal space, effort, and expense, you can enjoy clean, nutritious greens straight from your own home.
Once you experience the taste and convenience of homegrown salad greens, tray gardening quickly becomes a healthy habit you’ll want to maintain year-round.