Carrots are one of the most rewarding vegetables to grow at home. They are nutritious, versatile in cooking, and surprisingly easy to cultivate—even if you have a small balcony, a windowsill, or limited garden space. For many people, the idea of growing carrots can seem intimidating, with concerns about soil, space, cost, or time.
I decided to test it myself using a simple, low-cost approach, and I succeeded. In this article, I’ll share my experience, step-by-step methods, tips, and tricks that make home-grown carrots not only possible but highly productive, even for beginners.
Why Grow Carrots at Home
Carrots are more than just a kitchen vegetable. Home-grown carrots are:
- Fresher and more flavorful than store-bought varieties
- Free from chemical residues if grown organically
- Highly nutritious, rich in beta-carotene, fiber, and vitamins
- Low-maintenance, requiring minimal care once planted
Despite these benefits, many people avoid growing carrots because they think they need deep garden beds or expensive equipment. The good news: that isn’t true.
Step 1: Choosing the Right Container
One of the most important steps in home carrot growing is selecting a suitable container. Carrots need depth to grow straight, long roots.
Key container requirements:
- Depth: At least 12 inches (30 cm)
- Width: At least 8 inches per plant (or use a wider tray for multiple seeds)
- Drainage: Essential to prevent waterlogging
You don’t need to buy expensive pots. Recycled containers, buckets, or even wooden boxes with holes drilled in the bottom work perfectly. This keeps costs minimal.
Step 2: Preparing the Soil
Carrots thrive in loose, well-drained soil. Heavy or compacted soil leads to stunted or forked roots.
Simple low-cost soil mix:
- 50% garden soil
- 30% compost or organic manure
- 20% sand or coco peat
This mix provides nutrients while ensuring roots can expand freely. Avoid stones and clumps; carrots need smooth, unobstructed soil to grow long and straight.
Step 3: Sowing the Seeds
Carrot seeds are tiny, so careful sowing is important:
- Make shallow rows about 1 cm deep in the container.
- Scatter seeds thinly along the row. Overcrowding leads to competition.
- Cover lightly with soil and gently pat down.
- Water lightly but consistently.
Carrot seeds germinate in 7–14 days, depending on temperature and moisture. Patience is key—don’t disturb the soil during germination.
Step 4: Watering for Success
Carrots require consistent moisture, but overwatering can rot seeds or roots.
Best practices:
- Water lightly once or twice daily during germination.
- After sprouting, water every 2–3 days to keep soil evenly moist.
- Avoid puddles or soggy soil.
Consistent moisture ensures smooth root development without splitting.
Step 5: Thinning Seedlings
Once seedlings are about 2–3 inches tall, thin them out. This prevents crowding and gives each carrot enough space to grow long roots.
- Space seedlings 2–3 inches apart.
- Carefully pull excess seedlings to avoid disturbing remaining roots.
Thinning might feel counterintuitive, but it’s crucial for maximum yield and straight carrots.
Step 6: Providing Sunlight
Carrots thrive in full sun, ideally 6–8 hours per day.
- Place containers on a sunny balcony or near a bright window.
- If sunlight is limited, rotate containers regularly for even exposure.
Adequate light ensures strong growth, vibrant color, and sweet flavor.
Step 7: Feeding Your Carrots
Carrots don’t need heavy fertilization, which keeps costs low. However, occasional feeding helps boost growth:
- Compost tea or diluted organic fertilizer every 3–4 weeks
- Avoid nitrogen-heavy fertilizers; they encourage leafy growth instead of root development
This simple feeding schedule supports healthy, well-formed carrots without extra expense.
Step 8: Pest Management
One of the joys of home gardening is avoiding chemicals. Carrots are relatively pest-resistant, but some precautions help:
- Use fine netting or cloth to prevent carrot flies.
- Keep soil surface clean to reduce slugs or snails.
- Remove yellowing leaves promptly.
With these simple steps, you can maintain healthy plants without spending on pesticides.
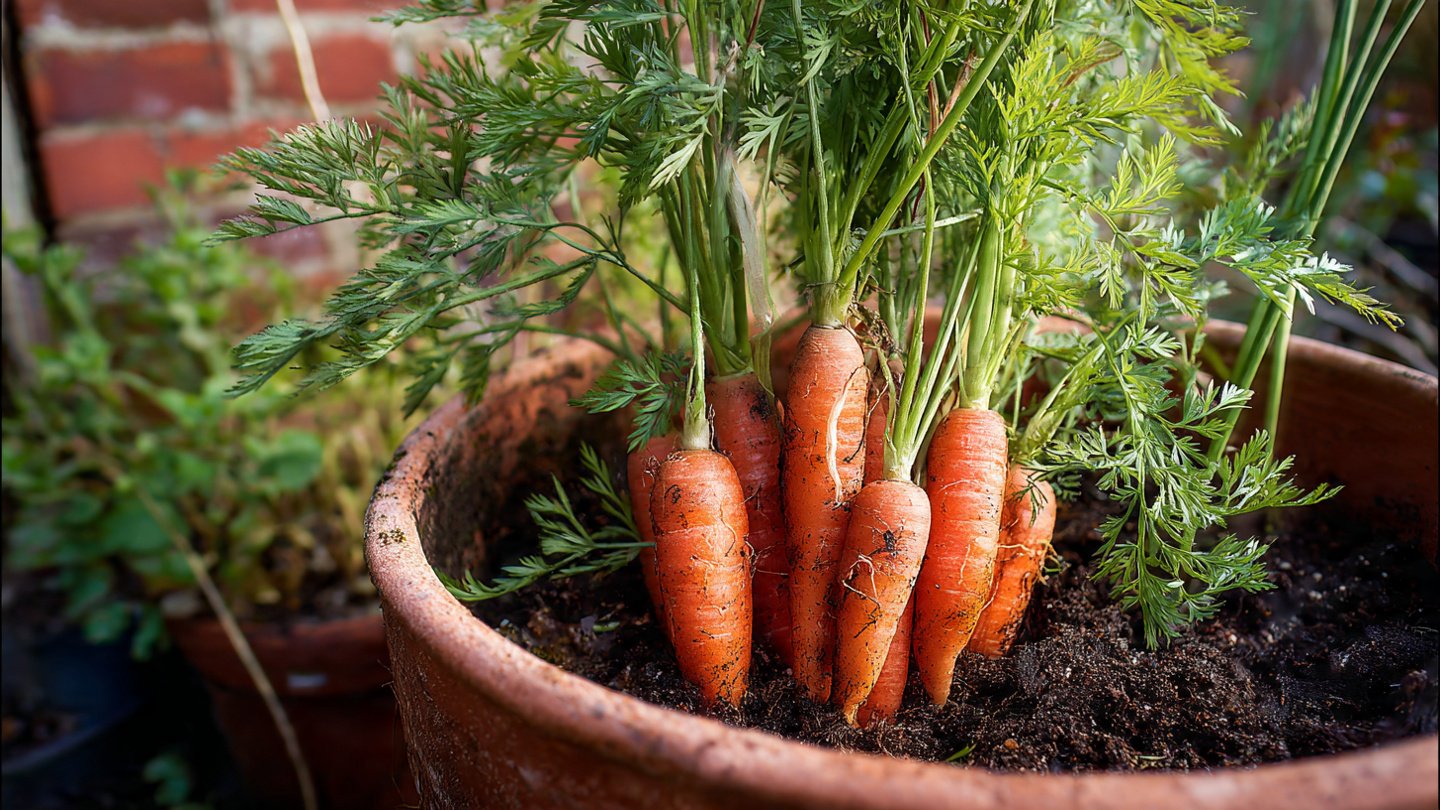
Step 9: Harvesting Carrots
Carrots are usually ready for harvest in 2–3 months, depending on variety and growing conditions. Signs of maturity include:
- Bright orange (or the variety’s color) tips visible above soil
- Firmness when gently pressed
- Leaves slightly larger than seedlings
Harvesting tips:
- Loosen soil around roots before pulling
- Gently lift each carrot to avoid breaking it
- Harvest outer carrots first if using deep containers; inner roots may grow longer
Home-grown carrots are sweeter and crunchier than store-bought, making them ideal for salads, soups, or snacks.
Why This Method Is Low-Cost and Effective
- Uses recycled containers and trays
- Requires minimal soil and compost
- No expensive fertilizers or gardening equipment
- Limited watering needs, reducing resource use
- Very low maintenance, suitable for beginners
The simplicity of this method proves that you don’t need a traditional garden to enjoy fresh, home-grown carrots.
Tips for Continuous Carrot Supply
- Succession planting: Sow new seeds every 3–4 weeks to have a constant supply.
- Experiment with varieties: Short carrots for small containers, long carrots for deeper ones.
- Rotate container location: Ensures even sunlight and healthier roots.
- Share with neighbors: Extra seedlings can be grown elsewhere, reducing waste.
These small adjustments make carrot growing rewarding and sustainable.
Common Mistakes to Avoid
- Using shallow or compacted containers – prevents long root growth
- Overcrowding seedlings – leads to forked or stunted roots
- Inconsistent watering – dry soil produces tough carrots; soggy soil causes rot
- Too much nitrogen – leafy growth at the expense of roots
- Ignoring sunlight – insufficient light slows growth and reduces flavor
Correcting these mistakes ensures maximum yield with minimal effort.
Who Can Benefit From This Method
- Apartment dwellers with no garden space
- Beginners intimidated by gardening complexity
- Budget-conscious families wanting fresh, healthy vegetables
- Anyone looking for a fun, low-maintenance project
This method is flexible, beginner-friendly, and scalable. Even with just a balcony or small windowsill, you can enjoy a steady carrot supply.
Final Thoughts
Growing carrots at home doesn’t have to be complicated or expensive. With a few simple tools, some patience, and a bit of sunlight, anyone can produce sweet, crunchy carrots right in their own home.
This simple, low-cost method proves that home-grown vegetables are accessible, rewarding, and achievable for everyone, regardless of garden space or prior experience.
Whether you’re looking to save money, eat healthier, or simply enjoy the satisfaction of growing your own food, carrots are a perfect starting point—and with this method, success is almost guaranteed.