Dill is a fragrant herb beloved for its feathery leaves and aromatic seeds, widely used in cooking, pickling, and garnishing. While many people assume herbs take months to grow, I discovered that with the right techniques, dill can be ready for harvesting in just one month. The key lies in choosing the right seeds, providing ideal growing conditions, and following simple care routines that encourage fast, healthy growth.
In this guide, I’ll share practical tips to grow and harvest dill at home quickly, whether in garden beds, containers, or even indoors on a sunny windowsill.
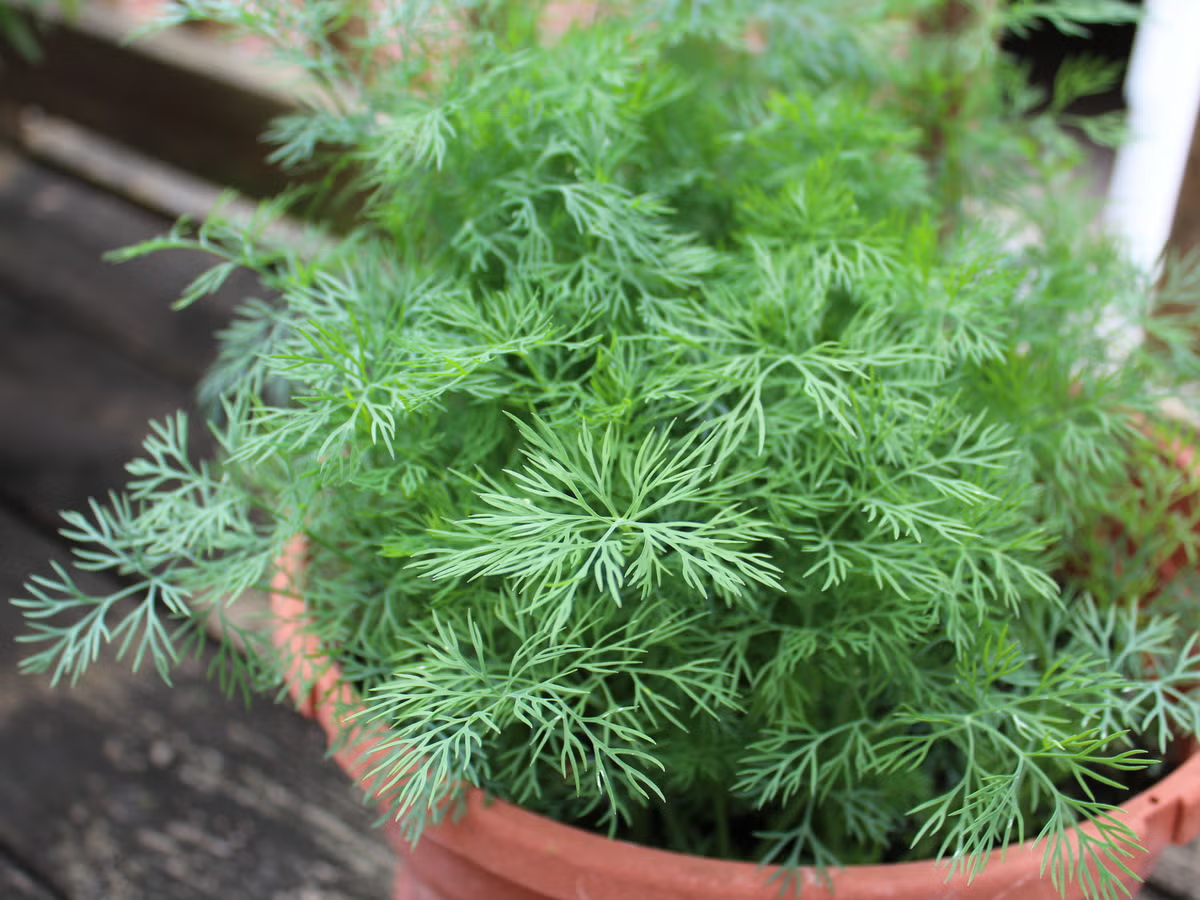
Why Dill Is Perfect for Home Growing
Dill is an annual herb that thrives in sunny locations and tolerates a variety of soil types. Its rapid growth, delicate flavor, and versatility make it perfect for home gardeners. Some key reasons dill is ideal for fast-growing home gardens include:
- Fast germination: Seeds sprout in 7–14 days
- Minimal space requirements: Can grow in small pots or garden beds
- Multiple uses: Leaves, seeds, and stems are all edible
- Companion planting: Supports vegetables like cabbage and onions
Understanding these advantages makes it easier to plan for a quick, high-yield harvest.
Step 1: Choose the Right Dill Seeds
Not all dill varieties grow at the same rate. Look for “bouquet dill” or “Fernleaf dill,” which tend to germinate faster and produce tender leaves suitable for early harvesting. Avoid older seeds or low-quality options, as germination rates can drop significantly.
If you want a dual harvest of leaves and seeds, plant both leaf-type and seed-type dill. Otherwise, leaf-type varieties grow quickly and are ideal for early harvest within 4–5 weeks.
Step 2: Prepare the Soil for Fast Growth
Dill thrives in well-draining, fertile soil. Before planting:
- Loosen the soil to at least 8–10 inches deep
- Mix in compost or well-rotted organic matter
- Ensure a slightly acidic to neutral pH (6.0–7.0)
Dill doesn’t require heavy feeding, but enriching the soil improves early growth and encourages larger leaves.
Step 3: Sow Seeds Correctly
For rapid germination:
- Sow dill seeds ¼ inch deep in soil.
- Space seeds about 12–18 inches apart for garden beds; in containers, space at least 6–8 inches apart.
- Keep the soil consistently moist, but not waterlogged.
Cover seeds lightly with soil and mist gently. Dill seeds require light moisture and warmth to sprout, and germination usually occurs in 7–14 days.
Step 4: Provide Adequate Sunlight
Dill grows best in full sun, ideally 6–8 hours a day. Indoors, place containers on a sunny windowsill or under grow lights. Adequate sunlight ensures rapid photosynthesis, leading to taller, bushier plants in less time.
Partial shade slows growth, resulting in weaker leaves and delayed harvests. Sunlight also strengthens stems, reducing the risk of plants flopping over as they grow taller.
Step 5: Water Regularly but Wisely
Watering is crucial for fast-growing dill. Keep the soil evenly moist, especially during germination and early leaf development. Avoid waterlogging, which can cause root rot and slow growth.
Once seedlings are established, water deeply once or twice a week depending on climate and container size. A light mulch around the base helps retain moisture and regulate soil temperature.
Step 6: Thin Seedlings for Healthy Growth
When seedlings reach 2–3 inches, thin them to avoid overcrowding. Overcrowded plants compete for nutrients, sunlight, and water, reducing growth speed. Aim for 6–12 inches between plants depending on variety.
Thinning promotes stronger stems, larger leaves, and faster overall growth.
Step 7: Fertilize Lightly for Maximum Leaf Production
Dill doesn’t require heavy fertilization, but a light feed encourages early growth:
- Use a balanced liquid fertilizer once every 2–3 weeks
- Avoid high nitrogen fertilizers, which promote foliage at the expense of flavor
Proper feeding ensures lush, flavorful leaves within one month.
Step 8: Harvesting Dill Early
One of the best things about dill is its rapid harvest cycle. You can begin harvesting as early as 4 weeks after sowing, depending on growth conditions.
- Use scissors to snip outer leaves first, leaving the inner growth intact
- Avoid cutting more than one-third of the plant at a time to allow regrowth
- Harvest in the morning for the best flavor and aroma
Regular harvesting encourages the plant to produce more leaves and delays bolting (flowering).
Step 9: Encourage Continuous Growth
If you want a steady supply of dill:
- Plant new seeds every 2–3 weeks for staggered harvests
- Remove flower stalks early if you only want leaves
- Keep plants well-watered and fed lightly
These small steps maintain a continuous cycle of growth, so you can harvest fresh dill throughout the season.
Step 10: Using Dill Leaves and Seeds
Dill leaves are perfect for garnishing soups, salads, and pickles. The feathery fronds also complement seafood and egg dishes.
If you allow some plants to flower, you can collect seeds after flowering. Simply wait for the seed heads to dry, then shake or cut them for culinary use. Dill seeds are excellent for pickling, bread, and seasoning blends.
Common Mistakes to Avoid
- Planting in shade: Slow growth and weak leaves
- Overcrowding seedlings: Reduces growth speed
- Overwatering: Causes root rot
- Neglecting early harvesting: Plants may bolt too soon
- Poor soil preparation: Limits nutrient availability and leaf size
Correcting these mistakes is essential to achieving a one-month harvest.
Final Thoughts
Growing and harvesting dill at home in just one month is entirely possible with the right care, sunlight, and soil preparation. By choosing fast-growing varieties, providing proper spacing and nutrients, and harvesting strategically, you can enjoy fresh, aromatic dill leaves early in the season.
Whether used for cooking, garnishing, or pickling, homegrown dill offers unmatched flavor and satisfaction. With these easy and effective tips, you’ll have a continuous supply of this versatile herb right at your fingertips.