If you want fresh, nutrient-dense greens on your plate in less than two weeks—without a garden, without soil, and without complicated tools—microgreens are the perfect solution. These tiny greens pack powerful flavor and nutrition, and they’re surprisingly easy to grow at home using simple, soil-free methods.
Whether you live in an apartment, want year-round harvests, or simply love fresh food, growing microgreens at home can transform the way you eat. Here’s how to grow ultra-fast, soil-free microgreens successfully—even if you’ve never grown a plant before.
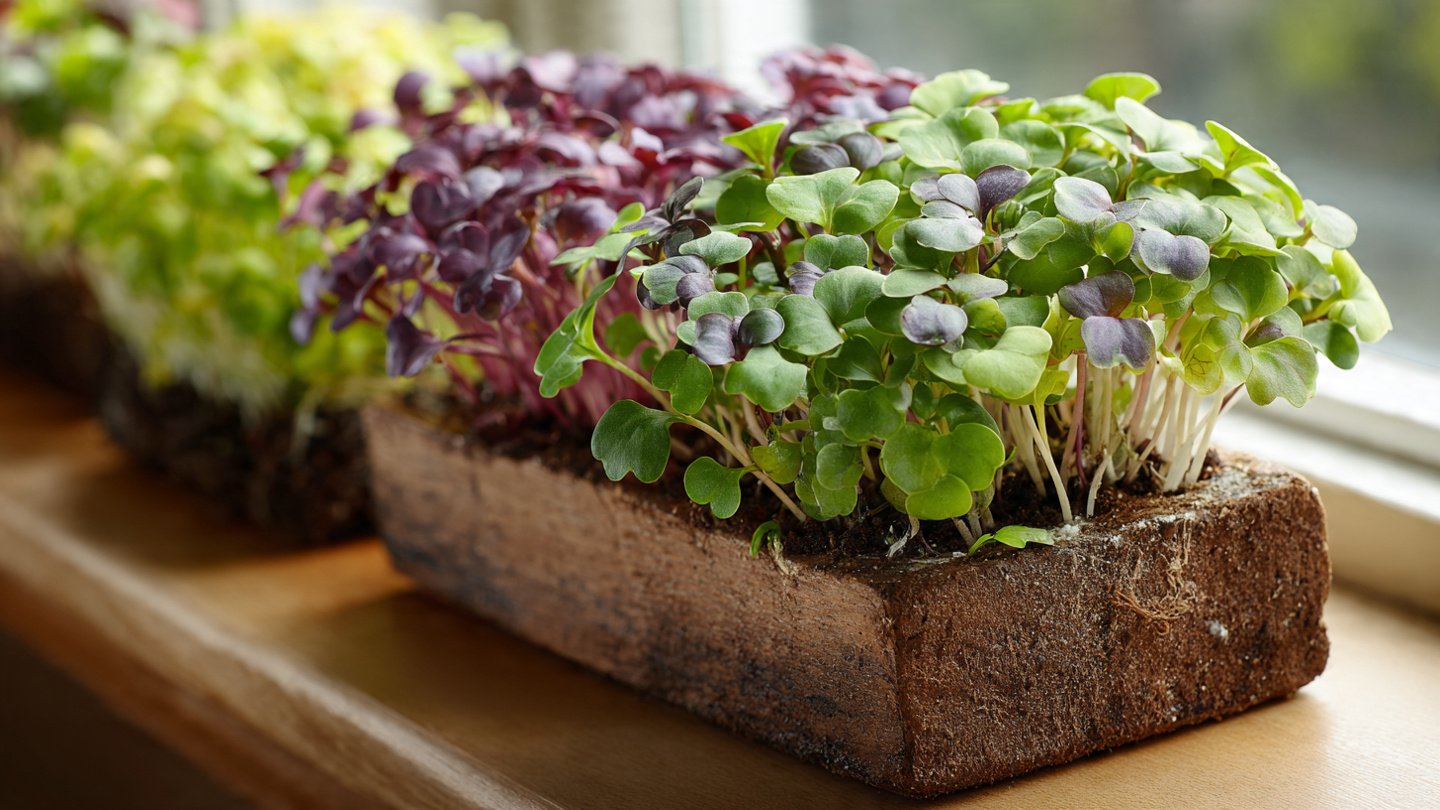
What Are Microgreens?
Microgreens are young vegetable greens harvested just after the first leaves develop. They’re larger than sprouts but younger than baby greens, and they’re harvested when the plants are about 1–3 inches tall.
Popular microgreens include:
- Broccoli
- Radish
- Mustard
- Pea shoots
- Sunflower
- Arugula
Despite their small size, microgreens are known for their intense flavor and impressive nutrient content.
Why Grow Microgreens Without Soil?
Traditional soil gardening works well, but soil-free growing offers major advantages—especially for indoor setups.
Benefits of soil-free microgreens:
- Cleaner and mess-free
- Faster growth
- Lower risk of pests and disease
- Easy indoor growing year-round
- No weeding or soil preparation
Using alternatives like coco coir, paper towels, grow mats, or hydroponic pads allows seeds to sprout and grow quickly with minimal effort.
What You Need to Get Started
You don’t need fancy equipment to grow microgreens. Most setups can be done with everyday items.
Basic supplies:
- Shallow trays or containers
- Microgreen seeds (untreated and food-grade)
- Soil-free growing medium (coco coir, hemp mats, paper towels, or hydroponic pads)
- Spray bottle or gentle watering method
- Bright window or grow light
That’s it. No fertilizer, no compost, no digging.
Step-by-Step: How to Grow Soil-Free Microgreens
Step 1: Choose the Right Seeds
Not all seeds are ideal for microgreens. Choose varieties labeled specifically for microgreen or sprouting use.
Fastest growers:
- Radish (5–7 days)
- Mustard (6–8 days)
- Broccoli (7–10 days)
Avoid seeds treated with chemicals.
Step 2: Prepare Your Growing Medium
Place your soil-free medium in the tray and lightly moisten it. It should be damp but not dripping wet.
Why moisture matters:
- Seeds need consistent moisture to germinate
- Too much water causes mold
- Too little water slows growth
Even moisture is the key to ultra-fast growth.
Step 3: Spread Seeds Evenly
Scatter seeds evenly across the surface. Microgreens are grown close together, but overcrowding can cause poor airflow and mold.
Tips:
- Don’t stack seeds on top of each other
- Press them gently into the surface
- No need to cover with soil
Step 4: Cover and Germinate
Cover the tray with another tray or lid to block light for 2–4 days. This encourages strong root development and even germination.
During this phase:
- Keep trays warm
- Mist once or twice daily
- Check moisture regularly
Once sprouts appear, remove the cover.
Step 5: Provide Light
After germination, microgreens need light to turn green and grow strong.
Light options:
- Sunny windowsill (rotate trays daily)
- LED grow lights (best for consistency)
Aim for 12–16 hours of light per day for rapid growth.
Step 6: Water Carefully
Water from the bottom if possible by adding water to a tray underneath. This prevents mold and keeps leaves dry.
Avoid:
- Overwatering
- Splashing water on leaves
- Letting roots dry out completely
Consistent moisture keeps microgreens growing fast and healthy.
Harvesting: From Seed to Plate in Days
Most microgreens are ready to harvest in 7–14 days.
How to harvest:
- Use clean scissors
- Cut just above the growing mat
- Harvest only what you need
Freshly harvested microgreens have the best flavor and nutrition.
Why Microgreens Are So Nutritious
Microgreens may be small, but they’re nutritional powerhouses.
Benefits include:
- High vitamin concentration
- Rich in antioxidants
- Strong flavor with fewer calories
- Fresh enzymes not found in cooked vegetables
Because they’re harvested young, they contain concentrated nutrients that support overall health.
Common Mistakes to Avoid
If you want ultra-fast growth, avoid these errors:
- Overwatering and causing mold
- Poor airflow
- Using untreated garden seeds
- Growing in low light
- Reusing dirty trays
Clean tools and proper moisture control make a big difference.
Best Microgreens for Beginners
If you’re just starting, try these foolproof options:
- Radish (very fast and forgiving)
- Broccoli (mild flavor, high nutrition)
- Pea shoots (high yield, sweet taste)
- Mustard (quick and spicy)
These grow well in soil-free setups and deliver consistent results.
Final Thoughts
Growing ultra-fast, soil-free microgreens at home is one of the easiest and most rewarding ways to produce fresh food. With minimal space, minimal cost, and almost no experience, you can enjoy homegrown greens every week of the year.
Once you try microgreens, it’s hard to go back to store-bought greens. They’re fresher, healthier, and surprisingly fun to grow.