Sweet potatoes are one of the most rewarding crops you can grow at home. They’re nutritious, delicious, and surprisingly easy to cultivate—even if you’re new to gardening. With the right approach, a few plants can produce an impressive harvest, making sweet potatoes perfect for backyard gardens, balconies, terraces, and containers.
This easy guide will walk you step by step through how to grow sweet potatoes at home for high yield, from planting slips to harvesting healthy, abundant tubers.
Why Sweet Potatoes Are Ideal for Beginners
Sweet potatoes are forgiving plants that thrive in warm conditions and don’t demand constant attention. They grow well in poor soil, resist many pests, and reward patience with generous yields.
Benefits of growing sweet potatoes at home:
- High yield from small space
- Low maintenance once established
- Both roots and leaves are edible
- Adaptable to containers and grow bags
- Excellent crop for beginners
With just a little planning, you can enjoy months of homegrown produce.
Step 1: Choosing the Right Sweet Potato Variety
Not all sweet potatoes grow the same way. For home gardening, choose varieties known for good yields and adaptability to containers or small plots.
Tips for selection:
- Use healthy, untreated sweet potatoes
- Avoid waxed store-bought potatoes if possible
- Choose varieties suited to warm climates
Even one good sweet potato can produce multiple plants.
Step 2: Growing Sweet Potato Slips (The Right Way)
Sweet potatoes are grown from slips, not seeds. Slips are young shoots that sprout from a mature sweet potato.
How to grow slips:
- Place half of a sweet potato in water using toothpicks
- Keep it in a warm, bright location
- Shoots will appear in 1–2 weeks
- When shoots reach 5–6 inches, gently twist them off
- Place slips in water until roots form
One sweet potato can produce 10–20 slips, increasing your yield without extra cost.
Step 3: Preparing Soil for Maximum Yield
Sweet potatoes need loose, well-draining soil to form large tubers.
Ideal soil mix:
- Garden soil or potting mix
- Compost or well-rotted organic matter
- Sand or coco coir for drainage
Avoid heavy clay soil, which restricts root growth and reduces yield.
Step 4: Choosing the Right Container or Garden Space
Sweet potatoes grow equally well in:
- Grow bags
- Large pots
- Buckets with drainage holes
- Raised beds
- Open ground
Container tips:
- Minimum depth: 12–15 inches
- Ensure excellent drainage
- Use wide containers for spreading roots
More space equals better yields.
Step 5: Planting Sweet Potato Slips
Plant slips once temperatures stay warm and frost is gone.
How to plant:
- Bury slips halfway into the soil
- Space slips 12–18 inches apart
- Water thoroughly after planting
Within days, the slips will establish roots and begin vine growth.
Step 6: Sunlight and Watering for High Yield
Sweet potatoes love sun and warmth.
Sunlight requirements:
- At least 6–8 hours of direct sunlight daily
Watering tips:
- Water regularly during early growth
- Reduce watering once tubers begin forming
- Avoid waterlogged soil
Too much water leads to vine growth but smaller potatoes.
Step 7: Feeding Sweet Potatoes Naturally
Sweet potatoes don’t need heavy feeding.
Best natural nutrients:
- Compost
- Banana peel water (potassium boost)
- Mild compost tea
Avoid nitrogen-rich fertilizers—they cause leafy growth instead of tuber development.
Step 8: Vine Management for Better Yields
Sweet potato vines grow fast and spread aggressively.
Tips to manage vines:
- Let vines trail naturally
- Avoid lifting or disturbing them
- Do not bury extra vine nodes
Undisturbed vines allow the plant to focus energy underground.
Bonus Harvest: Eating Sweet Potato Leaves
Sweet potato leaves are edible, nutritious, and delicious.
Benefits:
- Rich in vitamins A and C
- Mild flavor similar to spinach
- Encourages new vine growth
Harvest young leaves sparingly so the plant stays productive.
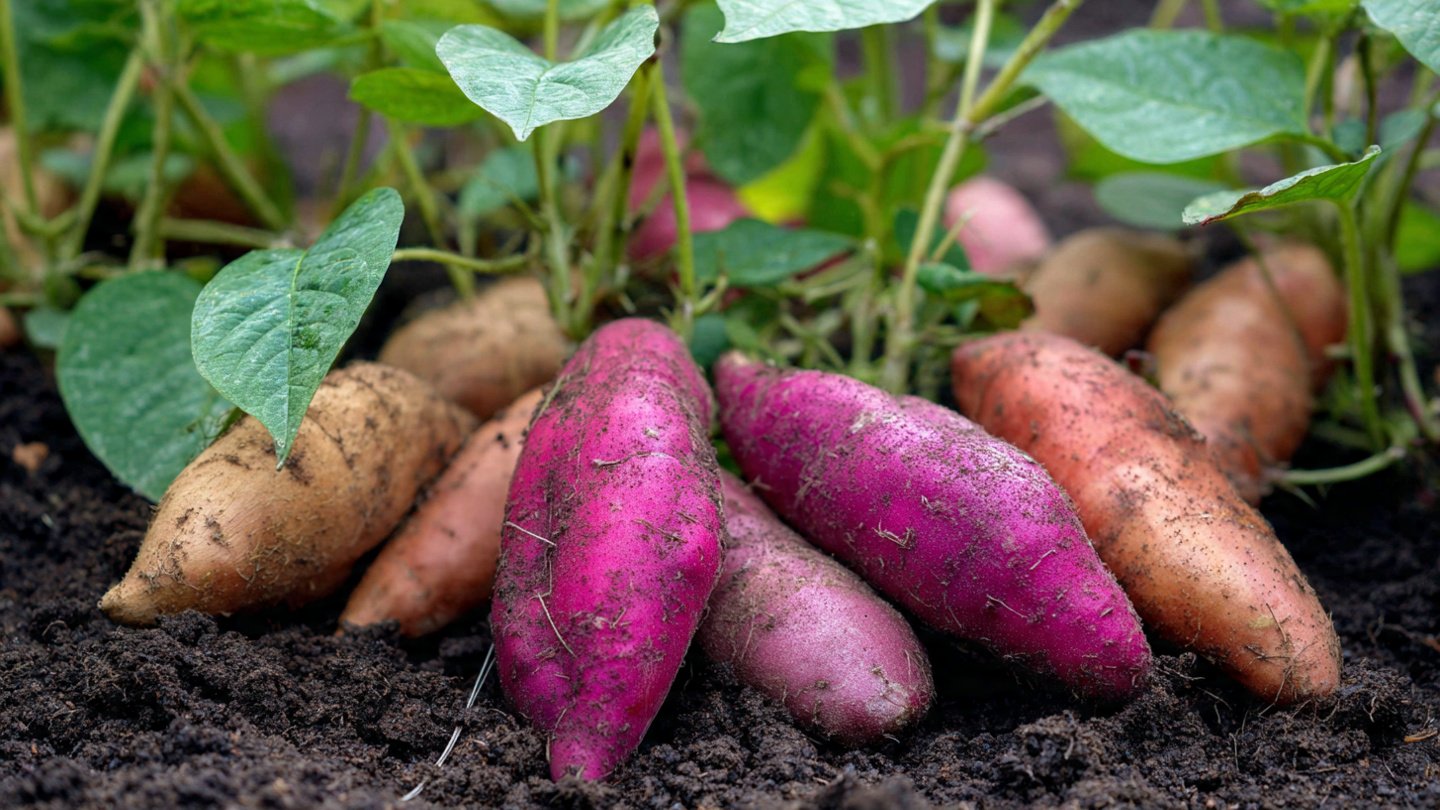
Step 9: Knowing When to Harvest
Sweet potatoes are ready in 90–120 days.
Signs it’s time to harvest:
- Leaves start yellowing
- Vine growth slows
- Tubers reach good size under soil
Gently dig around the plant to avoid damaging the potatoes.
Step 10: Curing for Better Taste and Storage
Freshly harvested sweet potatoes need curing.
How to cure:
- Place in a warm, dry area
- Keep for 7–10 days
- Do not wash before curing
Curing improves sweetness and extends shelf life.
Common Mistakes That Reduce Yield
Avoid these beginner errors:
- Overwatering
- Using compact soil
- Planting too close together
- Excess fertilizer
- Harvesting too early
Simple care brings big rewards.
How Many Sweet Potatoes Can One Plant Produce?
Under good conditions:
- 1 slip → 3–6 sweet potatoes
- Containers can yield 2–5 kg total
- Larger beds produce even more
High yield depends on space, sunlight, and patience.
Final Thoughts
Growing sweet potatoes at home is one of the most satisfying experiences for beginner gardeners. With minimal effort, low cost, and simple care, you can enjoy a generous harvest of nutritious, homegrown food.
From slips to storage, sweet potatoes teach patience, reward consistency, and prove that high yields don’t require expert skills. Whether you garden in containers or soil, this crop is an excellent starting point for self-sufficient living.
Start with one sweet potato—and you may end up harvesting far more than you expected.