Growing your own shallots at home is deeply rewarding, especially when you discover that you don’t need a large garden to enjoy a healthy harvest. With a bit of creativity and the smart use of vertical space, you can grow shallots efficiently in PVC pipes—even on a balcony, terrace, or small backyard. This complete guide will walk you through every stage of the process, from seed selection to harvest, helping you enjoy fresh, flavorful shallots while saving space.
Why Grow Shallots in PVC Pipes?
Shallots are compact, shallow-rooted plants, which makes them ideal for container and vertical gardening. PVC pipes offer several advantages:
- Space efficiency: Perfect for urban homes with limited ground area
- Vertical growth: Allows you to grow more plants in less space
- Better drainage: Easy to control soil moisture
- Cleaner harvest: Bulbs stay protected from soil-borne pests
- Reusable setup: Pipes can be used season after season
By using PVC pipes, you turn unused vertical areas into productive growing zones.
Materials You Will Need
Before you begin, gather the following materials:
- PVC pipes (4–6 inches in diameter, 3–5 feet long)
- End caps for the pipes
- Drill with hole saw or cutter
- Good-quality potting mix
- Organic compost or well-rotted manure
- Shallot seeds or sets
- Tray or stand to hold the pipes upright
- Watering can or drip irrigation system
Preparing the PVC Pipes
- Cut and clean the pipes
Choose a pipe length suitable for your space. Wash thoroughly to remove dust or residue. - Drill planting holes
Drill holes about 2–3 inches wide along the length of the pipe. Space them 6–8 inches apart in a staggered pattern so plants have enough room to grow. - Create drainage
Drill small holes at the bottom of the pipe to allow excess water to escape. Good drainage is essential to prevent bulb rot. - Seal the base
Attach an end cap to the bottom. Place the pipe on a tray or stand to catch draining water.
Choosing the Right Soil Mix
Shallots prefer loose, well-draining soil rich in organic matter. A good mix includes:
- 60% potting soil
- 30% compost
- 10% sand or coco peat
Mix thoroughly before filling the pipe. This ensures proper aeration and healthy bulb development.
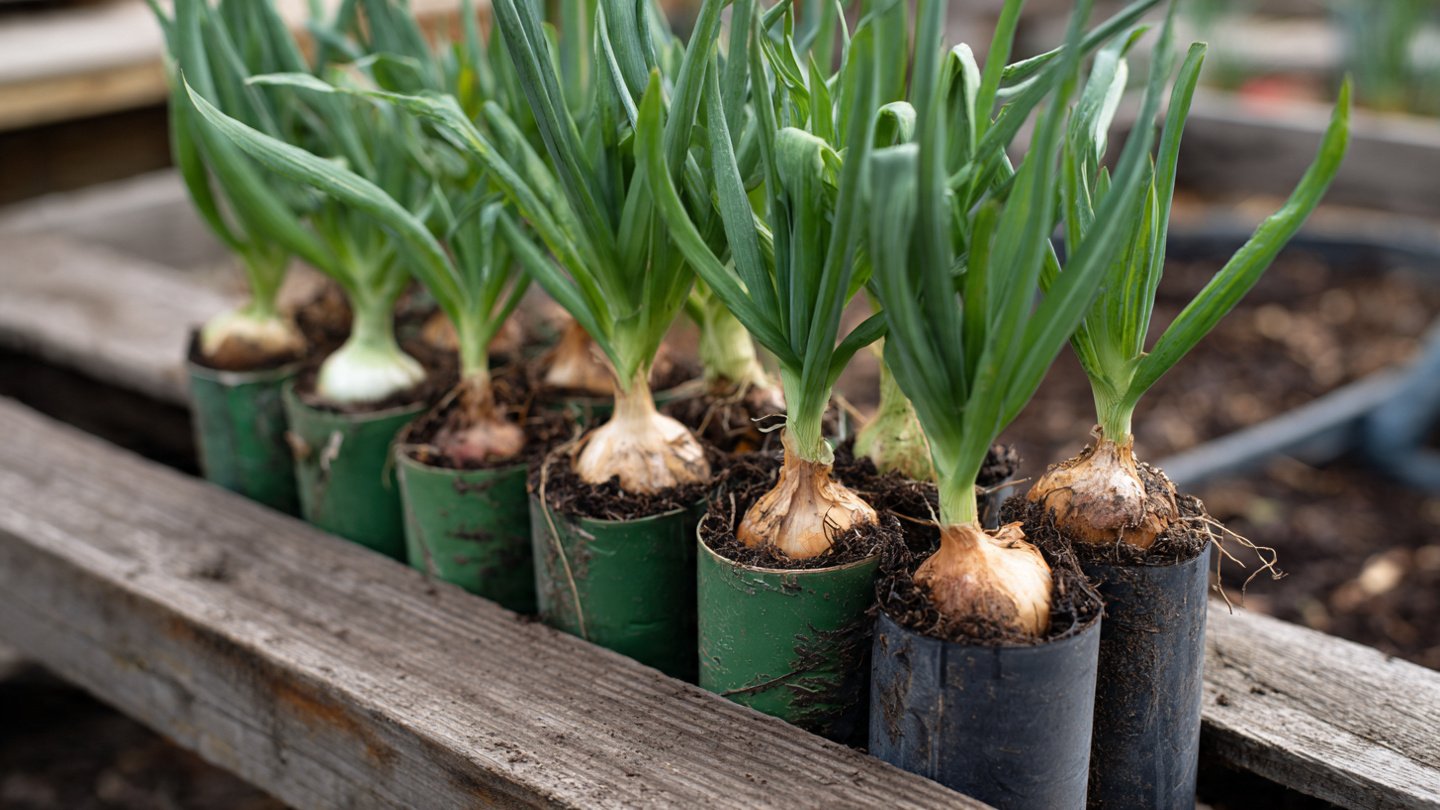
Planting Shallot Seeds or Sets
You can grow shallots from seeds or from sets (small bulbs). Sets are faster and easier for beginners, while seeds are more economical for larger setups.
Planting from Seeds
- Sow 2–3 seeds per hole at a depth of about ½ inch
- Lightly cover with soil and water gently
- Thin to one strong seedling once they sprout
Planting from Sets
- Place one set per hole with the pointed end facing upward
- Push gently into the soil, leaving the tip just above the surface
After planting, water lightly to settle the soil.
Light and Temperature Requirements
Shallots thrive in full sunlight. Place your PVC pipes where they receive at least 6–8 hours of direct sunlight daily. Ideal growing temperatures range between 13°C and 24°C, making them suitable for most seasons except extreme heat or cold.
If growing in very hot climates, partial afternoon shade helps prevent stress.
Watering and Feeding Schedule
- Watering: Keep the soil consistently moist but never soggy. Overwatering can cause bulbs to rot.
- Feeding: Every 2–3 weeks, apply a liquid organic fertilizer such as compost tea or diluted vermicompost leachate.
Avoid high-nitrogen fertilizers once bulbs begin to form, as they promote leaf growth over bulb development.
Managing Growth and Common Problems
Thinning and Airflow
Ensure plants are not overcrowded. Proper spacing improves airflow and reduces fungal diseases.
Pests and Diseases
Common issues include thrips and fungal rot. To manage them:
- Spray neem oil every 10–14 days
- Avoid overhead watering
- Remove yellowing or diseased leaves promptly
PVC pipe systems already reduce pest problems by keeping plants elevated and isolated.
When and How to Harvest Shallots
Shallots are ready to harvest 90–120 days after planting, depending on variety and growing conditions.
Signs of readiness:
- Leaves turn yellow and begin to fall over
- Bulbs feel firm and well-formed
To harvest:
- Stop watering one week before harvest
- Gently pull bulbs out or loosen soil with your fingers
- Shake off excess soil
Curing and Storage
Curing improves flavor and shelf life.
- Spread harvested shallots in a dry, shaded, well-ventilated area
- Cure for 10–14 days until skins are dry and papery
- Trim roots and leaves
Store cured shallots in a cool, dry place in mesh bags or baskets. Properly cured shallots can last several months.
Tips for Bigger and Better Harvests
- Rotate pipes occasionally so all plants receive even sunlight
- Use mulch on top holes to retain moisture
- Choose varieties suited to your climate
- Reuse the largest harvested bulbs as sets for the next cycle
Final Thoughts
Growing shallots in PVC pipes is a smart, modern solution for gardeners with limited space. This method combines efficiency, cleanliness, and high productivity, making it ideal for balconies, rooftops, and small yards. With proper care and attention, you can enjoy a steady supply of homegrown shallots that are fresher, healthier, and more flavorful than store-bought ones.
Once you try this space-saving technique, you may find yourself experimenting with other crops in PVC pipes—turning vertical gardening into a productive and enjoyable habit.