I’ve grown onions for years, but nothing prepared me for the reaction I got after trying one surprisingly simple experiment. Friends thought I was exaggerating. Neighbors stopped mid-sentence when they saw the harvest. Even experienced gardeners asked, “What did you do differently?”
The truth is, I didn’t use expensive fertilizers, special seeds, or secret chemicals. I used one small change—something so basic that it felt almost too simple to work. Yet the results were bigger, healthier onions with stronger flavor and longer storage life than I’d ever grown before.
Here’s exactly what I did, why it worked, and how you can try it yourself.
The Problem I Always Had with Onions
Onions seemed easy in theory, but my results were always inconsistent.
Some years:
- Bulbs stayed small
- Leaves yellowed early
- Onions split or bolted
- Flavor was weak
I followed standard advice: good soil, regular watering, sunlight. Still, the harvest never felt impressive. That’s when I decided to try something different—something I’d heard older gardeners mention but rarely explain.
The One Thing I Did Differently
Instead of planting onions the usual way and leaving them alone, I slightly exposed the top of each bulb as it grew, gently pulling soil away once the onion began forming.
That’s it.
No cutting. No feeding. No spraying.
Just letting the bulb sit partly above the soil instead of staying buried.
At first, it felt wrong. Every instinct says to cover roots and bulbs completely. But onions aren’t root vegetables like carrots or potatoes—and that distinction changes everything.
Why This Works (And Why It’s Overlooked)
Onions form bulbs above ground, not below. When they stay buried too deeply:
- Moisture gets trapped
- Bulbs stay smaller
- Rot risk increases
- Growth energy goes into leaves instead of bulb expansion
By gently clearing soil away from the top:
- Sunlight reaches the bulb
- Excess moisture evaporates
- Bulb expansion speeds up
- Flavor compounds concentrate
Once I understood this, the results made sense.
How I Did It Step by Step
Step 1: Plant Normally
I planted onion sets and seedlings as usual, spacing them properly and watering lightly.
Step 2: Wait for Bulb Formation
Once the onion neck thickened and the bulb began swelling—usually mid-season—I stopped adding soil around the base.
Step 3: Gently Clear the Top
Using my fingers, I brushed soil away until the top third of the bulb was exposed.
Important rule:
Never pull or loosen the roots. Only remove loose soil.
Step 4: Let Nature Do the Rest
From that point on, I watered at soil level and avoided mulching directly over the bulbs.
What Happened Next Was Incredible
Within two weeks, the difference was obvious.
- Bulbs widened dramatically
- Leaves stayed green longer
- Growth looked stronger, not stretched
- No signs of rot or disease
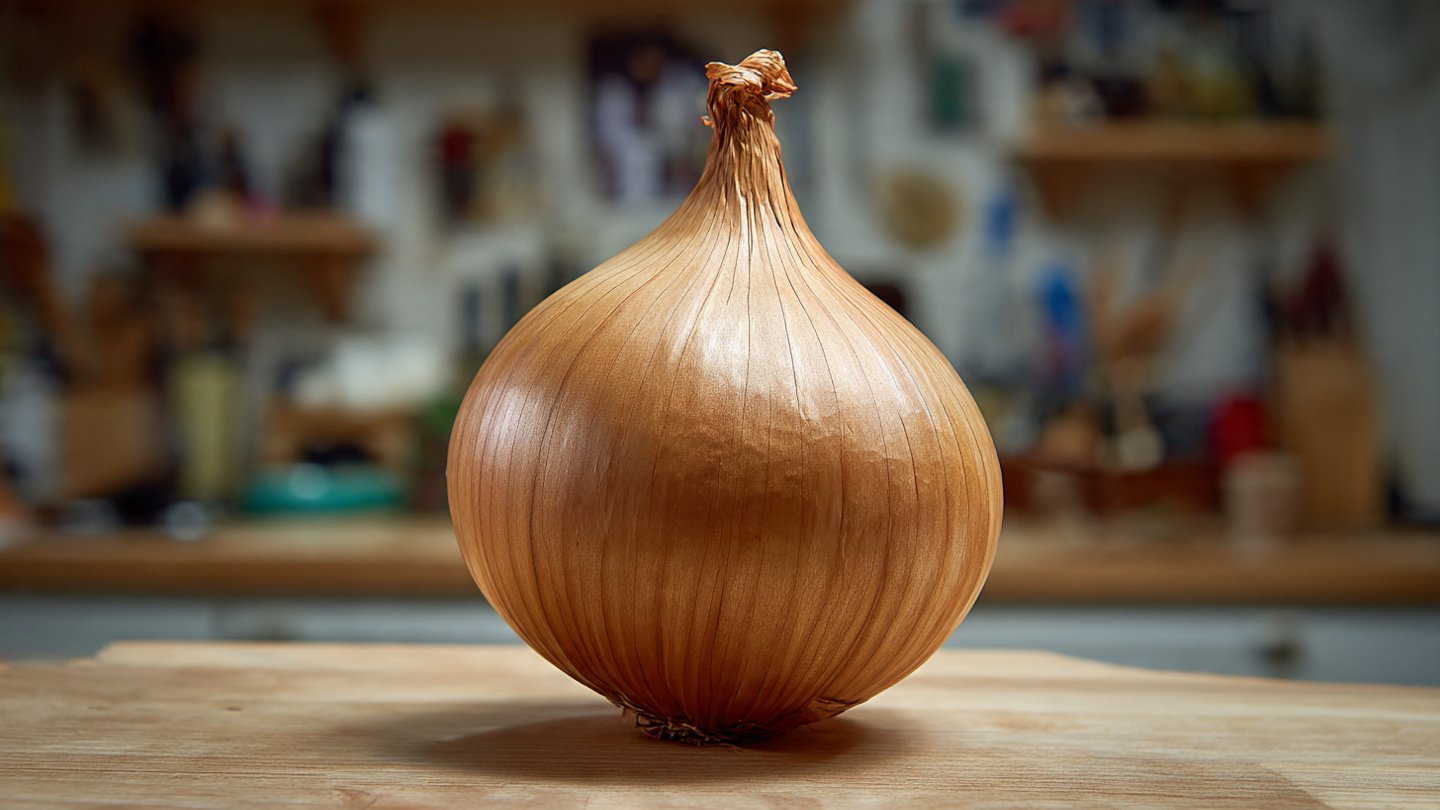
By harvest time, the onions were:
- Nearly double the usual size
- Firm and heavy
- Deeply flavored
- Uniform in shape
People assumed I used special fertilizer. I didn’t.
The Flavor Difference Was the Biggest Surprise
Size is impressive—but taste is what matters.
These onions:
- Were sweeter when cooked
- Had sharper bite when raw
- Stored longer without sprouting
- Didn’t turn mushy
Exposing the bulb reduced excess moisture, which concentrated sugars and sulfur compounds. The result was flavor that actually tasted like a garden onion should.
Common Mistakes to Avoid
This method works best when done correctly. Here’s what not to do:
- ❌ Don’t expose bulbs too early
- ❌ Don’t remove soil aggressively
- ❌ Don’t expose roots
- ❌ Don’t overwater afterward
Timing matters. Wait until the onion wants to bulb.
Does This Work in All Climates?
Yes—with small adjustments.
In Cool or Wet Climates
Exposing bulbs helps prevent rot and fungal issues.
In Hot or Dry Climates
Partial exposure improves airflow and prevents overheating—just avoid extreme sun scorch by leaving some side coverage.
In Containers
This works exceptionally well. Containers drain faster, and exposed bulbs grow wide without splitting.
Why Most Gardeners Never Try This
It looks wrong.
Gardening advice often treats onions like underground crops, but they’re not. Once you understand how onions grow naturally, this method feels obvious—but until then, it’s easy to miss.
Sometimes the best gardening improvements aren’t additions… they’re removals.
When to Harvest After Doing This
You’ll know onions are ready when:
- Tops fall over naturally
- Leaves yellow and dry
- Bulbs feel firm
Let them cure in a dry, shaded place for 1–2 weeks. You’ll notice they store better than onions grown fully buried.
Final Thoughts
I didn’t change my soil.
I didn’t buy special seeds.
I didn’t feed them constantly.
I simply stopped burying something that didn’t want to be buried.
That one small adjustment turned an average onion harvest into something people genuinely couldn’t believe. It’s proof that gardening success often comes from understanding plants—not overpowering them.
If you grow onions and want bigger bulbs, better flavor, and longer storage, try this once. You may never plant onions the same way again.