Bean sprouts are one of the most nutritious, affordable, and versatile foods you can add to your daily meals. Packed with vitamins, minerals, enzymes, and plant-based protein, they’re often considered a “living food” because their nutrients are at their peak during the sprouting stage. However, how you grow bean sprouts makes a huge difference in their nutritional value, safety, and taste.
If you want to eat truly healthy bean sprouts, it’s essential to follow the right growing methods. In this guide, we’ll explore the best techniques to grow bean sprouts at home for maximum nutrition, better texture, and peace of mind.
Why Bean Sprouts Are a Nutritional Powerhouse
Before diving into growing methods, it helps to understand why bean sprouts are so good for you.
When beans sprout, their nutritional profile changes dramatically:
- Enzyme activity increases
- Complex starches break down into easier-to-digest sugars
- Vitamin levels (especially vitamin C and B vitamins) rise
- Anti-nutrients like phytic acid are reduced
This makes sprouts easier to digest and more nutrient-dense than dry beans.
Choosing the Right Beans for Sprouting
Not all beans are ideal for sprouting. Choosing high-quality seeds is the first step toward nutritious sprouts.
Best beans for sprouting:
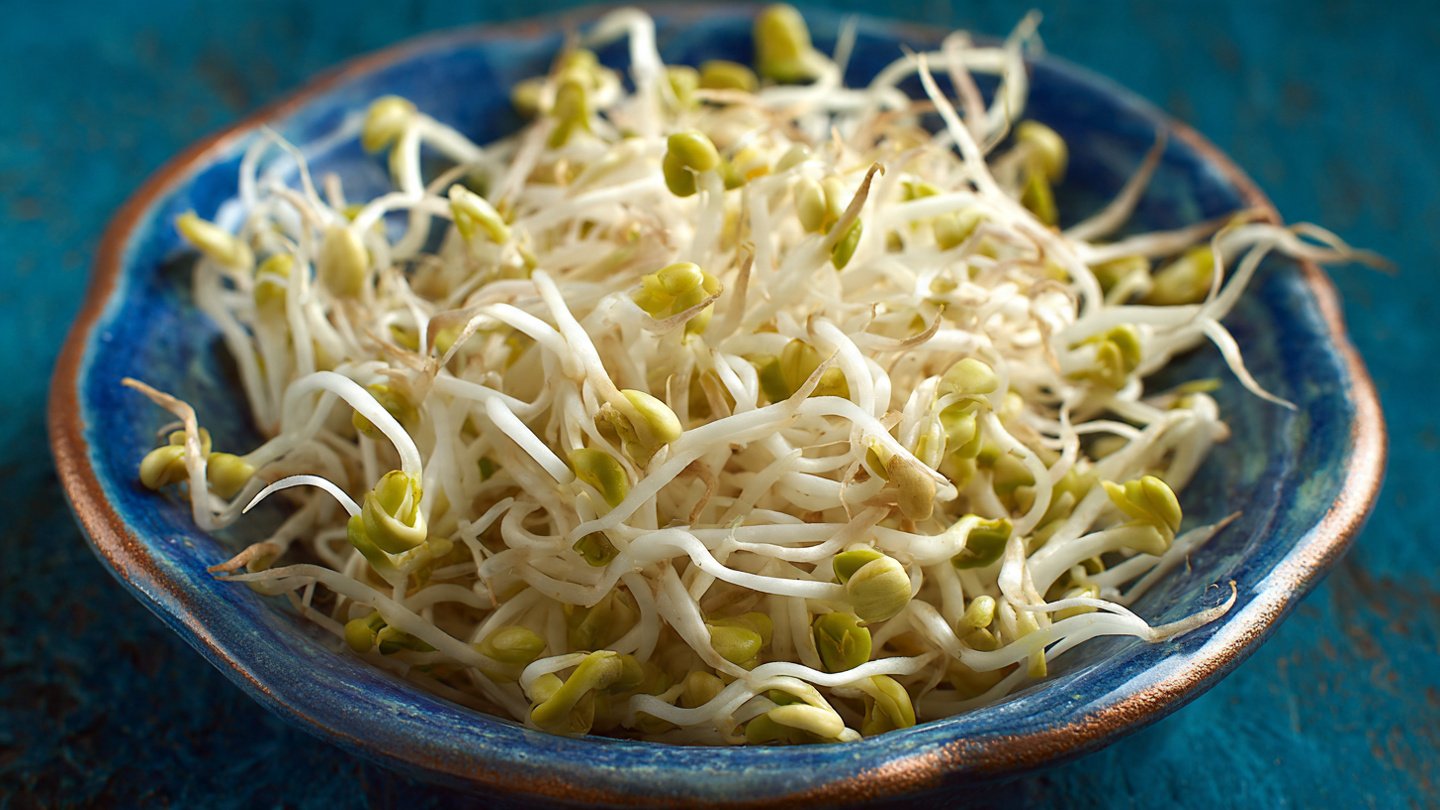
- Mung beans (most popular and mild)
- Lentils
- Chickpeas
- Adzuki beans
- Green peas
What to avoid:
- Old or cracked beans
- Beans treated with chemicals
- Cooking beans from grocery stores not labeled for sprouting
Tip: Always use beans labeled specifically for sprouting or organic food-grade beans to ensure safety and germination success.
Method 1: Jar Sprouting (Best for Beginners)
Jar sprouting is one of the easiest and most effective methods for growing nutrient-rich bean sprouts.
What you’ll need:
- Glass jar
- Mesh lid or breathable cloth
- Clean water
Steps:
- Rinse beans thoroughly.
- Soak them in water for 8–12 hours.
- Drain the water completely.
- Place the jar upside down at an angle to allow airflow.
- Rinse and drain twice daily.
Why this method boosts nutrition:
- Regular rinsing prevents mold
- Proper drainage improves oxygen flow
- Controlled moisture encourages enzyme activity
Sprouts are usually ready in 3–5 days, depending on the bean type.
Method 2: Tray Sprouting for Larger Harvests
Tray sprouting is ideal if you consume sprouts frequently or want to grow them for a family.
How it works:
Beans are spread evenly in a shallow tray, rinsed regularly, and covered lightly to block excess light.
Advantages:
- Produces thicker, crunchier sprouts
- Easy to harvest in bulk
- Better airflow than jars
Nutrition tip:
Keep trays in a cool, dark place. Excess heat can reduce vitamin content and encourage bacterial growth.
Method 3: Cloth or Bag Sprouting (Traditional Method)
This old-fashioned technique is still used in many cultures and produces dense, juicy sprouts.
How to do it:
- Soak beans overnight
- Wrap them in a clean, damp cloth
- Keep them in a warm, dark area
- Rinse and rewrap twice daily
Why it works:
- Gentle pressure promotes thicker sprouts
- Darkness increases certain antioxidant compounds
This method is especially good for mung bean sprouts used in stir-fries.
Light vs Darkness: Does It Affect Nutrition?
Yes—light exposure changes the nutrient profile of sprouts.
Growing in darkness:
- Produces pale, crunchy sprouts
- Higher water content
- Ideal for cooking
Growing with some indirect light:
- Increases chlorophyll
- Boosts vitamin C and antioxidants
- Slightly firmer texture
For maximum nutrition, allow sprouts brief indirect light exposure on the final day, but avoid harsh sunlight.
Water Quality Matters More Than You Think
Since sprouts absorb water directly, water quality directly affects their nutritional value.
Best practices:
- Use filtered or boiled-and-cooled water
- Avoid chlorinated water if possible
- Rinse thoroughly to prevent residue buildup
Clean water helps preserve enzymes and prevents harmful bacteria from developing.
Temperature Control for Optimal Growth
Sprouts grow best at moderate temperatures.
Ideal range:
- 18–24°C (65–75°F)
Too hot:
- Faster spoilage
- Increased bacterial risk
- Nutrient degradation
Too cold:
- Slow growth
- Lower enzyme activation
Maintaining stable temperature ensures safe, nutrient-rich sprouts.
Hygiene: The Key to Safe, Healthy Sprouts
Sprouts are nutritious but require careful handling.
Essential hygiene tips:
- Wash hands before handling
- Sterilize jars and trays
- Rinse beans thoroughly
- Discard any sprouts with slime or foul odor
Good hygiene protects both nutrition and health.
When and How to Eat Bean Sprouts for Maximum Nutrition
Freshness matters when it comes to nutrients.
Best practices:
- Eat sprouts within 24–48 hours of harvest
- Store in the refrigerator in a breathable container
- Rinse before eating
Raw or cooked?
- Raw sprouts preserve enzymes and vitamin C
- Light steaming improves safety and digestibility
- Overcooking destroys nutrients
A quick blanch (30–60 seconds) offers a good balance of safety and nutrition.
Common Mistakes That Reduce Nutritional Value
Avoid these common errors:
- Over-soaking beans
- Poor drainage
- Infrequent rinsing
- Using contaminated containers
- Exposing sprouts to excessive heat
Correcting these mistakes dramatically improves both quality and nutrition.
Final Thoughts
Growing bean sprouts at home is one of the simplest ways to boost your nutrition naturally. With the right growing methods, clean water, proper hygiene, and correct timing, you can enjoy fresh, enzyme-rich sprouts that are far superior to store-bought options.
Whether you prefer jar sprouting, trays, or traditional cloth methods, focusing on cleanliness, airflow, and temperature control will ensure your bean sprouts are safe, crunchy, and packed with nutrients.
Healthy eating doesn’t have to be complicated—sometimes it starts with a jar, a handful of beans, and the right knowledge.