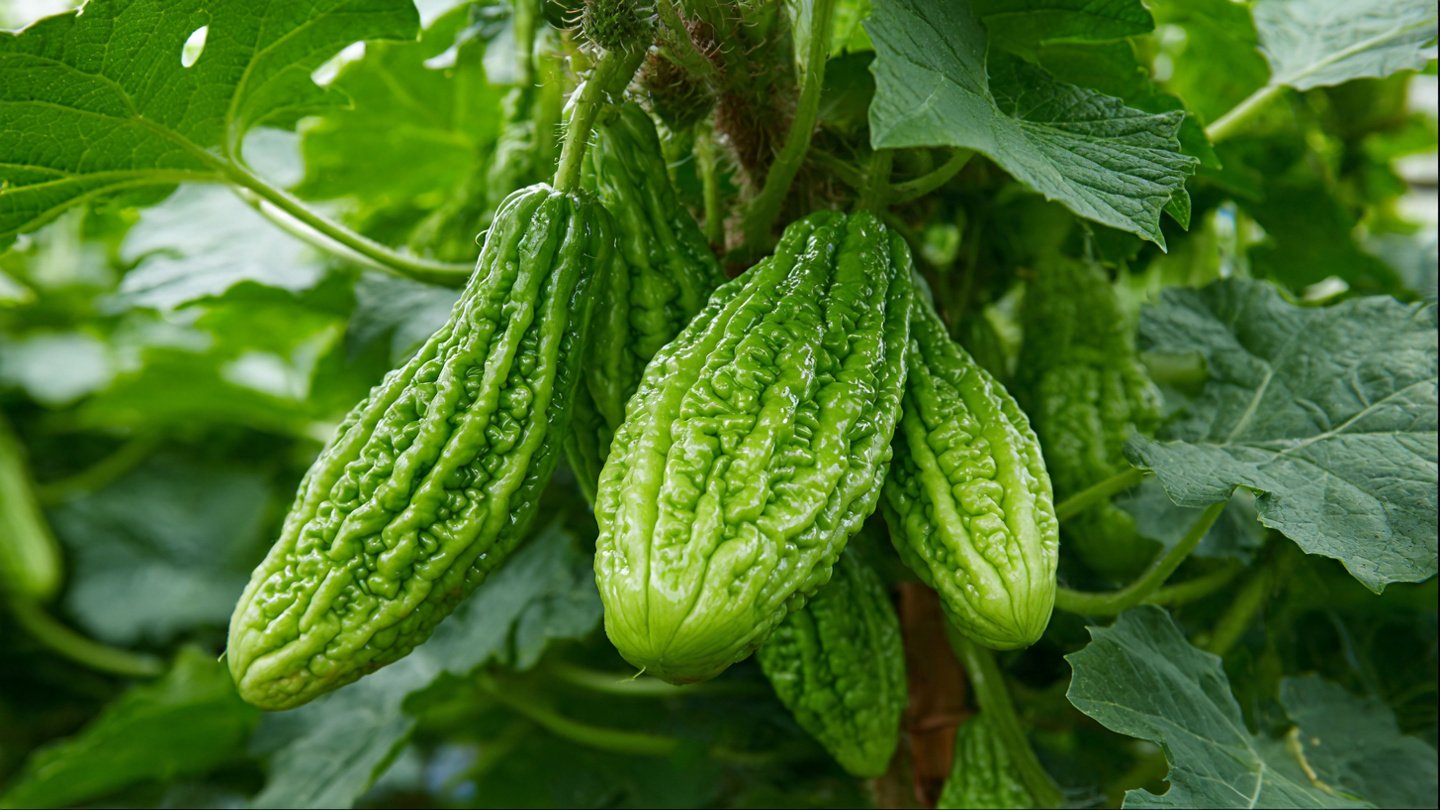
Bitter melon, also known as Momordica charantia or bitter gourd, is a unique and nutritious vegetable prized across Asia, Africa, and the Caribbean for its medicinal properties and distinctive flavor. With its warty green exterior and slightly bitter taste, bitter melon adds a bold flavor to stir-fries, soups, and juices. Beyond culinary uses, it is lauded for its health benefits, including blood sugar regulation, digestion support, and immune-boosting properties. While it may seem like a challenging plant to grow, bitter melon is surprisingly easy to cultivate at home, even in small spaces, provided you follow some simple steps. This guide will show you how to grow bitter melon at home successfully and achieve high yields.
Step 1: Understanding Bitter Melon and Its Growing Needs
Bitter melon is a tropical and subtropical vine, thriving in warm weather with plenty of sunlight. It requires a long growing season of 70–90 days from seed to harvest, so planning is essential. There are several varieties of bitter melon, ranging from small, slender fruits to larger, more ridged types. Selecting the right variety depends on your climate and culinary preferences.
Key growing requirements for bitter melon include:
- Full sunlight: At least 6–8 hours of direct sun per day.
- Warm soil: Ideal soil temperature for germination is 75–85°F (24–29°C).
- Well-drained soil: Bitter melon does not tolerate waterlogged soil.
- Support structure: The vine grows rapidly and needs trellises, fences, or netting for vertical growth.
Step 2: Gathering Materials
Before starting, gather all the materials you need to ensure a smooth planting process:
- Bitter melon seeds – Available at garden centers or online. Choose organic seeds for the best results.
- Seed-starting trays or small pots – With drainage holes.
- Seed-starting soil – Light, well-draining, and nutrient-rich.
- Compost or organic fertilizer – For enriching the garden soil.
- Trellis or vertical support – Bamboo stakes, netting, or a garden fence.
- Watering can or spray bottle – For gentle watering.
Step 3: Preparing Bitter Melon Seeds
Bitter melon seeds have a hard outer coat, so pre-treatment is important for faster and more uniform germination:
- Soak the seeds – Place seeds in warm water for 24 hours. This softens the seed coat and improves germination.
- Optional scarification – Lightly nick or sand the seed coat to help water absorption, though soaking alone is often sufficient.
After soaking, the seeds are ready to be planted in seed-starting trays or pots.
Step 4: Sowing Seeds
Proper sowing ensures healthy seedlings:
- Fill containers with seed-starting soil – Leave about an inch of space at the top.
- Plant seeds – Sow seeds about ½ inch deep, gently pressing them into the soil.
- Water carefully – Moisten the soil with a spray bottle or light watering, avoiding soggy conditions.
- Provide warmth and light – Place the trays in a warm location with indirect sunlight. Using a grow light for 12–16 hours a day can accelerate growth.
Seeds usually germinate within 7–14 days. Be patient, as germination times vary depending on temperature and seed quality.
Step 5: Caring for Seedlings
Once seedlings emerge, they require attentive care to grow strong and healthy:
- Light: Ensure seedlings receive ample light to prevent leggy growth. A sunny windowsill or grow light works well indoors.
- Water: Keep the soil consistently moist but not waterlogged. Overwatering can cause root rot.
- Thinning: If multiple seedlings sprout in one pot, thin them to leave the strongest plant. This prevents overcrowding and ensures adequate nutrient access.
By maintaining optimal light, moisture, and spacing, seedlings will develop robust roots and leaves ready for transplanting.
Step 6: Transplanting Seedlings to the Garden
When seedlings are 3–4 inches tall and have 2–3 sets of true leaves, they can be transplanted outdoors:
- Harden off seedlings – Gradually introduce them to outdoor conditions over 5–7 days, starting with a few hours of sunlight each day.
- Prepare garden beds – Select a sunny location and enrich the soil with compost or organic fertilizer. Bitter melon prefers slightly acidic to neutral soil with good drainage.
- Plant seedlings – Space plants 12–18 inches apart in rows or along trellises. Dig holes slightly larger than the root ball, gently place the seedlings, and cover with soil.
- Water thoroughly – Water after planting to help roots establish.
Providing vertical support at this stage is crucial, as bitter melon vines grow rapidly and can reach 10–12 feet if allowed to climb.
Step 7: Ongoing Care for Bitter Melon
Caring for bitter melon during its growth cycle ensures high yields:
- Watering: Bitter melon prefers deep, consistent watering, especially during flowering and fruiting stages. Avoid overhead watering to reduce fungal diseases.
- Mulching: Apply organic mulch around the base to retain soil moisture, suppress weeds, and regulate soil temperature.
- Fertilization: Feed plants with balanced organic fertilizer every 3–4 weeks. Too much nitrogen encourages leafy growth at the expense of fruiting.
- Pruning: Trim side shoots that do not bear flowers to focus energy on productive vines.
- Pest management: Monitor for common pests like aphids, fruit flies, and powdery mildew. Use neem oil or insecticidal soap as needed.
Step 8: Flowering and Fruit Development
Bitter melon plants produce small yellow flowers that develop into the signature warty green fruits. To maximize yields:
- Pollination: Natural pollinators like bees help fruit set. If pollinators are scarce, hand-pollinate flowers using a small brush.
- Pruning for airflow: Keep vines well-spaced on trellises to improve air circulation and reduce fungal disease.
- Support fruit: As fruits grow heavier, tie vines gently to prevent breakage.
Fruit development usually begins 50–60 days after sowing, depending on the variety and growing conditions.
Step 9: Harvesting Bitter Melon
Knowing when to harvest is key to enjoying the best flavor:
- Timing: Harvest fruits when they are bright green and firm. Overripe fruits turn yellow or orange and become excessively bitter.
- Method: Use a sharp knife or scissors to cut the fruit from the vine, leaving a small stem attached. Avoid pulling fruits, as this can damage the vine.
- Frequency: Regular harvesting encourages the plant to produce more fruits. Check vines every 2–3 days during peak season.
Freshly harvested bitter melon can be used immediately in stir-fries, soups, and juices, or stored in the refrigerator for 3–5 days.
Step 10: Extending the Growing Season
To maintain high yields throughout the growing season:
- Successive sowing: Plant new seeds every 2–3 weeks to ensure continuous harvest.
- Container gardening: Grow bitter melon in pots to bring plants indoors during cooler months in temperate climates.
- Disease management: Remove old leaves and monitor for pests to prevent spread and maintain healthy vines.
Step 11: Common Challenges and Solutions
Even though bitter melon is relatively easy to grow, beginners often encounter some challenges:
- Poor germination: Ensure seeds are fresh, soaked, and planted in warm soil.
- Leggy seedlings: Provide sufficient light to prevent tall, weak plants.
- Pests and diseases: Use neem oil or insecticidal soap to manage infestations. Rotate crops yearly to reduce disease buildup.
- Low yields: Ensure adequate sunlight, support, and pollination to maximize fruit production.
By addressing these issues early, gardeners can enjoy healthy vines with abundant fruit.
Step 12: Health and Culinary Benefits of Homegrown Bitter Melon
Growing bitter melon at home is not just rewarding for gardening enthusiasts—it also enhances your diet:
- Nutritional value: Rich in vitamins A, C, and K, along with fiber, potassium, and antioxidants.
- Blood sugar management: Bitter melon contains compounds that help regulate glucose levels.
- Digestive aid: Its fiber content supports healthy digestion.
- Culinary versatility: Use in stir-fries, soups, curries, or even juice for a detoxifying drink.
Having a fresh supply at home ensures the highest quality, flavor, and nutrient content compared to store-bought produce.
Conclusion
Growing bitter melon at home is a simple, rewarding, and productive endeavor. By understanding the plant’s needs, preparing seeds properly, providing consistent care, and using trellises for vertical growth, gardeners can enjoy high yields of this nutritious, flavorful vegetable. From seed to harvest, the process allows you to engage with every stage of the plant’s life while reaping the benefits of fresh, homegrown produce.
Whether you are a seasoned gardener or a beginner, bitter melon is a versatile and beneficial addition to your garden. With proper planning, attention, and patience, you can grow delicious bitter melon at home and enjoy its unique taste and health benefits all season long.