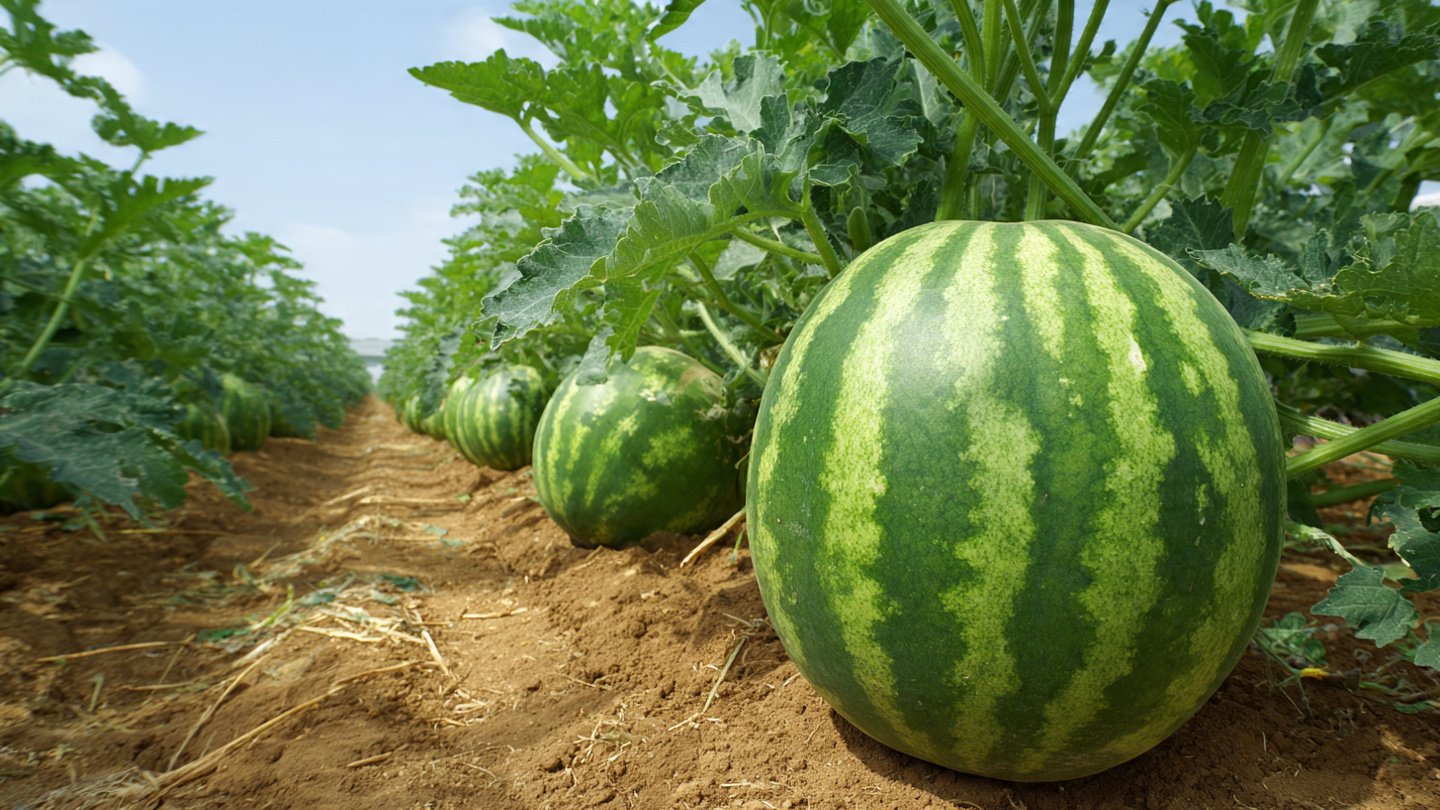
Watermelons are one of the most refreshing and popular fruits worldwide, prized for their juicy, sweet flesh and vibrant green rind. Traditionally grown in large garden plots, watermelons are often thought to be impossible to cultivate in small spaces. However, with the right techniques, growing big, juicy watermelons in plastic containers is not only possible but can produce impressive yields. This beginner-friendly guide will take you step by step through the process of cultivating watermelons in containers, ensuring strong growth, healthy fruits, and maximum productivity.
Why Grow Watermelons in Containers?
Container gardening offers a practical solution for urban gardeners, apartment dwellers, and anyone with limited outdoor space. Growing watermelons in plastic containers provides several benefits:
- Space Efficiency: Ideal for terraces, balconies, patios, or small yards.
- Soil Control: You can provide nutrient-rich, well-draining soil for optimal growth.
- Pest Management: Easier to monitor and manage pests compared to open-ground cultivation.
- Mobility: Containers can be moved to catch maximum sunlight or protect from harsh weather.
- Maximum Yield: Properly managed containers can produce large, juicy fruits comparable to traditional gardens.
By using containers, you can enjoy homegrown watermelons even without a full garden plot.
Step 1: Choose the Right Watermelon Variety
Not all watermelons are suitable for container cultivation. Select compact or bush varieties that are bred for container growth, as traditional sprawling vines may require excessive space. Recommended varieties include:
- Sugar Baby
- Bush Jubilee
- Golden Midget
- Petite Sweet
These varieties are more manageable in containers and still produce sweet, juicy fruits.
Step 2: Select the Best Plastic Container
Choosing the right container is crucial for watermelon success. Consider the following:
- Size: At least 20–25 liters (5–6 gallons) per plant for bush varieties; larger containers for bigger fruits.
- Depth: Minimum 12 inches for root development.
- Material: Durable plastic that won’t crack in sunlight.
- Drainage: Drill multiple holes at the bottom to prevent waterlogging and root rot.
Large containers ensure that roots have enough space to grow and absorb nutrients, which directly influences fruit size and juiciness.
Step 3: Prepare a Nutrient-Rich Soil Mix
Watermelons are heavy feeders and thrive in well-draining, nutrient-rich soil. A recommended mix for container watermelons:
- 40% garden soil or topsoil
- 30% compost or well-rotted manure
- 20% cocopeat or peat moss for moisture retention
- 10% perlite or coarse sand for aeration and drainage
Mix thoroughly before filling the container to create a light, fluffy medium that retains moisture but prevents root waterlogging.
Step 4: Planting Watermelons in Containers
Follow these steps to plant successfully:
- Fill the container with soil mix, leaving 2–3 inches at the top.
- Sow 2–3 seeds per container at a depth of 1 inch, or transplant healthy seedlings.
- Water gently but thoroughly to settle the soil around the seeds.
- Ensure proper spacing if planting multiple containers to avoid overcrowding.
Tip: Once seedlings establish, thin to the strongest plant per container for better growth and larger fruits.
Step 5: Provide Adequate Sunlight
Watermelons need 6–8 hours of direct sunlight daily to thrive. Place containers in a location with full sun exposure to promote flowering, fruiting, and overall plant health. Insufficient sunlight can result in smaller fruits and slower growth.
Step 6: Support the Vine
Even bush varieties may benefit from some support:
- Use a trellis or vertical net for small spaces.
- Place bamboo sticks to gently guide vines upward.
- Use slings or nets to support heavier fruits if needed.
Supporting vines keeps fruits off the soil, reduces pest risk, and encourages better airflow around the plant.
Step 7: Watering for Maximum Juiciness
Watering is key to growing large, juicy watermelons in containers:
- Water deeply 2–3 times a week, more often during hot, dry weather.
- Keep the soil consistently moist but not soggy.
- Mulch the soil surface with straw, leaves, or cocopeat to retain moisture and regulate temperature.
Proper hydration ensures that watermelons develop sweet, juicy flesh and reduces stress on the plant.
Step 8: Fertilizing Container Watermelons
Fertilization is crucial for maximizing fruit size and yield:
- Use organic compost or vermicompost every 2–3 weeks.
- Apply a balanced NPK (Nitrogen-Phosphorus-Potassium) fertilizer, focusing on higher phosphorus and potassium during flowering and fruiting.
- Avoid excessive nitrogen during fruiting, as it promotes leafy growth instead of fruit development.
Regular feeding ensures strong growth, healthy flowers, and large, juicy fruits.
Step 9: Pollination for Better Fruits
Watermelons produce separate male and female flowers, which require pollination for fruit development.
- Outdoor plants are naturally pollinated by bees and insects.
- For indoor or balcony setups, hand-pollinate using a small brush or cotton swab to transfer pollen from male to female flowers.
Proper pollination is essential for maximum fruit set and quality.
Step 10: Pest and Disease Management
Even container-grown watermelons can be affected by pests and diseases. Common issues include:
- Aphids, whiteflies, and spider mites—control with neem oil or insecticidal soap.
- Powdery mildew—prevent by ensuring good airflow and avoiding wet leaves.
- Fruit rot—avoid excessive watering and ensure proper drainage.
Regular inspection and early intervention will keep your plants healthy and productive.
Step 11: Harvesting Juicy Watermelons
Watermelons are ready to harvest when:
- The fruit reaches full size and the skin turns deep green.
- The underside touching the soil turns a creamy yellow.
- The tendril nearest the fruit dries out.
- The fruit emits a hollow, deep sound when tapped.
Harvest regularly to encourage continuous flowering and new fruit development. Proper timing ensures sweet, juicy watermelons with maximum flavor.
Tips for Maximum Yield in Plastic Containers
- Use large containers: More soil = bigger fruits.
- Prune weak or excessive vines: Focus energy on strong, productive stems.
- Rotate containers: Ensure even sunlight exposure for all plants.
- Mulch consistently: Retains moisture and reduces soil temperature fluctuations.
- Maintain nutrient levels: Regular organic feeding promotes fruit size and sweetness.
Advantages of Growing Watermelons in Containers
- Space-saving: Grow in terraces, balconies, or small patios.
- Soil control: Avoid poor soil conditions and reduce weeds.
- Mobility: Protect plants from extreme weather or pests by moving containers.
- High yield: Concentrated care often results in larger, juicier fruits.
- Accessibility: Easy monitoring for watering, feeding, and harvesting.
Final Thoughts
Growing big, juicy watermelons in plastic containers is not only possible but also highly rewarding. By selecting the right variety, preparing nutrient-rich soil, providing proper sunlight and support, watering correctly, and fertilizing regularly, you can achieve maximum yield in small spaces.
Container-grown watermelons allow urban gardeners, balcony enthusiasts, and small-space growers to enjoy fresh, sweet fruits without needing a traditional garden plot. With patience, attention to detail, and consistent care, you can enjoy a bountiful harvest of homegrown watermelons that are as large and juicy as those grown in open fields.
The simple combination of plastic containers, good soil, sunlight, and proper care transforms any small space into a productive watermelon-growing haven.